teaching sewing confidence, tip by tip
Showing posts with label feather. Show all posts

Sunday, 22 November 2015

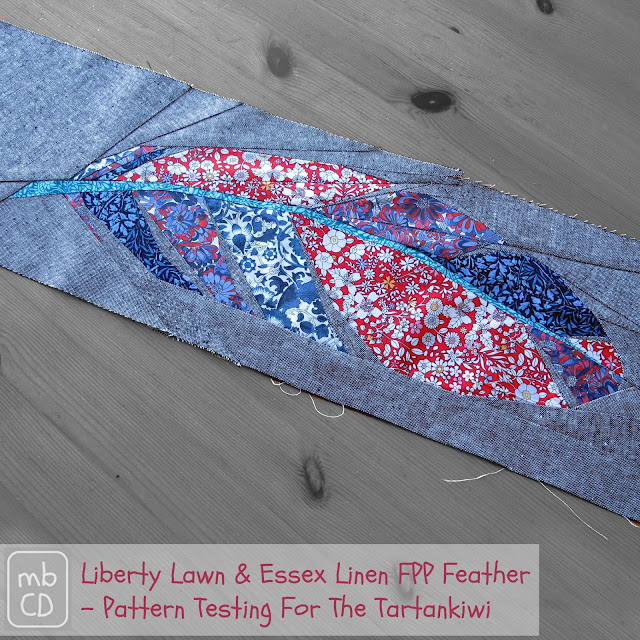
Liberty Lawn & Essex Linen FPP Feather


I love foundation paper piecing, but experience has taught me that not all foundation paper piecing patterns are equal, I'm very happy to shout from the rooftops, however, about all FPP patterns created by Juliet @The Tartankiwi.  

Juliet is an absolute Queen of FPP, her patterns are well thought out so there's the minimum number of pieces necessary for the sewist to piece the design as simply and easily as possible.  She is rigorous in her pattern testing too, testing and developing patterns thoroughly herself then she has several reliable testers trial the patterns and feedback before releasing them to the general public.

When Juliet sent me an image of her latest FPP Feather Border pattern I jumped at the chance to test it and here it is.


I've used Liberty Lawns for the feather and Robert Kaufman Yarn-Dyed Black Essex Linen for the background.  My favourite London shop for Liberty Lawns is Shaukat, they've more Liberty fabric than the Liberty store itself alongside other lawns and specialist fabrics - I've written a couple of posts about the fabric I've bought there here and here.  If you haven't been to the Liberty store then, of course, that should be top of your 'must do' list for any London trip - more pretty pics of the store here.


A couple of the lawns were left over from this reversible apron I made for my Mum a few years ago, you can read more about it here and though my Mum's looking very good for her years it's not actually her but my youngest, Flicky, modelling the apron ;D


Getting sidetracked now, all this talk of home and Liberty - let's have another look at that FPP Feather.


The FPP pattern includes two sizes of feather - 12" x 3" and 24" x 6" - I've made a 24" x 6" feather.  Juliet made the feather so she could border a block with four feathers, I've got other ideas, though.  Initially, I thought I'd extend the block to make a rectangular cushion but now I'm thinking a wall hanging so I'm going to sit on it for a while and see what ideas brew, you know the way they do.


You can see more tested versions of the FPP Feather Border here on Juliet's The Tartankiwi blog and her pattern's available now via her Etsy store and also her Payhip store.  

Disclaimer: I do not receive payment from Juliet @TheTartankiwi for testing her patterns, nor do I receive a commission on any patterns sold via her Etsy store or any other sales method.  This post is purely informational and of no direct benefit, monetary or otherwise, to me.


Please note the pattern does not include Juliet's Kea Alpine Parrot pattern as pictured but this FPP pattern is available separately.


Here's a look back at the patterns I've previously tested for Juliet.
Click any of the images below to go through to my post about testing that particular pattern:

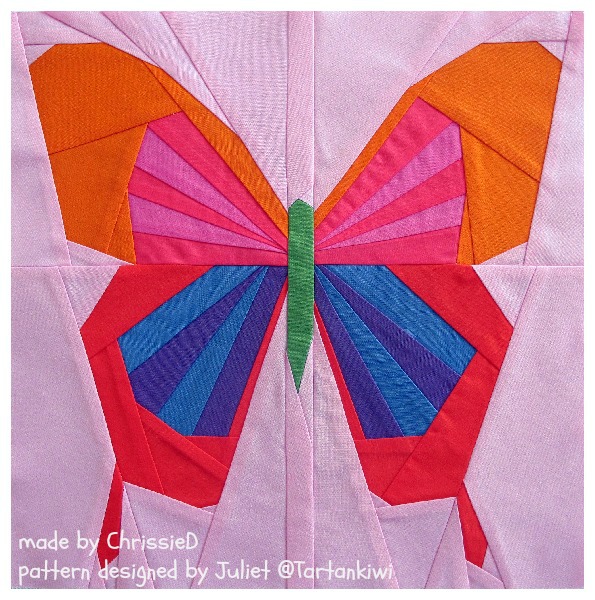
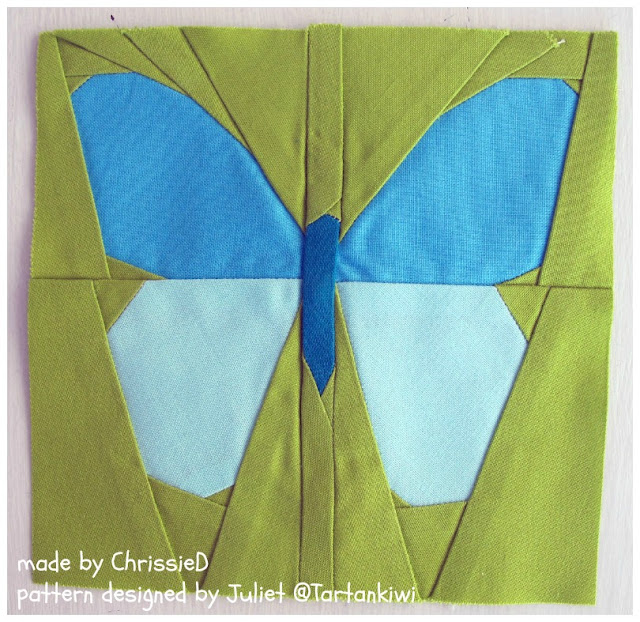
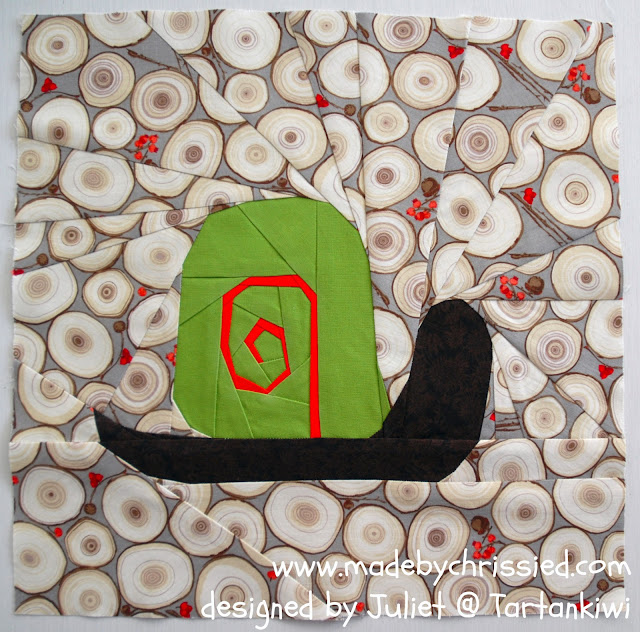
The Tartankiwi FPP Pattern Testing by www.madebyChrissieD.com The Tartankiwi FPP Pattern Testing by www.madebyChrissieD.com The Tartankiwi FPP Pattern Testing by www.madebyChrissieD.com
The Tartankiwi FPP Pattern Testing by www.madebyChrissieD.comThe Tartankiwi FPP Pattern Testing by www.madebyChrissieD.com The Tartankiwi FPP Pattern Testing by www.madebyChrissieD.com
The Tartankiwi FPP Pattern Testing by www.madebyChrissieD.comThe Tartankiwi FPP Pattern Testing by www.madebyChrissieD.com The Tartankiwi FPP Pattern Testing by www.madebyChrissieD.com The Tartankiwi FPP Pattern Testing by www.madebyChrissieD.com

Clicking on an image will take you to a new page of crafty goodness :)


Disclosure: 
This post contains a Craftsy affiliate banner for which I am paid commission on click-through purchases. Otherwise, no payment or commission is received for click-throughs to shared links; the post is for informational purposes only and all opinions are my own.

Copyright: 
Uncredited reproduction of all content, text and images on this site is prohibited.
All content, text and images must be credited to Chris Dodsley @made by ChrissieD and include a link back to this site.

Protected by Copyscape


Linky Parties This post may be linked to some great Linky Parties, always a great source of inspiration too. If you click through to my 'Fave Linky Parties' page you can see where I like to share my work.

Online Quilting Class

Tuesday, 19 August 2014

Fabric Cut Out Art - NYC Metro MQG Bee Block June 2014


The start of another year for my NYC Metro Mod Quilt Guild Bee - we took a break for May then in June Queen Bee Earamichia started us off again for another round with a couple of new Bees on board.

Our packages included a square of charcoal grey solid cotton and some black Misty Fuse.  Queen Bee E asked us to create a Fabric Cut Out Art Block based on Silhouettes and Scratch Art - remember when you were young and you'd colour a rainbow with crayons then cover the whole piece with thick black crayon then scratch away a picture into the black crayon to reveal the rainbow of colour beneath? - I loved doing that.


I quickly set about fusing the Misty Fuse to the back of the charcoal grey solid and then I thought and thought about what design to make.  In fact, in between my travels I've thought about this block for 2 months and finally settled on my design this week. 

If you haven't used Misty Fuse before you might want to read this helpful Tip Sheet written by artist/author/teacher Sue Bleiweiss, she's got some great Misty Fuse project tutes here on her blog too.


I cut the solid down to a 10" square and sketched out this peacock feather using white chalk.


I carefully cut out the feather and border design.


Here's strips of 'peacock' colours I pulled from my scrap boxes.


Queen Bee E asked us to create a background block that's 3" on all sides larger than the cut out block so I cut out a 16" square of paper and starting sewing the strips onto it ...


then pressing each strip open ...


and cutting away the excess.


 And the finished square looked like this.


Time to place the Feather and Frame on the block, Misty Fuse side down. I marked 3" in from each block edge and lined the frame edges up with it then ironed to fuse the pieces together and fix the design in place.


The finished block from the left ...


and the right ...


I'm really pleased with the finished block though I'm intrigued as to how Queen Bee E is going to quilt all the blocks and hold the fused designs permanently in place. As and when I find out I'll let you know!


As always you can check out all the blocks that our Bee make for E on my Quilty - Fabric Cut Out Art Block Pinterest Board - I'll add more pins as each person in the Bee posts photos of their finished blocks and you can see my NYC Mod Quilt Guild Post here too.


And you can click this link to see all of my NYC Mod Quilt Guild Bee Blocks and Challenge Blocks/Quilts.


Follow on Bloglovin