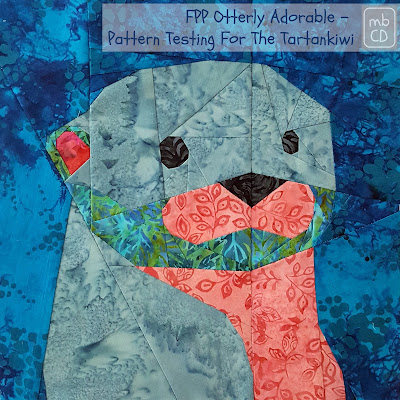
So excited last week when Juliet @The Tartankiwi asked me to pattern test this cute and totally gorgeous Otter FPP pattern.
I'll start with my usual intro to foundation paper piecing (FPP) for newbies - jump in and have a go and you'll soon get the hang of it and love the results. As always, I'm quick to share that not all FPP patterns are equal. There's a lot to be said for a well-designed pattern, it makes life soooo much easier for the sewist and produces fabulous results and, for me, Juliet is the Queen of FPP design and her patterns are thoroughly tested before they are made available to purchase.
OTTERLY ADORABLE
FPP PATTERN TESTING FOR THE TARTANKIWI
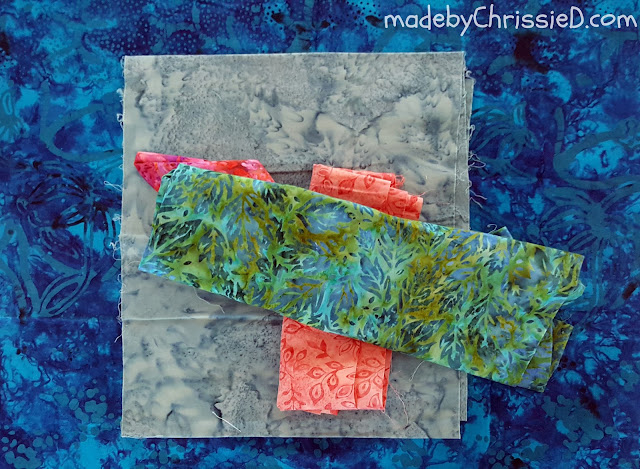
Juliet's design calls for 6 fabrics, of course, you can change that if you want. I've already made two animal head pattern testing blocks for Juliet using batiks so I want to continue using them in the hope of one day having enough blocks to make a quilt top.
This is my batik pull for this pattern.
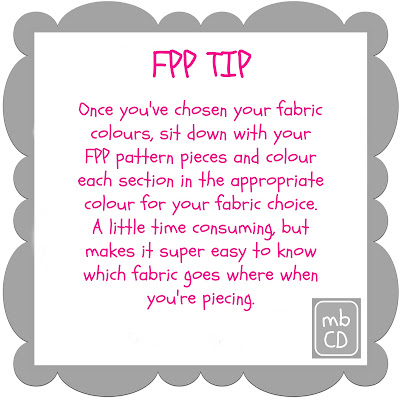
Once I'd chosen my colours, I sat down with my FPP pattern pieces and coloured them in the appropriate colour ways. This makes it super easy to know which fabric goes where when you're piecing.
This is my batik pull for this pattern.

Once I'd chosen my colours, I sat down with my FPP pattern pieces and coloured them in the appropriate colour ways. This makes it super easy to know which fabric goes where when you're piecing.
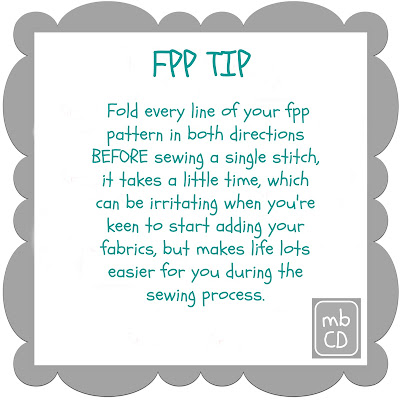
Once my pieces were coloured, I then folded every line on the pattern in both directions (towards me and away from me). It's so much easier at this stage than when you start sewing fabric to the paper as the paper knows exactly where you want it to fold when you come to trim your 1/4" seams.
If you don't already have one, I highly recommend you invest in an Add A Quarter ruler by CM Designs - it's the best tool out there for all your FPP work (affiliate link).

I started with the simple pieces with only a couple of fabric seams, this way you can get into the process and rhythm easily and quickly feel like you're accomplishing something fast.




Have you tried FPP? If not have I inspired you to give it a go!? If you have, have you sewn up one of Juliet's patterns? Don't you agree they're the best? Let me know in the comments 😊
Disclosure: I do not receive payment from Juliet @TheTartankiwi for testing her patterns, nor do I receive a commission on any patterns sold via her Etsy store or any other sales method. This post is purely informational and of no direct benefit, monetary or otherwise, to me.
Uncredited reproduction of all content, text and images on this site is prohibited.
All content, text and images must be credited to Chris Dodsley @made by ChrissieD and include a link back to this site.

Linky Parties This post may be linked to some great Linky Parties, always a great source of inspiration too. If you click through to my 'Fave Linky Parties' page you can see where I like to share my work.
If you don't already have one, I highly recommend you invest in an Add A Quarter ruler by CM Designs - it's the best tool out there for all your FPP work (affiliate link).


I started with the simple pieces with only a couple of fabric seams, this way you can get into the process and rhythm easily and quickly feel like you're accomplishing something fast.
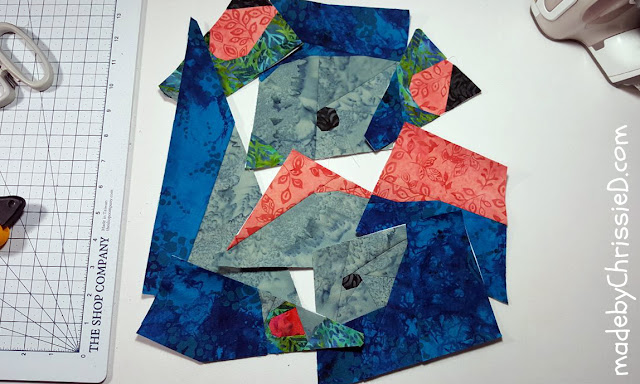
Here are all the pieces complete.
I love the magic feeling when you lay the pieces out in the correct order and get a glimpse at how your work will look finished.
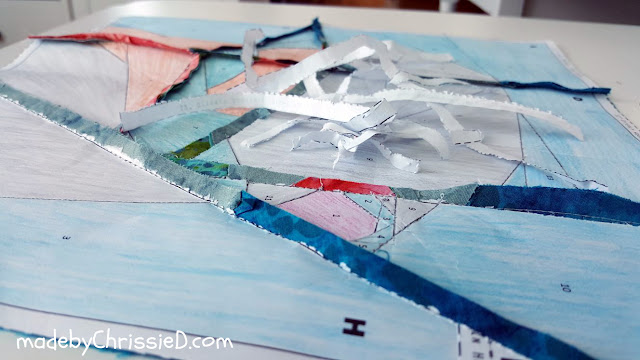
After joining the paper pieced sections this is how the back looked. I removed the paper along each seam to allow me to press the seams to my chosen side.
I pressed the seams so that the nose and snout sections would stand forward from the head and so the body sections would sit back from the head. I like how this brings the otter to life.
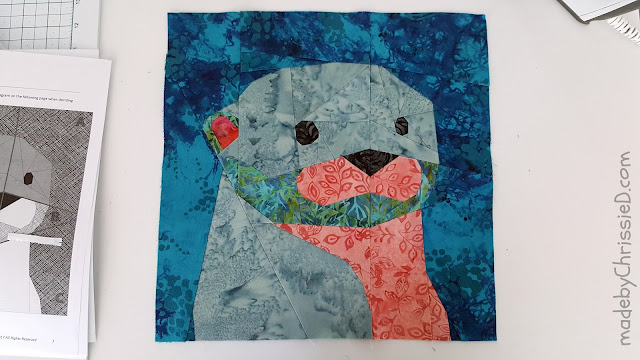
And here he is, I totally love him, he really is Otterly Adorable.
He is a right facing, 12" square finish and the pattern includes 9" and 12", right and left facing versions.
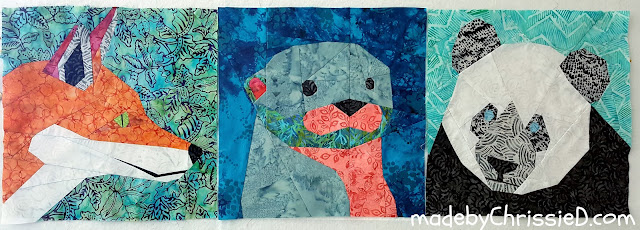
And this is how he looks on my design wall, alongside the fox and panda FPP blocks I've previously tested for Juliet.
The Otterly Adorable pattern isn't available to purchase just yet - when it is, I'll pop a link to it in my mbCD newsletter. Don't want to miss it? Subscribe by clicking this button.
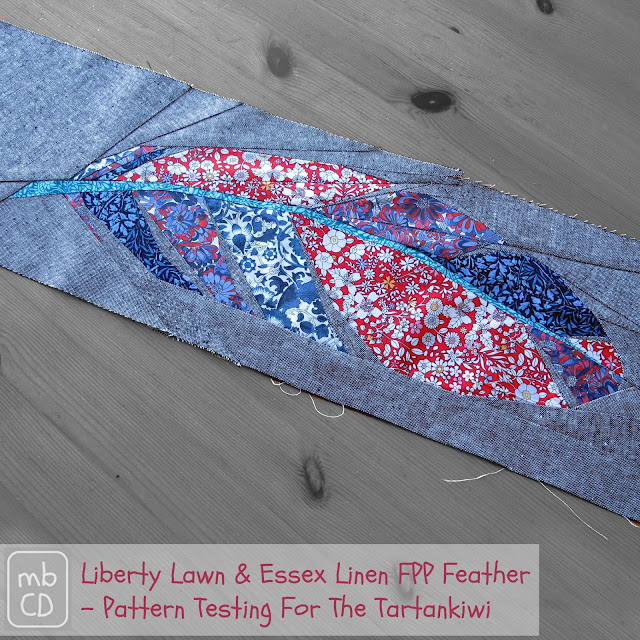
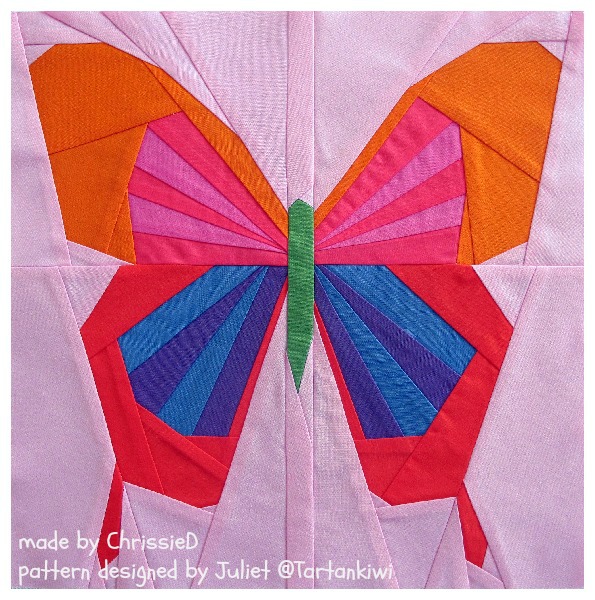
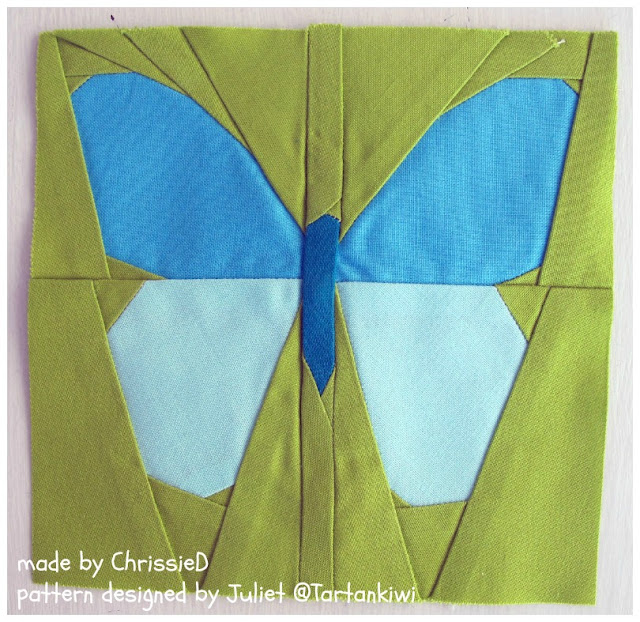
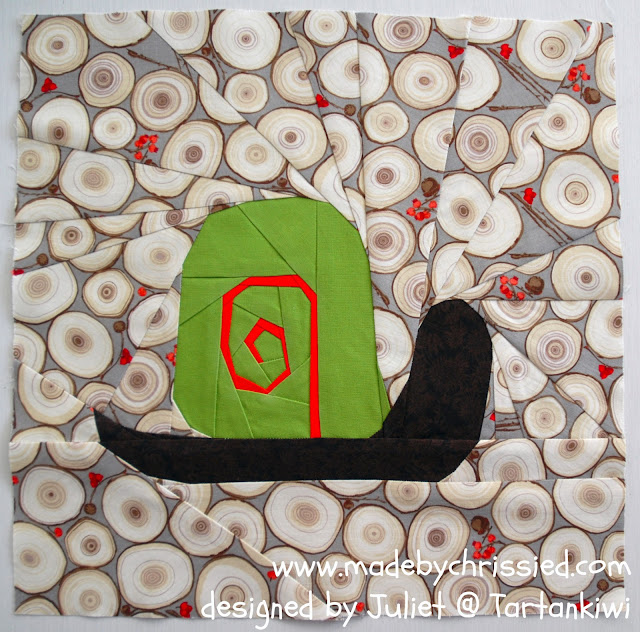
In the meantime take further inspiration from the other fpp patterns I've tested for Juliet previously:
Click any of the images below to go through to my post about testing that particular pattern:


Have you tried FPP? If not have I inspired you to give it a go!? If you have, have you sewn up one of Juliet's patterns? Don't you agree they're the best? Let me know in the comments 😊
OTTERLY ADORABLE
FPP PATTERN TESTING FOR THE TARTANKIWI

Clicking on an image will take you to a new page of crafty goodness :)
Disclosure:
This post contains Amazon and Craftsy affiliate links for which I am paid commission on click-through purchases (at no additional cost to you). Otherwise, no payment or commission is received for click-throughs to shared links; the post is for informational purposes only and all opinions are my own.
Copyright:

Linky Parties This post may be linked to some great Linky Parties, always a great source of inspiration too. If you click through to my 'Fave Linky Parties' page you can see where I like to share my work.








He's lovely Chris, his left facing companion is on my sewing machine waiting to be worked on today!
ReplyDeleteHe is adorable! And great choice of colours.
ReplyDeleteHe's so cute. You need a left facing one so you would have a cute couple.
ReplyDeleteThat is adorable!!!! I have never thought of coloring my pieces before hand, but that would make it so much easier.
ReplyDeleteAdorable!
ReplyDeleteOh isn't he sweet! What a gorgeous pattern!
ReplyDeleteHe is so cute! Love the colors you chose.
ReplyDeleteThis looks really amazing! :) I love the fabrics you've chosen for this project.
ReplyDeleteWow!! That is beautiful!! Your fabric colors are awesome!! Makes me what to go sew tonight!! Thanks for sharing at #HomeMattersParty hope you will join us again on Friday.
ReplyDelete