teaching sewing confidence, tip by tip
Showing posts with label nesting seams. Show all posts

Saturday, 23 July 2016

Pressing Seams Open Or To The Side - Pros & Cons Revealed

Pressing-Seams-Open-Or-To-The-Side-Pros-And-Cons

In class, my students frequently ask me what method I use when pressing my seams - open or to the side.  My answer is always the same - I use both methods.  I decide which method to use depending on the following list of pros and cons and the outcome that best suits my working project.

Tuesday, 15 April 2014

Single Irish Chain Block Tute: My April 2014 NYC MQG Bee Block

Single Irish Chain Block Tute by www.madebyChrissieD.com

Maren is the final Bee Block of the Bee year and April's NYC Mod Guild Queen Bee. Her fabric selection is Treasure - Patience from the Wish Collection by Valori Wells for Free Spirit. A yummy raspberry pink solid. She's chosen a Single Irish Chain block for us to make.

Single Irish Chain Block Tute by www.madebyChrissieD.com

If you'd like to have a go at making the block yourself, here's my photo tutorial

Single Irish Chain Block Tute

Cut 4 of 2.5" x 4.5" rectangles (shown floral)
4 of 2.5" x 8.5" rectangles (shown floral)
1 of 4.5" square (shown solid)
8 of 2.5" squares (shown solid)

Single Irish Chain Block Tute by www.madebyChrissieD.com

Layout design as shown below

Single Irish Chain Block Tute by www.madebyChrissieD.com

Sew each of the centre rows and the two outer columns of squares together using a scant 1/4" seam. Follow me in the photos below, noting how I've separated the pieces and moving on with me through each image, joining the seams as shown. Wait to press your seams - we'll talk about that when we're further ahead with the sewing.

Let's start with the centre section.
Single Irish Chain Block Tute by www.madebyChrissieD.com

Now, those side columns.

Single Irish Chain Block Tute by www.madebyChrissieD.com

As you can see above, the 3 sections are coming together, so let's look at the back to see how I've pressed each seam. I've alternated the direction of each row so I can nest my seams together in the next stage and create perfect seam joints - you can read more about pressing seams in my Pros + Cons of Pressing Open Or To The Side post. If you need help to nest your seams, you can learn how to do it here in my How To Nest Seams tute.

Pressing Seams Open Or To The Side by www.madebyChrissieD.com How To Nest Seams by www.madebyChrissieD.com

Single Irish Chain Block Tute by www.madebyChrissieD.com

Now, back to the sewing. Again, use a scant 1/4" seam to join the rows of the centre section, as shown in the photos below.

Single Irish Chain Block Tute by www.madebyChrissieD.com

Time to check the direction of those pressed seams.

Single Irish Chain Block Tute by www.madebyChrissieD.com

Then, join the side columns to the centre section.

Single Irish Chain Block Tute by www.madebyChrissieD.com

And here's your finished block with perfect seam joints.
Unfinished size 12.5" square/Finished size 12" square.

Single Irish Chain Block Tute by www.madebyChrissieD.com

And a final look at the back seams.

Single Irish Chain Block Tute by www.madebyChrissieD.com

And the last look at that block. In this photo below, you can see the 3D effect that we've given the block just by the direction we pressed the seams - the centre block is the highest, and the outermost perimeter blocks are the lowest. Maren's colour choices have made this more evident with a strong, warm raspberry that comes towards you while the cooler grey floral sits well back.

TIP:  You can use this visual receding and advancing achieved through colour and seam pressing in all blocks to create different effects in your quilt design.

Single Irish Chain Block Tute by www.madebyChrissieD.com

As always, you can check out all the blocks that our Bee makes for Maren on my Quilty - Single Irish Chain Block Pinterest Board - I'll add more pins as each person in the Bee posts photos of their finished blocks, and you can see my NYC Mod Quilt Guild Post here too.

Single Irish Chain Block Tute

Single Irish Chain Block Tute by www.madebyChrissieD.com


Featured on:
Inspired Us Thursdays: Sew Needle Stitch Hook, a link party of fiber arts. | The Inspired Wren

Clicking on an image will take you to a new page of crafty goodness :)

Disclosure: 
This post contains Amazon affiliate links for which I am compensated on click-through purchases (at no additional cost to you). Otherwise, the post is for informational purposes only; all opinions are mine.

Copyright: 
Uncredited reproduction of this site's content, text and images is prohibited.
 All content, text, and images must be credited to Chris Dodsley @made by ChrissieD and include a link to this site.

Protected by Copyscape


Thursday, 10 April 2014

HST X Block Tute: My March 2014 NYC MQG Bee Block


March's NYC Mod Guild Queen Bee is Hayden, and she sent this gorgeous pack of fabrics for us to make her large HST X Block.


If you'd like to have a go at making the block yourself, here's my tutorial

Cut 9 - 5" x 5" squares in background fabric (shown white)


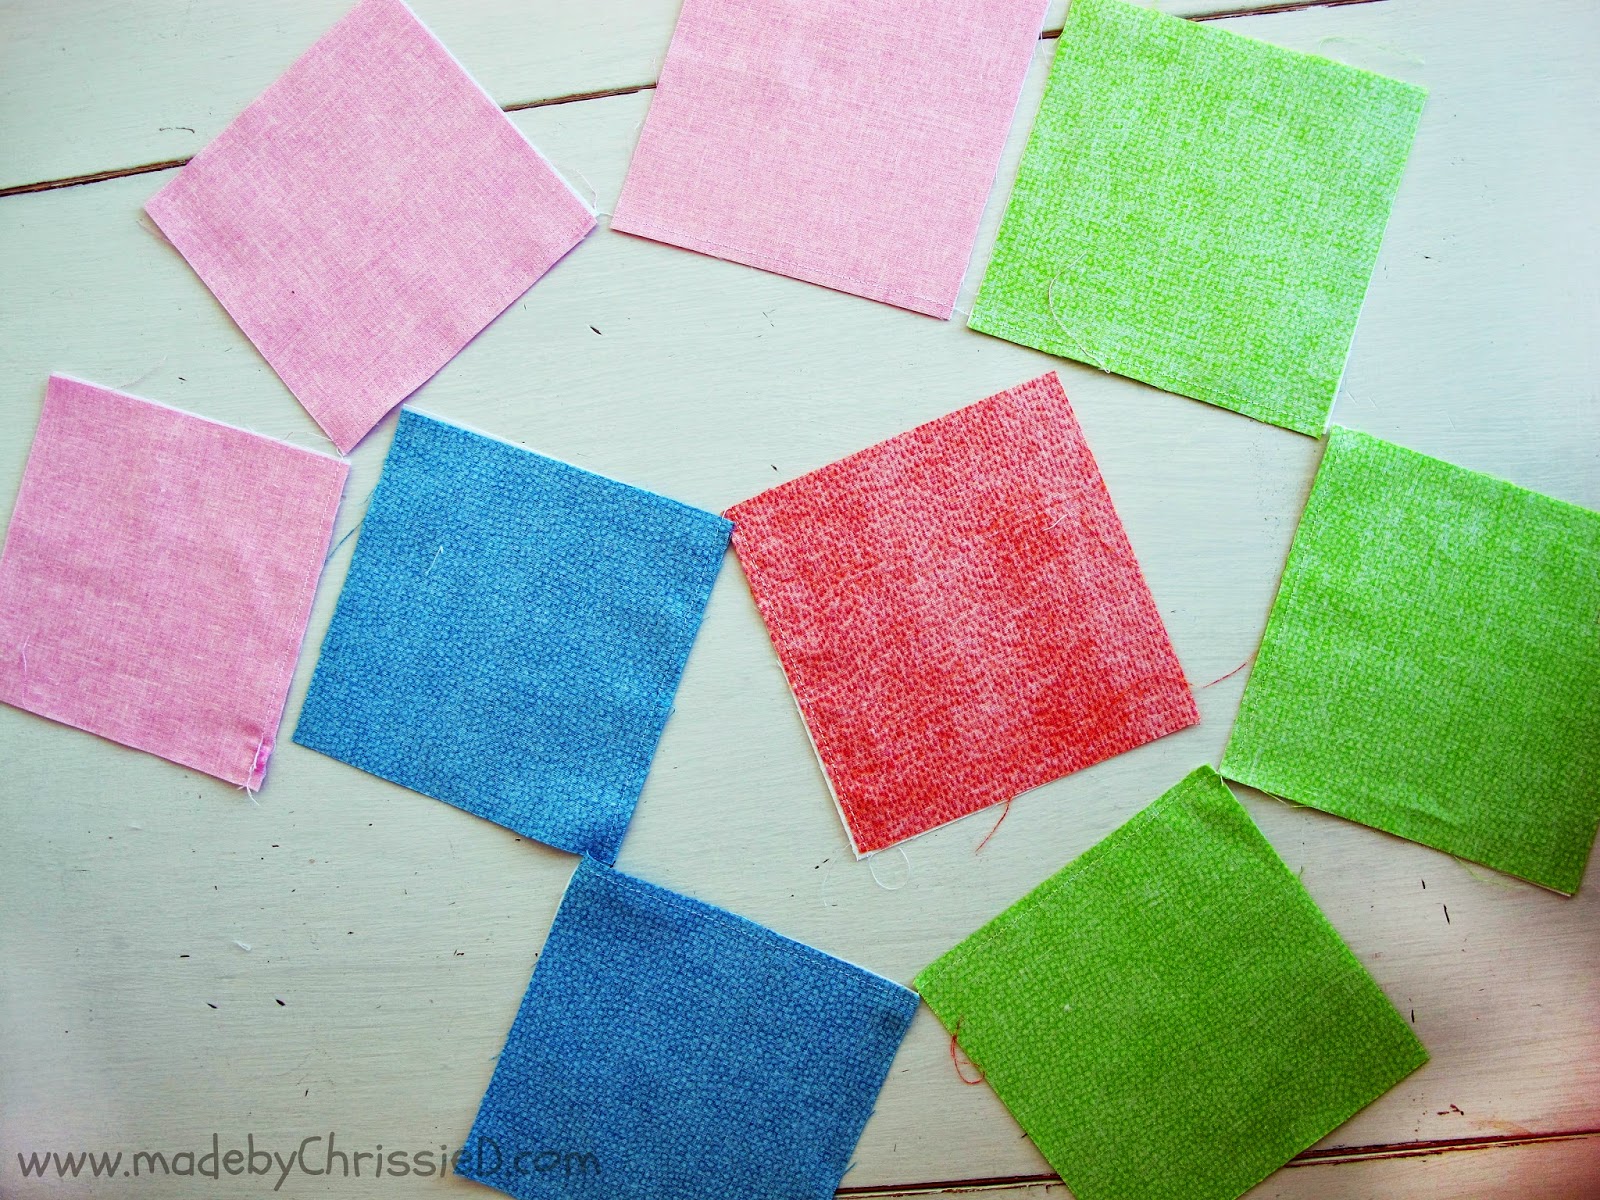
Cut 9 more 5" x 5" squares from 4 colours and the combinations shown here (1/2/3/3) shown in the picture below.


Place one white square right side together with each of the coloured squares.


Chain stitch a scant 1/4" seam along one edge of each fabric block pair.


This is how your chained pieces will look.


Snip the threads that join each of your squares


Continue to chain piece and sew a scant 1/4" seam along all 4 sides of each pair.


You're creating 9 blocks that are entirely sewn right sides together like the one below.


Cut diagonally across each block.


And then cut across the opposite diagonal.


You'll then have 4 x 2 layer triangles like the 4 below.


Create a pile of triangles from all 9 blocks just like this one.


Press the triangles closed to set the stitches, then press each triangle open to create 36 HST squares. See my update note below about pressing seams open or to the side.


Trim your HST blocks down to 3" squares using your 45-degree line on your ruler along the diagonal seam, OR you can use a Bloc-Loc as I am in the photos below - a rotating cutting mat makes life easier too. If you haven't used a Bloc-Loc or rotating cutting mat, you can check out my separate tute here.

Update at 17 April 2014:

You need to press your seams to the side if you want to use a Bloc-Loc; if you're an open seam presser, then I'm afraid the Bloc-Loc won't work for you :(


I didn't have a 3" Bloc-Loc, so you'll notice that I'm using a 3.5" one and sliding it along the diagonal seam to the 3" mark. This is something new that I've tried, and it works perfectly and easily, which means you don't need to buy a whole selection of Bloc-Loc sizes; you can just buy one large Bloc-Loc and use it for any size square. You can read my original tute on using a Bloc-Loc to make HSTs here.


Trim the side and bottom edge (above), then
slide the Bloc-Loc down to the 3" mark and trim the other two edges (below)


A perfect 3" block.


36 perfect 3" blocks and lots of trimmed edges.


Now lay out your HSTs in the X Block design as shown below.


Sew each row of squares together using a scant 1/4" seam.


This is how the back will look with all the seams pointing upwards.


You can see better how they're all pointing up in this photo.


Iron each row's seams opposite to the rows on either side, as shown below.


Now, it's time to sew each row together, nesting your seams to create perfectly aligned seam joints. If you're unsure how to nest your seams, you can learn how to do it here in my Easy Scrappy Nine Patch Tute. 


Press all your seams to one side, press the front seams cleanly open and here's your completed block.


And the back should look something like this.


Unfinished size 15.5" square/Finished size 15" square


As always, you can check out all the blocks that our Bee makes for Hayden on my Quilty - HST X Block Pinterest Board - I'll add more pins as each person in the Bee posts photos of their finished blocks, and you can see my NYC Mod Quilt Guild Post here too.

Featured on:
 

Clicking on an image will take you to a new page of crafty goodness :)

Disclosure: 
This post contains Amazon and Craftsy affiliate links for which I am paid compensation on click-through purchases (at no additional cost to you). Otherwise, the post is for informational purposes only, and all opinions are my own.

Copyright: 
Uncredited reproduction of all content, text and images on this site is prohibited.
All content, text and images must be credited to Chris Dodsley @made by ChrissieD and include a link back to this site.

Protected by Copyscape