teaching sewing confidence, tip by tip
Showing posts with label HST. Show all posts

Wednesday, 4 April 2018

Free Tute - HST Spinning 9 Inch Block {Scavenger Hunt BOM}

HST Spinning 9 Inch Block - Free Tute by www.madebyChrissieD.com

If you're taking part in the IAQ Scavanger Hunt BOM, hi, and yes, you've found your April block.

What do you say we let everyone else in on what's going on?! 
Throughout 2018 the International Association of Quilters (IAQ) are running a Scavenger Hunt BOM.  On the first Wednesday of each month, the Guest Designer for the month releases a 9" (finished) block.

Tuesday, 25 November 2014

Giant HST Quilt Tutorial - (AKA My Turn To Be Queen Bee)


Hard to believe it's almost December again and that means it's my turn to be Queen Bee in our NYC Metro Mod Quilt Guild Bee.

When my daughter Flicky went off to uni she took her quilt with her (My Very First Ever Quilt) so I want to replace it for her trips home and I'm asking my Bee friends to help me.

My inspiration is this 3.5'  x 3.5'  box framed copy of Warhol's Marilyn Monroe hanging in our apartment over Flicky's bed.


I want a quilt that’s abstract, bold and bright so I've designed this Giant HST quilt.  At this extra busy time of year, I like to make my Bee Blocks super quick and easy and it really doesn't come much easier than HSTs plus they have such great impact.


I’ve sent everyone a fat quarter (fq) of Charcoal Kona Solid and asked them to add a fq from their given colour group to make me two giant HST blocks.  Colours are divided into four groups so I’ll hopefully receive blocks across the full-colour range and not 22 blocks of one colour!

Bee Members are to choose a colour from their colour group:
Group 1: Red/Orange/Yellow - Earamichia/Judith/Kim
Group 2: Pink/Purple – Andrea/Maria/Rossanna
Group 3: Lime/Green/Turquoise – Brian/Ariana/Maren
Group 4: Blue/Aqua – Emily N/Emily K

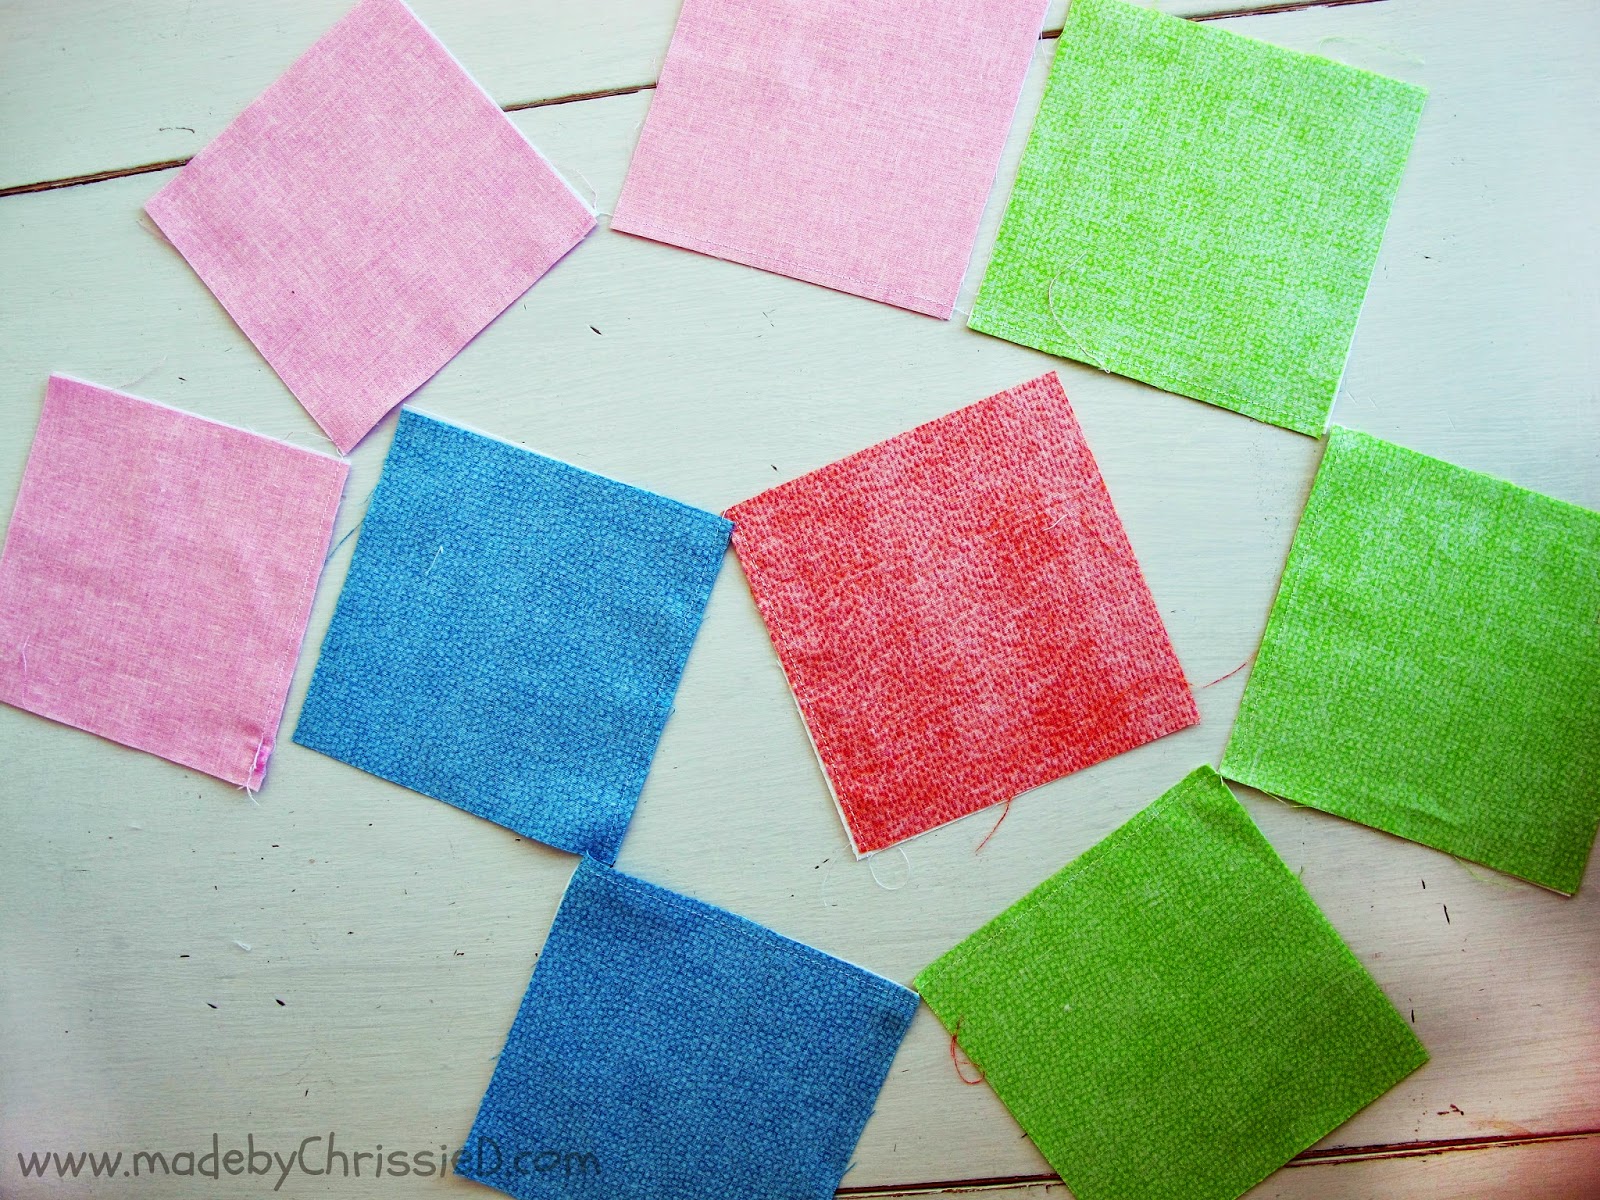
I've asked everyone to keep fabric colours rich – I’m looking for saturation and intense colour and brightness within these colour palettes.  They can use solids or tone on tone prints – brights with an intensity of colour, trying not to use pastels or white.  I’ve used a tiny amount of white in a handful of my sample blocks but the overall feel of these fabrics is still of vibrant colour and the white isn’t the main player.

I also want seams pressed open (so the finished blocks will lie as flat as possible) and blocks returned to me untrimmed.


If you've stuck with me this far you might be looking for the tute here it is!!!

Giant HST Quilt Tutorial


Materials:
For my quilt Kona Solid Charcoal is the 'main' fabric used in every HST block then I've used a selection of brights.  For each block, you'll need 2 fqs - 1 x main and 1 x bright.

To make this 36 x HST square quilt top you'll need:
 4.5 yds main fabric and 18 bright fqs (equivalent to 4.5 yds)
The finished quilt top size will be 96" x 96".


Making The Blocks:
Cut your main fq and your bright fq down to two 17.5” square blocks.  This is a slightly larger square than you need to make a 16.5" finished HST block but cutting at 17.5" is visually easier and will give extra wiggle room when trimming down to size, by all means cut smaller if you're confident in your cutting and sewing.


I'm cutting through 3 layers at a time here as you can see above.


To cut my 17.5" squares I've lined up my 12.5" square ruler along it's 11.5" line and then placed my long 6" wide ruler next to it - giving me a 17.5" line. 


Above you can see how I've used the 11.5" line of the ruler along the edge of the fabric.


Draw a pencil line across one diagonal of the 17.5" square.  If your ruler isn't long enough then use another ruler to extend fully across the fabric as I have above.


Place the two fat quarters right sides together (consider the drawn line to be the ‘wrong’ side of your main fabric block).


Sew a ¼” seam on one side of your drawn line using your drawn line as your guide.


Then repeat a 1/4" sewn seam on the other side of the drawn line.


This is how your sewn blocks will look with two parallel lines of stitching.


Cut along your drawn line to create 2 giant HSTs.


Press seams open to create a flatter block and subsequent smoother quilt finish for this modern quilt.


Trim blocks down to 16.5" squares.


Below is a photo of the blocks I've made - I need 36 blocks in total and my fellow Bees will be making me 22 (hopefully!) so I've made 14 blocks myself to finish the quilt.


Completing The Quilt Top:
Joining the blocks - use a 1/4" seam to join all blocks in a row, then join all rows to form the quilt top.  Pay particular attention to the seams, nesting and pinning as necessary to ensure accurate seam joints - (see my Easy Scrappy Nine Patches tute to learn how to nest seams).  Press seams open.


As always you can check out all the blocks that our Bee make for my Giant HST Quilt on my Quilty - Giant HST Block Pinterest Board - I'll add more pins as each person in the Bee posts photos of their finished blocks and you can see my NYC Mod Quilt Guild post here too.


Clicking on an image will take you to through to the new page of crafty goodness :)


Disclaimer: This post is for informational purposes only, no payment or commission is received on click-throughs and opinions are my own.


Thursday, 10 April 2014

HST X Block Tute: My March 2014 NYC MQG Bee Block


March's NYC Mod Guild Queen Bee is Hayden, and she sent this gorgeous pack of fabrics for us to make her large HST X Block.


If you'd like to have a go at making the block yourself, here's my tutorial

Cut 9 - 5" x 5" squares in background fabric (shown white)


Cut 9 more 5" x 5" squares from 4 colours and the combinations shown here (1/2/3/3) shown in the picture below.


Place one white square right side together with each of the coloured squares.


Chain stitch a scant 1/4" seam along one edge of each fabric block pair.


This is how your chained pieces will look.


Snip the threads that join each of your squares


Continue to chain piece and sew a scant 1/4" seam along all 4 sides of each pair.


You're creating 9 blocks that are entirely sewn right sides together like the one below.


Cut diagonally across each block.


And then cut across the opposite diagonal.


You'll then have 4 x 2 layer triangles like the 4 below.


Create a pile of triangles from all 9 blocks just like this one.


Press the triangles closed to set the stitches, then press each triangle open to create 36 HST squares. See my update note below about pressing seams open or to the side.


Trim your HST blocks down to 3" squares using your 45-degree line on your ruler along the diagonal seam, OR you can use a Bloc-Loc as I am in the photos below - a rotating cutting mat makes life easier too. If you haven't used a Bloc-Loc or rotating cutting mat, you can check out my separate tute here.

Update at 17 April 2014:

You need to press your seams to the side if you want to use a Bloc-Loc; if you're an open seam presser, then I'm afraid the Bloc-Loc won't work for you :(


I didn't have a 3" Bloc-Loc, so you'll notice that I'm using a 3.5" one and sliding it along the diagonal seam to the 3" mark. This is something new that I've tried, and it works perfectly and easily, which means you don't need to buy a whole selection of Bloc-Loc sizes; you can just buy one large Bloc-Loc and use it for any size square. You can read my original tute on using a Bloc-Loc to make HSTs here.


Trim the side and bottom edge (above), then
slide the Bloc-Loc down to the 3" mark and trim the other two edges (below)


A perfect 3" block.


36 perfect 3" blocks and lots of trimmed edges.


Now lay out your HSTs in the X Block design as shown below.


Sew each row of squares together using a scant 1/4" seam.


This is how the back will look with all the seams pointing upwards.


You can see better how they're all pointing up in this photo.


Iron each row's seams opposite to the rows on either side, as shown below.


Now, it's time to sew each row together, nesting your seams to create perfectly aligned seam joints. If you're unsure how to nest your seams, you can learn how to do it here in my Easy Scrappy Nine Patch Tute. 


Press all your seams to one side, press the front seams cleanly open and here's your completed block.


And the back should look something like this.


Unfinished size 15.5" square/Finished size 15" square


As always, you can check out all the blocks that our Bee makes for Hayden on my Quilty - HST X Block Pinterest Board - I'll add more pins as each person in the Bee posts photos of their finished blocks, and you can see my NYC Mod Quilt Guild Post here too.

Featured on:
 

Clicking on an image will take you to a new page of crafty goodness :)

Disclosure: 
This post contains Amazon and Craftsy affiliate links for which I am paid compensation on click-through purchases (at no additional cost to you). Otherwise, the post is for informational purposes only, and all opinions are my own.

Copyright: 
Uncredited reproduction of all content, text and images on this site is prohibited.
All content, text and images must be credited to Chris Dodsley @made by ChrissieD and include a link back to this site.

Protected by Copyscape