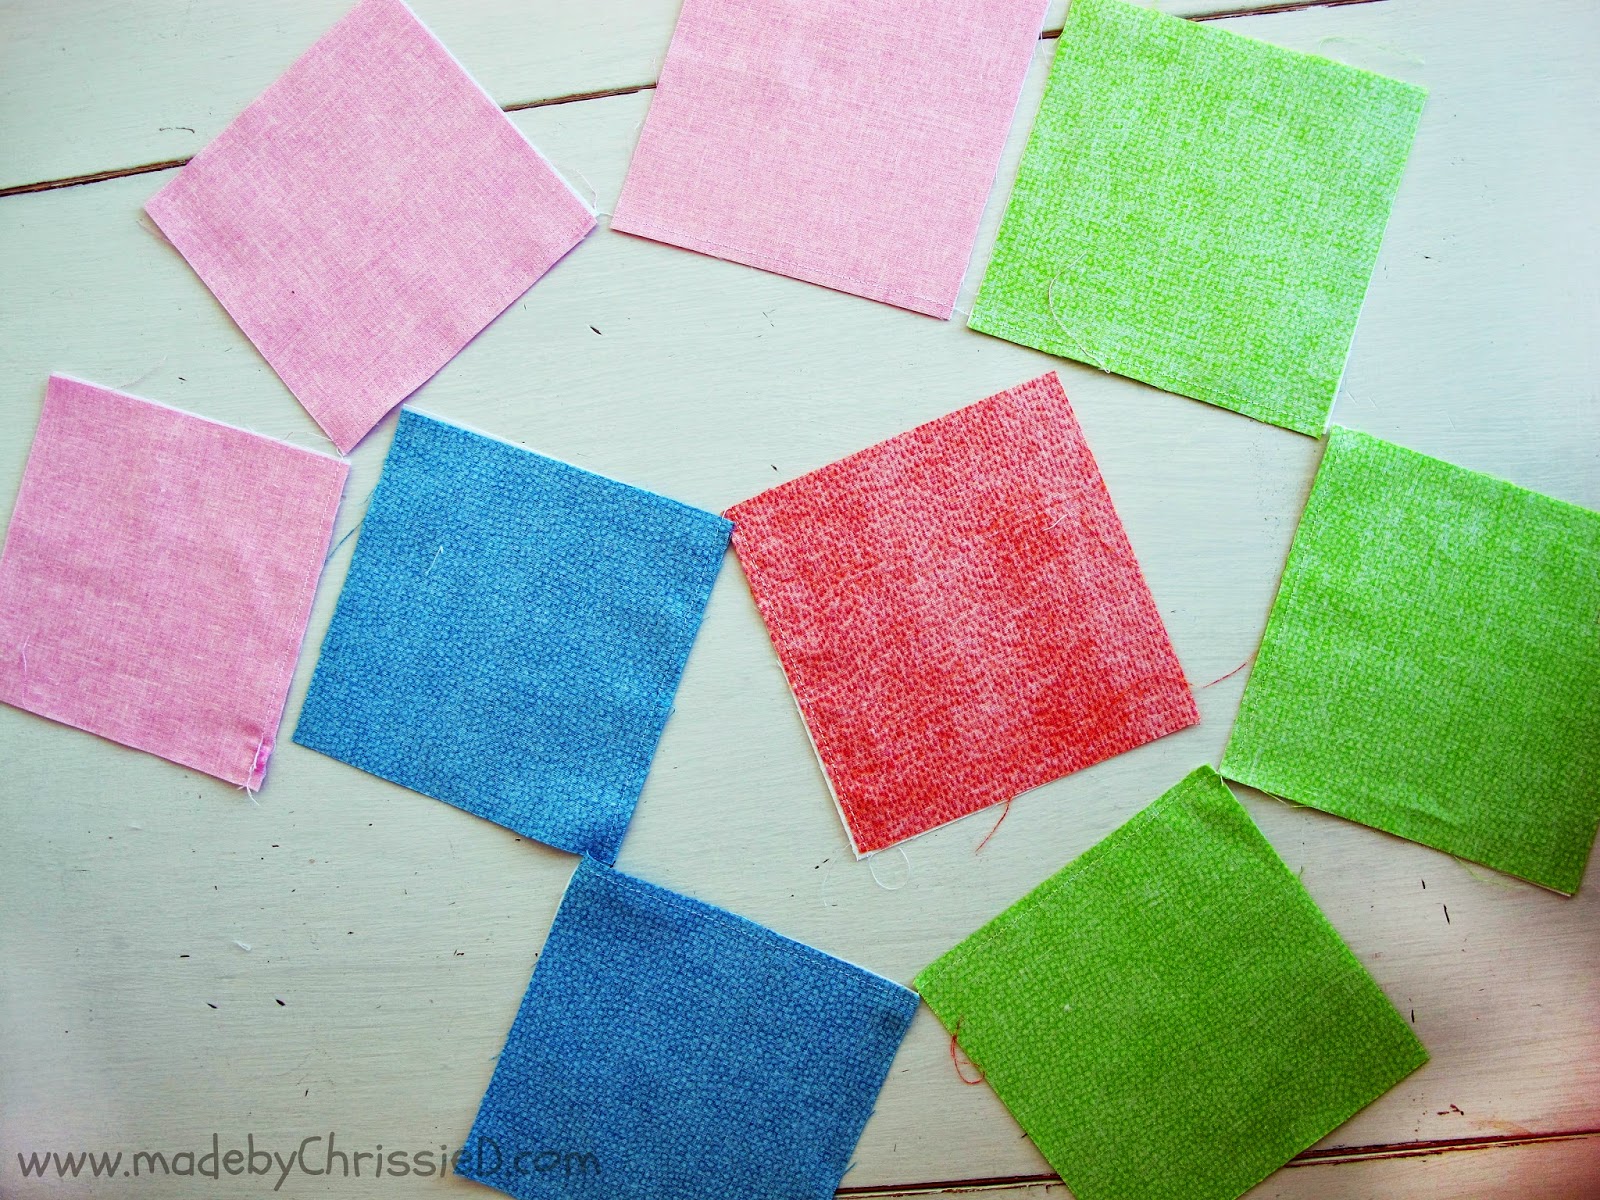
March's NYC Mod Guild Queen Bee is Hayden, and she sent this gorgeous pack of fabrics for us to make her large HST X Block.
If you'd like to have a go at making the block yourself, here's my tutorial
Cut 9 - 5" x 5" squares in background fabric (shown white)
Cut 9 more 5" x 5" squares from 4 colours and the combinations shown here (1/2/3/3) shown in the picture below.
Place one white square right side together with each of the coloured squares.
Chain stitch a scant 1/4" seam along one edge of each fabric block pair.
This is how your chained pieces will look.
Snip the threads that join each of your squares
You're creating 9 blocks that are entirely sewn right sides together like the one below.
Cut diagonally across each block.
And then cut across the opposite diagonal.
You'll then have 4 x 2 layer triangles like the 4 below.
Create a pile of triangles from all 9 blocks just like this one.
Press the triangles closed to set the stitches, then press each triangle open to create 36 HST squares. See my update note below about pressing seams open or to the side.
Trim your HST blocks down to 3" squares using your 45-degree line on your ruler along the diagonal seam, OR you can use a Bloc-Loc as I am in the photos below - a rotating cutting mat makes life easier too. If you haven't used a Bloc-Loc or rotating cutting mat, you can check out my separate tute here.
Update at 17 April 2014:
You need to press your seams to the side if you want to use a Bloc-Loc; if you're an open seam presser, then I'm afraid the Bloc-Loc won't work for you :(
I didn't have a 3" Bloc-Loc, so you'll notice that I'm using a 3.5" one and sliding it along the diagonal seam to the 3" mark. This is something new that I've tried, and it works perfectly and easily, which means you don't need to buy a whole selection of Bloc-Loc sizes; you can just buy one large Bloc-Loc and use it for any size square. You can read my original tute on using a Bloc-Loc to make HSTs here.
Trim the side and bottom edge (above), then
slide the Bloc-Loc down to the 3" mark and trim the other two edges (below)
A perfect 3" block.
36 perfect 3" blocks and lots of trimmed edges.
Now lay out your HSTs in the X Block design as shown below.
Sew each row of squares together using a scant 1/4" seam.
This is how the back will look with all the seams pointing upwards.
You can see better how they're all pointing up in this photo.
Iron each row's seams opposite to the rows on either side, as shown below.
Now, it's time to sew each row together, nesting your seams to create perfectly aligned seam joints. If you're unsure how to nest your seams, you can learn how to do it here in my Easy Scrappy Nine Patch Tute.
Press all your seams to one side, press the front seams cleanly open and here's your completed block.
And the back should look something like this.
Unfinished size 15.5" square/Finished size 15" square
As always, you can check out all the blocks that our Bee makes for Hayden on my Quilty - HST X Block Pinterest Board - I'll add more pins as each person in the Bee posts photos of their finished blocks, and you can see my NYC Mod Quilt Guild Post here too.


Clicking on an image will take you to a new page of crafty goodness :)
Disclosure:
This post contains Amazon and Craftsy affiliate links for which I am paid compensation on click-through purchases (at no additional cost to you). Otherwise, the post is for informational purposes only, and all opinions are my own.
Copyright:


