

March's NYC Mod Guild Queen Bee is Hayden, and she sent this gorgeous pack of fabrics for us to make her large HST X Block.

If you'd like to have a go at making the block yourself, here's my tutorial
Cut 9 - 5" x 5" squares in background fabric (shown white)

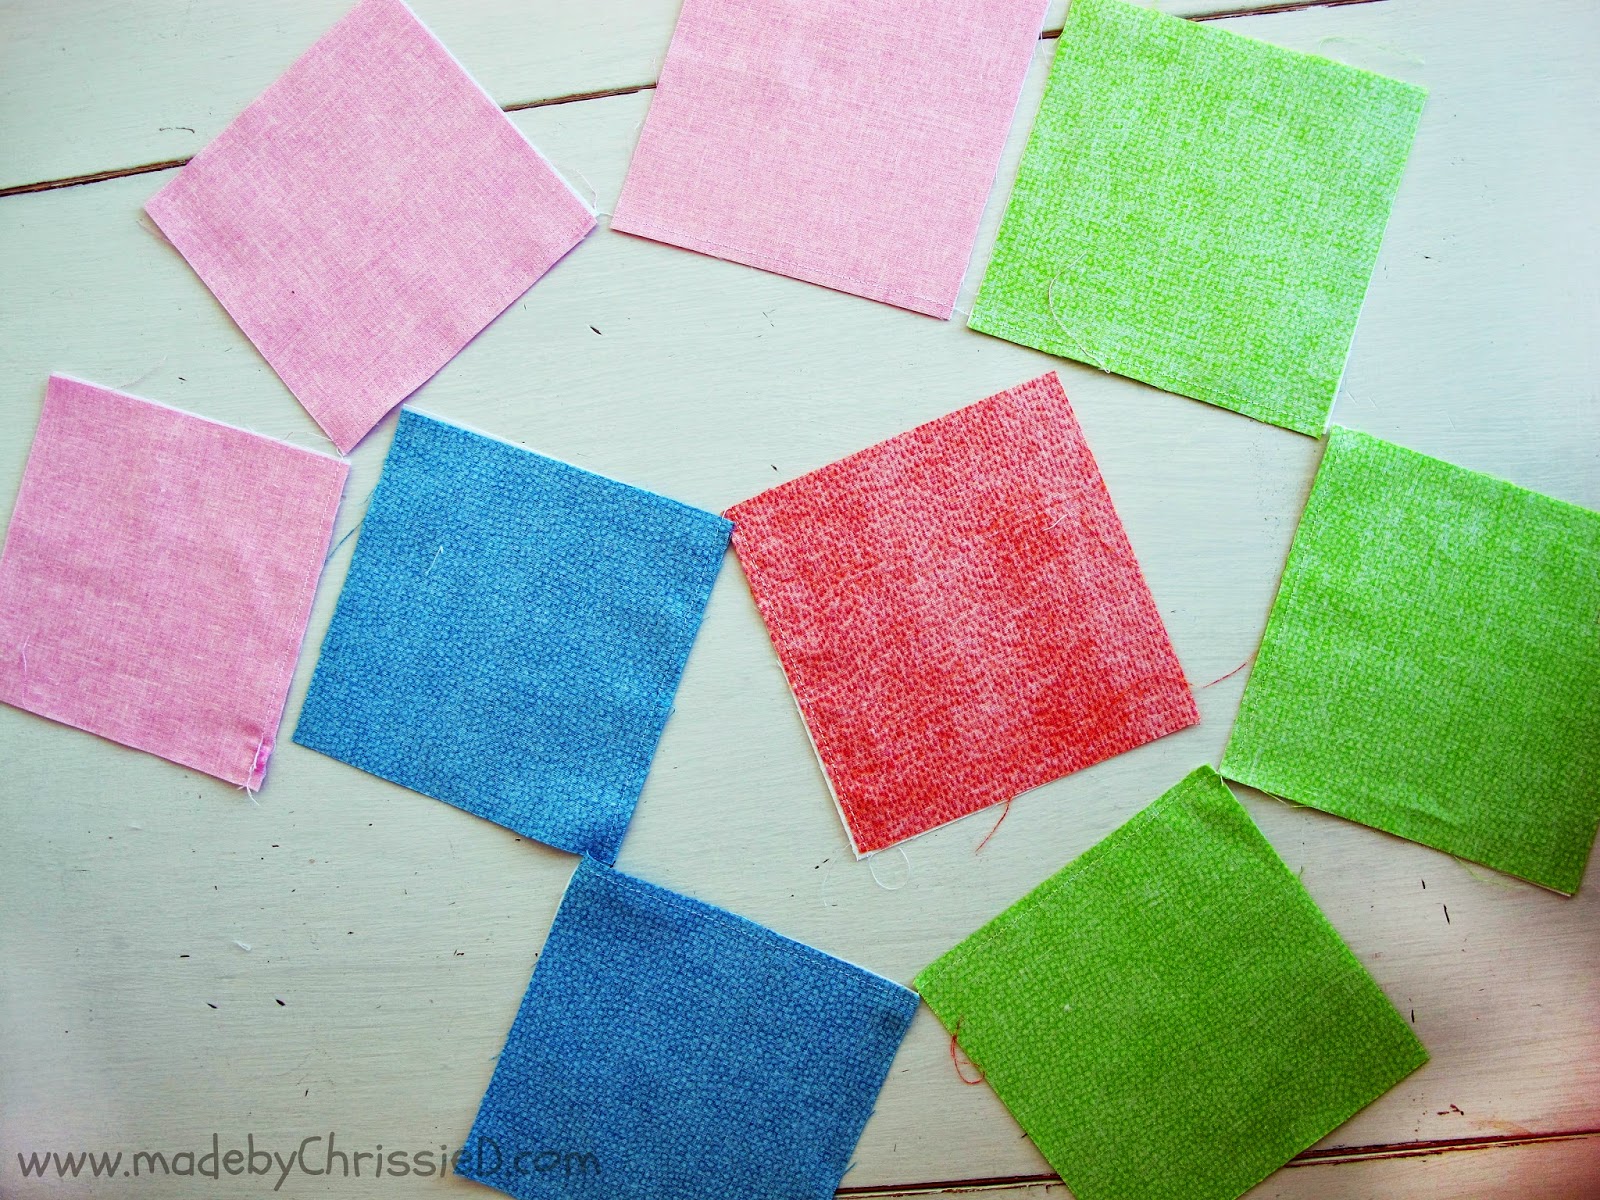
Cut 9 more 5" x 5" squares from 4 colours and the combinations shown here (1/2/3/3) shown in the picture below.

Place one white square right side together with each of the coloured squares.

Chain stitch a scant 1/4" seam along one edge of each fabric block pair.
This is how your chained pieces will look.

Snip the threads that join each of your squares

Continue to chain piece and sew a scant 1/4" seam along all 4 sides of each pair.

You're creating 9 blocks that are entirely sewn right sides together like the one below.

Cut diagonally across each block.

And then cut across the opposite diagonal.

You'll then have 4 x 2 layer triangles like the 4 below.

Create a pile of triangles from all 9 blocks just like this one.

Press the triangles closed to set the stitches, then press each triangle open to create 36 HST squares. See my update note below about pressing seams open or to the side.

Trim your HST blocks down to 3" squares using your 45-degree line on your ruler along the diagonal seam, OR you can use a Bloc-Loc as I am in the photos below - a rotating cutting mat makes life easier too. If you haven't used a Bloc-Loc or rotating cutting mat, you can check out my separate tute here.
Update at 17 April 2014:
You need to press your seams to the side if you want to use a Bloc-Loc; if you're an open seam presser, then I'm afraid the Bloc-Loc won't work for you :(
I didn't have a 3" Bloc-Loc, so you'll notice that I'm using a 3.5" one and sliding it along the diagonal seam to the 3" mark. This is something new that I've tried, and it works perfectly and easily, which means you don't need to buy a whole selection of Bloc-Loc sizes; you can just buy one large Bloc-Loc and use it for any size square. You can read my original tute on using a Bloc-Loc to make HSTs here.

Trim the side and bottom edge (above), then
slide the Bloc-Loc down to the 3" mark and trim the other two edges (below)

A perfect 3" block.

36 perfect 3" blocks and lots of trimmed edges.

Now lay out your HSTs in the X Block design as shown below.

Sew each row of squares together using a scant 1/4" seam.

This is how the back will look with all the seams pointing upwards.

You can see better how they're all pointing up in this photo.

Iron each row's seams opposite to the rows on either side, as shown below.

Now, it's time to sew each row together, nesting your seams to create perfectly aligned seam joints. If you're unsure how to nest your seams, you can learn how to do it here in my Easy Scrappy Nine Patch Tute.

Press all your seams to one side, press the front seams cleanly open and here's your completed block.

And the back should look something like this.

Unfinished size 15.5" square/Finished size 15" square

As always, you can check out all the blocks that our Bee makes for Hayden on my Quilty - HST X Block Pinterest Board - I'll add more pins as each person in the Bee posts photos of their finished blocks, and you can see my NYC Mod Quilt Guild Post here too.


Clicking on an image will take you to a new page of crafty goodness :)


Disclosure:
This post contains Amazon and Craftsy affiliate links for which I am paid compensation on click-through purchases (at no additional cost to you). Otherwise, the post is for informational purposes only, and all opinions are my own.
Copyright:


Beautiful block, Chrissie. I love the colors. I will definitely have to make one. Your tutorial will make this project easy to construct, it is detailed, photographed beautifully and easy to understand. Thank you for taking the time to put this tutorial together and posting it.
ReplyDeleteThanks for such a lovely comment Bea, I hope you do make the block and that you find the tutorial helpful :D
DeleteI have never seen HST done this way! Thanks for the great tutt.
ReplyDeleteGreat block made with lovely fabrics.
ReplyDeleteLovely bright colours. I chain piece blocks when I can, see how long I can make the string of fabric "flags"!
ReplyDeletegreat tutorial, thanks Chrissie!
ReplyDeleteawesome tutorial! great way to make HSTs
ReplyDeleteHi. I never done HST with this method, I was always afraid of having all sides of the ending square on the biais of the fabric. Does is stretch or do you starch your fabric before ? Thank you. Great detailed pictures, I especially love the chained pieces one.
ReplyDeleteHi Chantal, I've used this method for several quilts without starching and not had any problems, see my Autumn's Golden Gown quilt too. I do starch sometimes when I'm wanting to be very precise (like with this Shattered Chevrons block) but I find that I'm not a heavy handed sewer and the bias doesn't stretch for me - possibly down to the excellent feed of my Bernina 440QE sewing machine too. If you do give this method a go I hope it's okay for you :D
DeleteBeautiful block! This is my go-to method for HST, but I square them up before ironing them open, so that I only have to cut two sides ;)
ReplyDeleteVery pretty blocks. Thanks for sharing the tutorial.
ReplyDeleteI wish I saw this on Wednesday. lol I just did this block and cut way to much. I am apart of the Instagram #aussiemoderninstabeehive5. Great Block Great Tute!!
ReplyDeleteThat's a shame Kelly and I nipped over to your blog and saw just how many hst squares you've been making - your quilt blocks are absolutely stunning :D
DeleteHST's are my favorite block to make.. the options are limitless what you can do with just turning a block! Found you on SewJo Linky!
ReplyDeleteLove this block Chrissie.
ReplyDeleteReally awesome. I love all the bright color.
ReplyDeleteWow! What a great tutorial! You put a lot into it and it looks awesome! and you make it look so easy! I'm so glad you shared it with us at Showlicious Craft Party! Pinned!
ReplyDeleteSuch a great tutorial Chrissie, you have perfect points matching! The fabrics are gorgeous.
ReplyDeleteThanks for the detailed tutorial, Chrissie. Pinning for future reference. The block looks great.
ReplyDeleteBeautiful block and fabrics Chrissie and a wonderful tutorial!! I have really been wanting to try a Bloc-Loc. Thanks for sharing.
ReplyDeleteFreemotion by the River Linky Party Tuesday
Just buy the largest size Connie and slide it along the diagonal seam - you can cut any size HST with it and save yourself so much money. Also are you a side seam presser or an open? I'm a side presser so it's never been an issue for me but I've just discovered you can't use the Bloc-Loc if you press your seams open. :D
DeleteVery pretty block! Thanks for the tute! I have a set of the bloc-loc's, love 'em!
ReplyDeleteGreat tutorial!
ReplyDeleteI love this block, Chrissie and sure appreciate the great tutorial. I have not yet tried that method for making hst's, but I definitely will be using it next time I need to make a pile! The Bloc-Loc looks like a great tool. But I like pressing my seams open. That won't work with the Bloc-Loc, will it?
ReplyDeleteI've just researched it Lorna and believe you do have to press your seams to the side to use the Bloc-Loc. I'm a side presser so I've never thought about what happens if your seams are pressed open. It's such a good point - I'm going to update my Bloc-Loc tute with a note about it.
DeleteI love this block too! You have way to much fun. Great tutorial!
ReplyDeleteI usually press my seams open but I will press them to the side to use this! Nice work on the triangles and thanks for the tutorial!
ReplyDeleteMiss Chrissie! What a cute block. I love it! I do a sewing train when I quilt too but I leave much bigger spaces between each one and then I have to do all sorts of clipping. I love that you do them close and use a seam ripper once to separate. Totally using that technique next time! Thank you :) You will be a Fabulous Feature!
ReplyDeleteHST's are so versatile, and this block makes a big impact. love it!
ReplyDeleteThanks so much for linking up to Needle and Thread Thursday!
:) Kelly @ My Quilt Infatuation
SO glad you rejuvinated this post as I agree, HST are so versatile and I learned some about when to square them up from you. THanks for the tip.
ReplyDeletejust found these instructions - sure makes HST a lot easier - I will go back to them THANK YOU
ReplyDelete