Updated at 1 August 2016
I've created an updated and even easier version of my hidden zipper tutorial and also a new version of the quilted pillow front with hand quilted detail. Click the images below to explore both new methods and I'll leave the original method here also to give you the option to work with your fave technique.


Yesterday I was making 2 quilted cushion covers with hidden zippers so I took the opportunity to take photos along the way and put together a tutorial to share with you.

Quilted Pillow Cushion With Hidden Zipper Tute
Here's a list of what you'll need:
a cushion/pillow insert (I'm using a 16")
a zipper the same size as or up to 2" less in length than your cushion insert (I'm using a 14" zipper on a 16" insert)
two strips of double sided fusible 1/4" x 15"(I'm using a heavy weight Steam-A-Seam 2, I've previously tried a light weight Heat n'Bond but it wasn't always sticky enough to hold)
Basting spray or basting pins
1 front piece of fabric cut 1/2" bigger on both sides than your cushion insert (my front is 16.5" x 16.5" for a 16" insert)
1 piece of backing fabric cut 1.5" bigger on both sides than your insert (my backing is 17.5" x 17.5")
1 piece of fabric to make zip flap 4" deep and 1.5" wider than your (my zip flap is 4" x 17.5")
1 piece of batting cut 1" bigger than your cushion insert (my batting is 17" x 17" for a 16" insert)
1 piece of muslin cut 1.5" bigger on both sides than your insert (my muslin is 17.5" x 17.5")
spool of thread in chosen quilting colour
1-2 bobbins of chosen thread colour
straight line quilting ruler
marking tool
straight pins
sewing machine with straight foot/zipper foot/walking foot
scissors/rotary cutter/cutting mat
iron and ironing board
My Fave Tools For This Project
Note: I'm an Amazon affiliate and will receive a small commission, at no additional cost to you,
on any purchase made by following a link.

Some of you have told me before that you like hearing how I choose which colours to use so I'll share with you how I chose my thread colour for the cushion - I trialled 3 threads: Aurofil Ivory-2021; Harvest Gold-2920; and Peacock Blue-4182. I've used 50/2 weight thread for this project - the finest weight of Aurifil on an orange spool but if you want a more defined quilting line than you might want to use the thicker 40/2 weight green spool instead.
I increased my stitch length to 3.2 and stitched a line of each thread across the main design section of a spare piece of the front fabric backed with batting, this will give me a good idea of how the fabric will look once it's quilted. The Ivory thread looks almost white making the fabric appear dirty, while the Peacock Blue thread is too strong/obvious making the fabric design become secondary to the quilting. The Harvest Gold thread sits perfectly across all the colourways in the design, defining the quilting and complementing rather than detracting from the fabric - so this is my choice of thread for quilting this cushion cover.

Cut the backing fabric from side to side across the width using a 1:2 ratio - my back is 17.5" x 17.5" and I've cut it into 2 sections - 6" x 17.5" and 11.5" x 17.5". Exactly where you cut this line is up to you - you may prefer your zip to be across the centre of your finished cushion cover.

Iron your zip flap fabric in half along the length with the 'wrong' sides together so the 'right' side is visible and create a 2" wide strip

Iron your double sided fusible strips into place along the upper side of the zip fabric.

With the zip closed, place the zip tab on your left. Lift the paper cover off the fusible on the top edge of the zip furthest from you.

Turn the zip flap fabric so the long open edge is towards you and the folded edge should be furthest away - NB: a directional print needs to be the right way up as you look at it - I messed up at this point so the text on my fabric is now upside down on the finished cushion cover! Turn the zip to face downwards with the zip tab on your left - this will put the uncovered fusible edge closest to you - centre the zip on the length of fabric and iron the fusible edge of the zip to the open long edge of the zip flap fabric.

The zip is now firmly attached to the zip flap fabric. Lay the zip and zip flap fabric edge along the bottom edge of the smaller top section of the cushion backing lining up the side edges of the zip flap fabric with the edges of the backing fabric - you can pin them in place if you like. Change your machine foot to a zipper foot and set your stitch length to 2.4/straight stitch. If necessary adjust your machine needle moving it off to one side so it doesn't hit the zipper foot when you start to sew.

Straight machine stitch through the 3 layers of fabric and zip along the 'fused' edge of the zip. You want to keep the zipper foot as close to the zip teeth as you can and be sure to continue your sewing at both ends beyond the ends of the zip so that the fabric is all joined even if there is no zip to enclose at both ends.

Now iron your zip flap seam away from the cushion back - all the seams should be ironed towards the back of the cushion fabric.

Here's how it should look from the front but hopefully your directional fabrics will both be facing the same way at this stage and not in opposite directions like mine are!!! Press the seam flat from this side too - you may need to slide the zip open and closed to be able to iron flat without the zip tab getting in the way.

Now top stitch a straight line the full width of the fabrics to keep those seams nicely in place and neaten the finish.

Remove the paper from the double side fusible on the other side of the zip. Line the edge of the zip up with the top edge of the larger bottom section of the backing fabric.

Be careful to line up the side edges of the smaller section of the back with the side edges of the larger back section, NB: the two sections should be right sides facing at this point and pay careful attention when checking that any direction prints on the top and bottom sections will both be facing the same direction when the fabrics are opened out.

Iron the fusible edge of the zip into place.

Again using the zipper foot and a 2.4 stitch length sew the zip into place. This time you are only sewing through the zip and 1 layer of fabric but still be sure to sew as close to the zip teeth as possible.

Lift the zip flap and iron the edge of the fabric cleanly against the zip.

Now straight line top stitch along this seam to create a neat edge against the zip.

Iron the zip flap down over the zip and the back is now complete.

Check out the zip under the flap - don't worry that the ends of the top and bottom section of the backing aren't joined at this stage - they will be firmly stitched together when the front and back cushion sections are sewn together.
Now it's time to make the quilted cushion front.

I used 505 basting spray to attach the front fabric to the batting and the batting to the muslin backing - you can use basting pins if you prefer. I like to include the muslin backing so that over time the batting doesn't shed and wear against the cushion insert.
For this cushion, I'm using a vertical/horizontal quilting and for my second cushion, I'm using a diagonal quilting.

To mark my quilt sandwich I use my straight quilting ruler and a Clover Hera marker - you can use whatever marking tool you prefer.

You can see here that I've scored a vertical and a horizontal line across the quilt sandwich somewhere around the middle in both directions.

Look how the Hera marker scores the fabric so you can see exactly where to quilt without leaving any marks on the fabric - this scored line will iron away in seconds.

Now's the time to switch to your walking foot, change your stitch length to 3.2 and adjust your tension if necessary. Stitch along the two score lines you've just created.

Use the edge of your walking foot to follow your previously stitched line and add another row of stitching. On my machine, this creates two rows of stitching approximately 1/2" apart but there's no rule to this so create a gap that suits you.

I snip away the threads at each end of my stitched rows to stop thread tangling into the back of other rows as I add them.

2 more rows of stitching in each direction on either side of your first stitched lines - you will now have 6 stitched lines.

Continue to add rows on either side of the centre and in both directions until you've covered the whole quilt sandwich - building up from the centre out in this way rather than starting at one edge in and completing one direction at a time will stabilise the quilt sandwich and help to prevent puckering, bunching and movement.

Here's how the muslin back's looking
If you're ever creating a tutorial then at this stage I highly recommend that you don't get clever and cocky and decide that you can chat with your middle son on Skype at the same time as sewing. The sewing went just fine and wasn't I pleased with myself when I finished the perfect cushion at the same time as being a caring, loving Mum listening to all of Joe's stories from work and throwing in the odd comment here and there ... but then I realised that I hadn't taken a single photo along the rest of the way!!!
So bear with me for this part, I've taken the photos in retrospect, not quite so good as seeing them as you go but don't panic it's really not at all difficult so I'm more than happy that you'll still be able to complete the cushion cover!

Cut the quilted front sandwich to a perfect square - don't worry about size too much, somewhere around the size of your cushion insert up to a 1/2" larger will be fine.

Place the cushion backing onto the cushion front with right sides together and the zipper open - it's REALLY important that the zipper is open at this stage so that you can turn the cushion inside out through the zip when you're done sewing! Pin the layers together around the edges.

Place pins along the zip line too to hold it in the correct position now that the zipper is fully open.

Set your stitch length back to 2.4 and sew the cushion front and back together using a 1/4" seam. If you want a snugger fit for your cushion then use a 1/2" seam - NB: a finished cushion cover that's 1/2" smaller in both directions than your insert will appear fuller and firmer. You can sew fully around all four sides of the cushion cover and this will also fasten down the open edges on either end of the zip securing it to the cushion cover front.

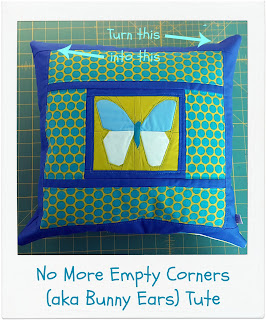
Diagonally snip away the four corners of the cushion but don't cut further in than where the stitch lines cross each other. This will give you much neater less bulky corners when you turn the cushion cover inside out. If you'd like to learn how to stop those empty pillow cushion corners (aka Bunny Ears) then this is the time to click through to my tute that eliminates Bunny Ears completely and once you've followed that tute head back over here and continue from this point on.

Remove all the pins and turn the cushion inside out through the open zip.

Make sure all the corners are nicely turned out and wiggle your side seams until they are as flat as you can get them and give them a press with the iron.

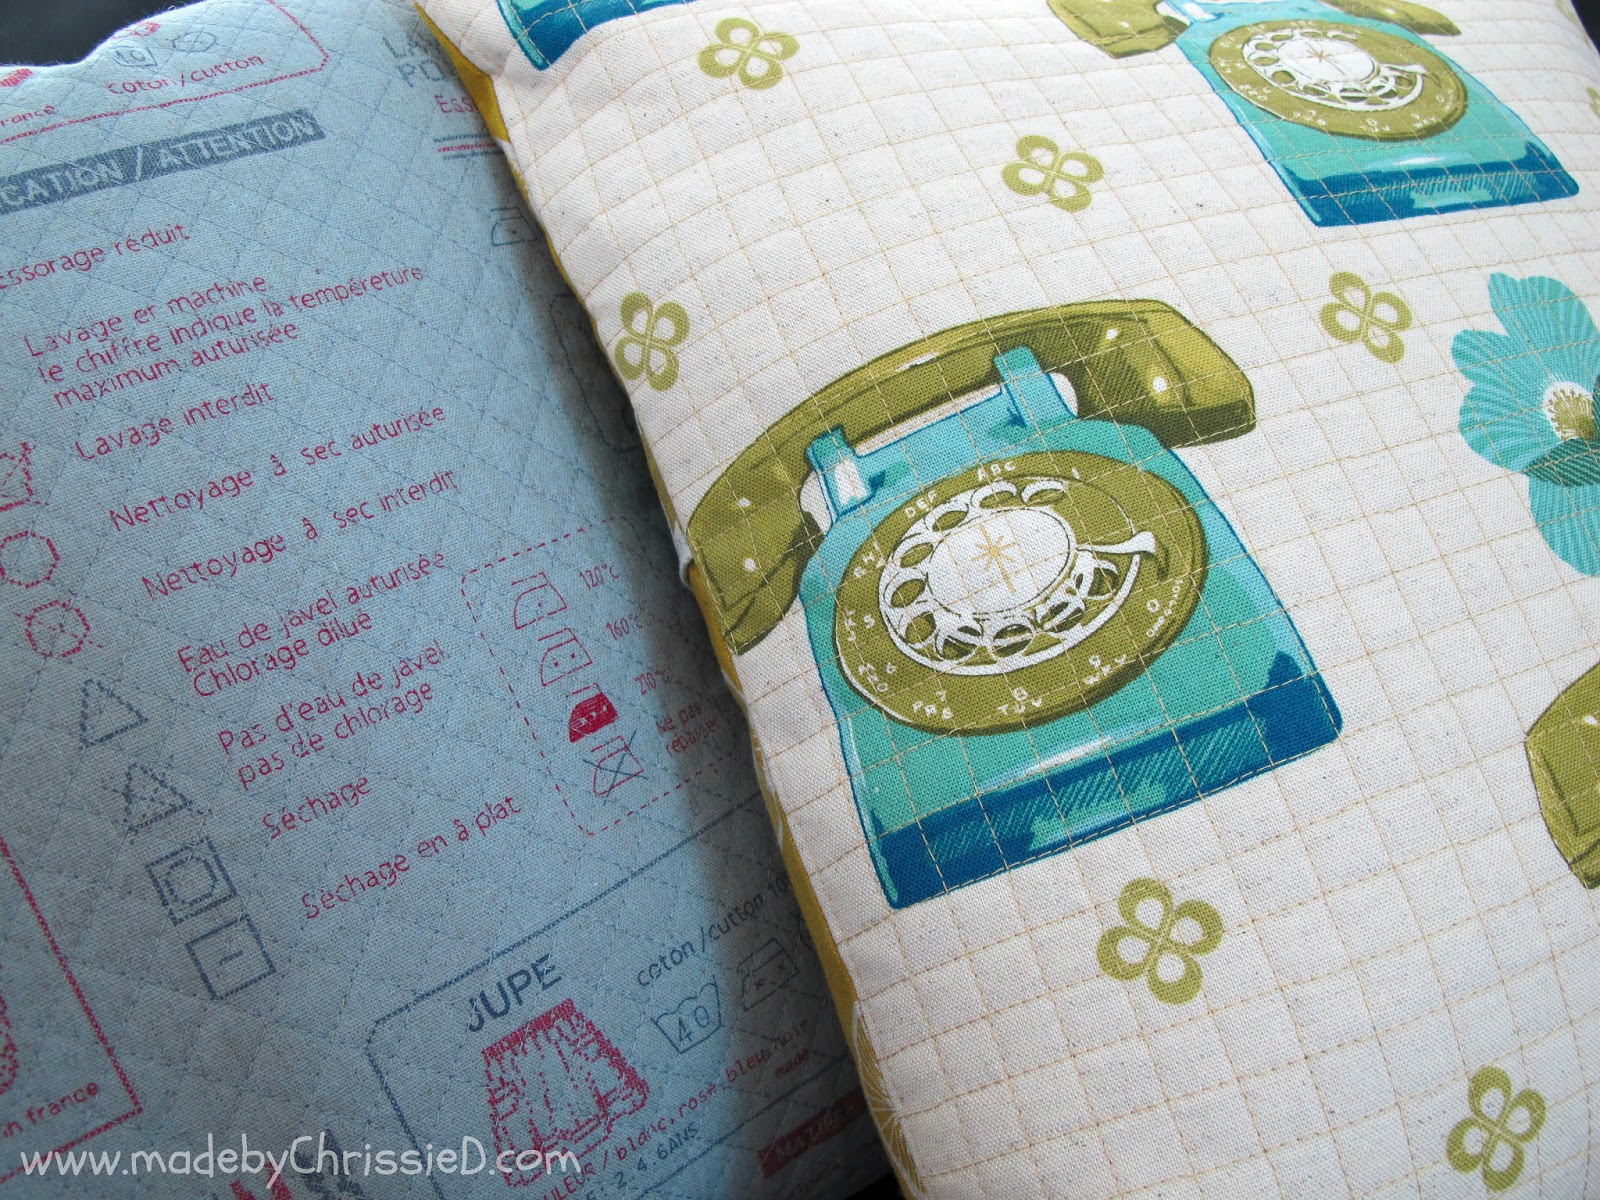
The completed cushion cover.

The completed cushion back - I've lifted the zip flap so you can see the zip and the muslin backing on the inside of the cushion.
All you have to do now is pop in your cushion insert, zip up the cover and maybe give it another light press with the iron.


and here's my second cushion cover made in exactly the same way but with diagonal quilting.


I know it's a long winded tutorial as I've detailed every step for you - but it's actually quite quick to make the cover, the most time-consuming part is the quilting, I made the two covers on the same day.
Let me know if you use the tutorial, I'd love to hear how you go on :)
Fabrics Used:
Cushion 1: Melody Miller Ruby Star Sparkle 'Phones Ring A Ling' and 'Ruby Stories Ring A Ling', Echino 'cycling'
Cushion 2: Yuwa Live Life Collection Premium 'Laundry', Robert Kaufman Essex Linen
Related Posts:
Guess Who I Caught Making Something!!!
Cushion 1: Melody Miller Ruby Star Sparkle 'Phones Ring A Ling' and 'Ruby Stories Ring A Ling', Echino 'cycling'
Cushion 2: Yuwa Live Life Collection Premium 'Laundry', Robert Kaufman Essex Linen
Related Posts:
Guess Who I Caught Making Something!!!
Made By Me:
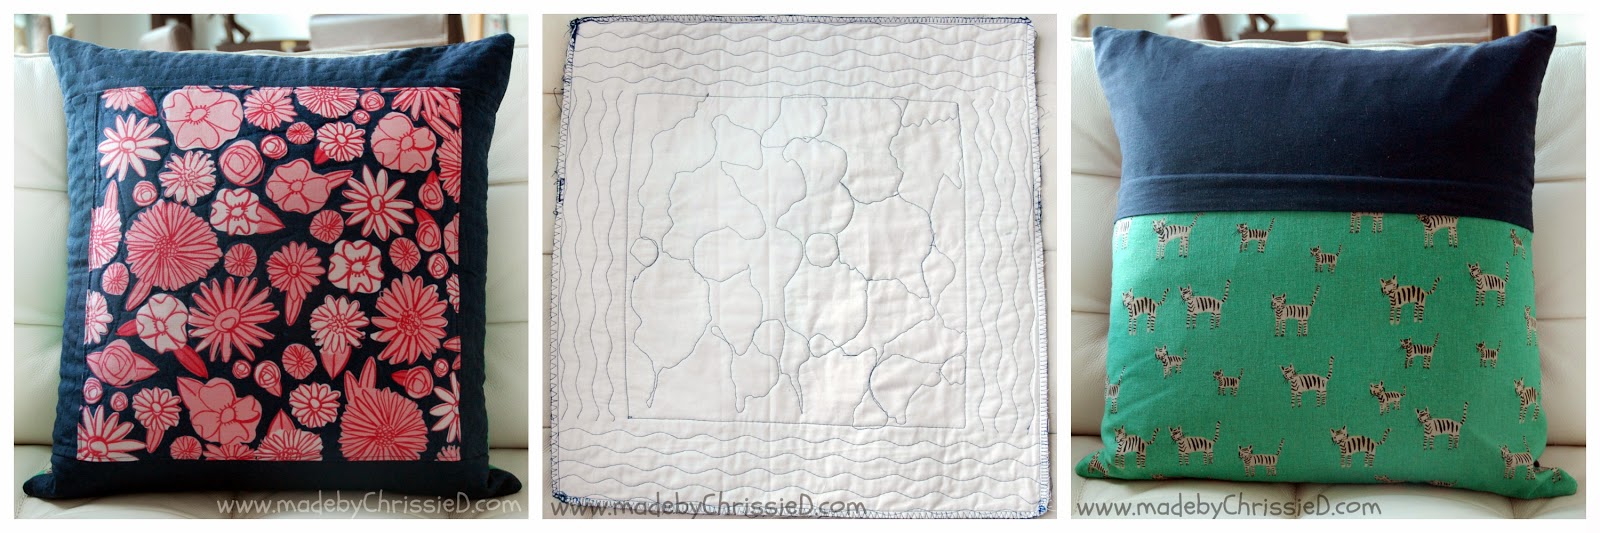
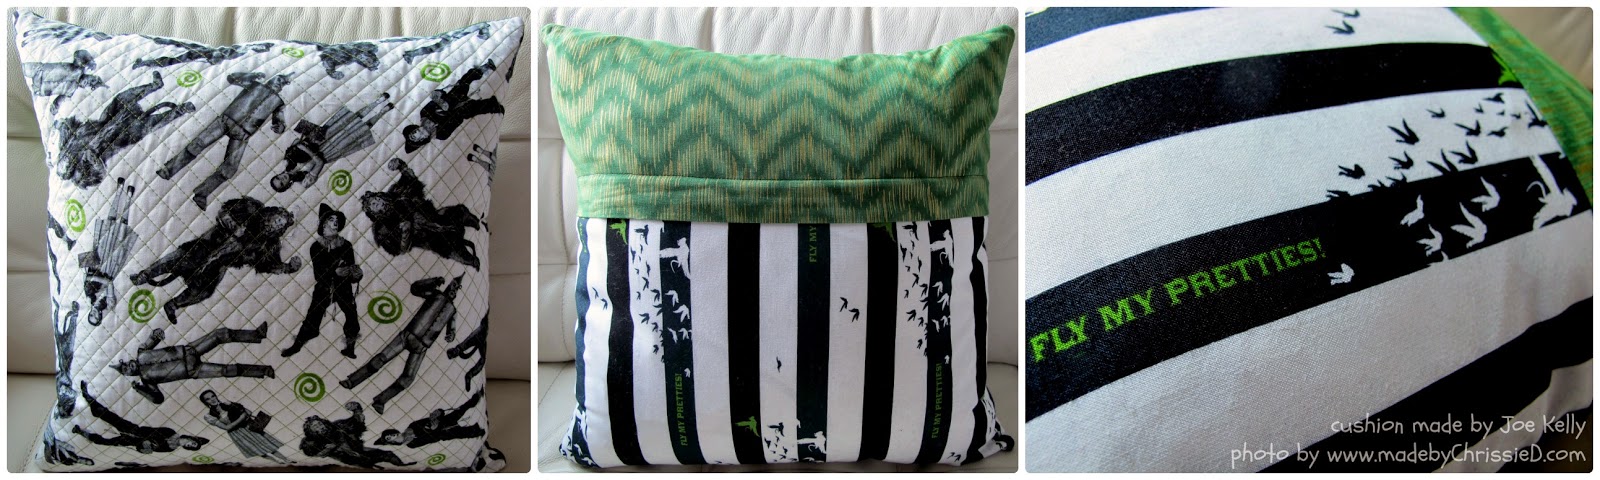
Here are other cushions I've made using the tutorial - click images to go through to original post:


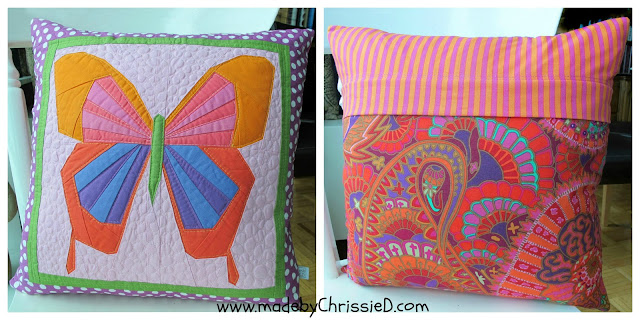
Made By Flicky (my daughter x):
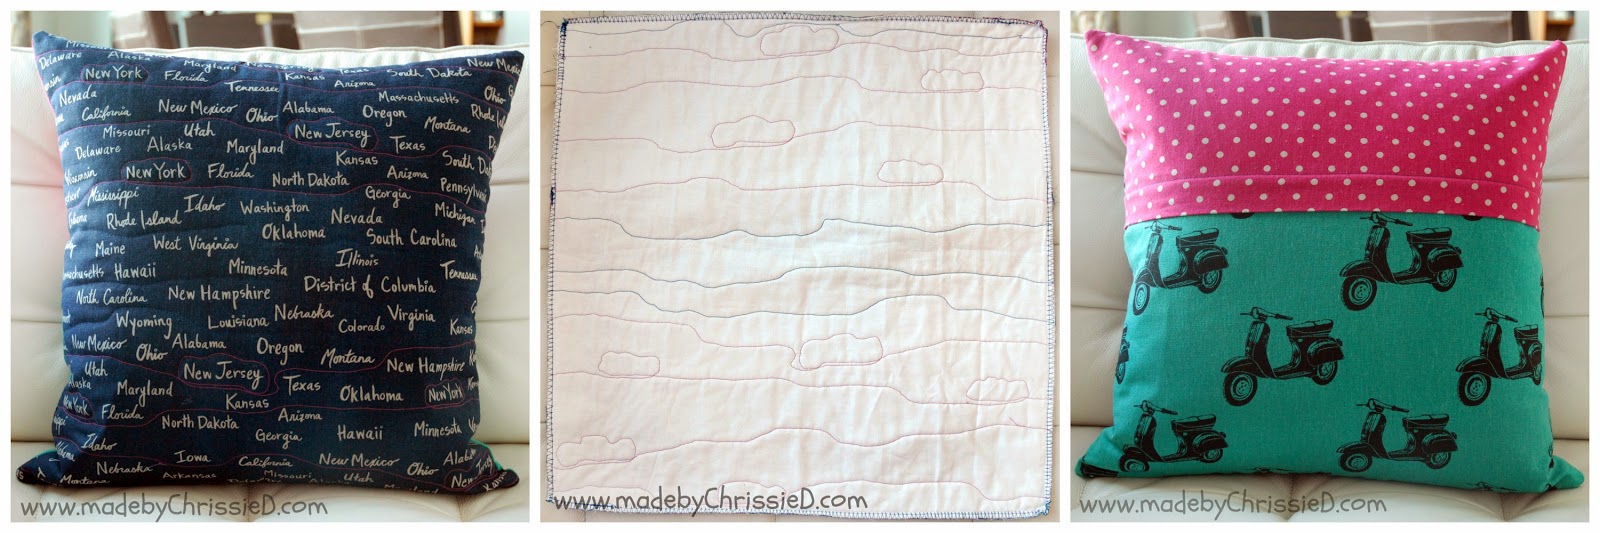

Made By Joe (my son x):
Made By My Class Students:


Made By You:
Here are images and links to cushions 'made by you' using my tutorial - click images to go through to original posts. Thanks for contacting me, it's such fun to see how others interpret the tute :D


Quilted Pillow Cushion With Hidden Zipper Tute

This tutorial is featured on:





Uncredited reproduction of all content, text and images on this site is prohibited.
All content, text and images must be credited to Chris Dodsley @made by ChrissieD and include a link back to this site.



Here are other cushions I've made using the tutorial - click images to go through to original post:
Made By Flicky (my daughter x):
Made By Joe (my son x):
Made By My Class Students:

Made By You:
Here are images and links to cushions 'made by you' using my tutorial - click images to go through to original posts. Thanks for contacting me, it's such fun to see how others interpret the tute :D


Quilted Pillow Cushion With Hidden Zipper Tute

This tutorial is featured on:
Clicking on an image will take you to a new page of crafty goodness :)
Disclosure:
This post contains Amazon and Craftsy affiliate links for which I am paid compensation on click-through purchases (at no additional cost to you). Otherwise, the post is for informational purposes only and all opinions are my own.
Copyright: