I've previously shared a couple of projects with you that I've made using some of the fabrics from Amanda Murphy's Meadow Dance collection.
Click below for the free tute.

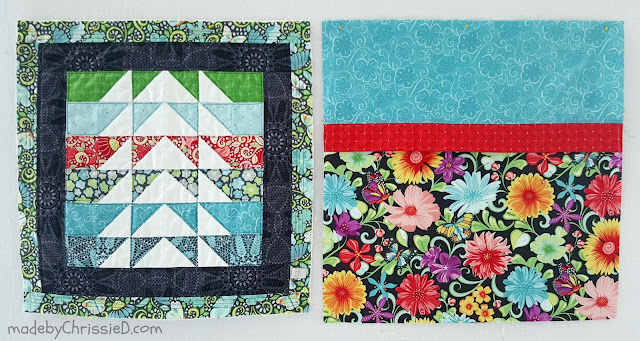
And the other project on the left is the Meadow Dance HST Pillow Cushion created for the Benartex Sew in Love {with Fabric} blog.
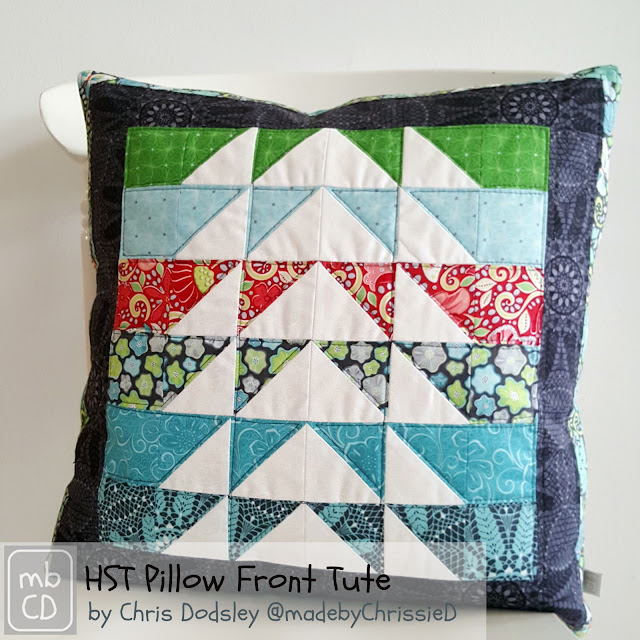
Today, I'm sharing the tute for the HST pillow front here on my blog.
HST Pillow Front Tute
fits an 18" pillow insert
Supplies Needed To Make the Pillow Front:
All fabric sizes are width x height.
All fabric sizes are width x height.
Note: Additional supplies will be needed to make the cushion back and complete the cushion cover.
HSTs
(12) 3" squares of Solid
(2) 3" squares and (2) 2-1/2" squares of each of 6 print fabrics (totalling 24 squares)
Inner Border
(2) 12-1/2" x 2-1/4" and (2) 16" x 2-1/4"
of a 7th print fabric
Outer Border
(2) 16" x 1-1/2" and (2) 18" x 1-1/2"
of an 8th print fabric
Batting + Lining
Batting (1) 18" square
White muslin or cotton lining (1) 18" square
My Fabrics:
are from the Benartex Meadow Dance collection by Amanda Murphy
Floral Blender White on White 4044-09
Garden Path Red 4041-10
Crochet Lace Aqua 4043-05
Floral Blender Turquoise 4044-84
Little Flowers Grey 4045-11
Diamonds Aqua 4046-05
Diamonds Green 4046-44
Crochet Lace Grey 4043-11
Garden Path Grey 4041-11
Creating The HST Centre
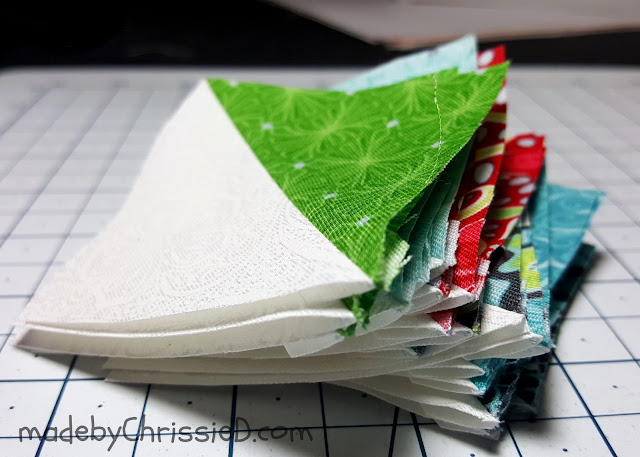
Pair each of the (12) 3" print fabrics with the (12) 3" solid fabric squares and create 24 HSTs using the HST method I detail in this tute on my blog.
TIP: If you make the Meadow Dance Table Runner, you can use the left-over 24 bonus/no-waste HSTs to make the centre of this pillow front - that's what I did!
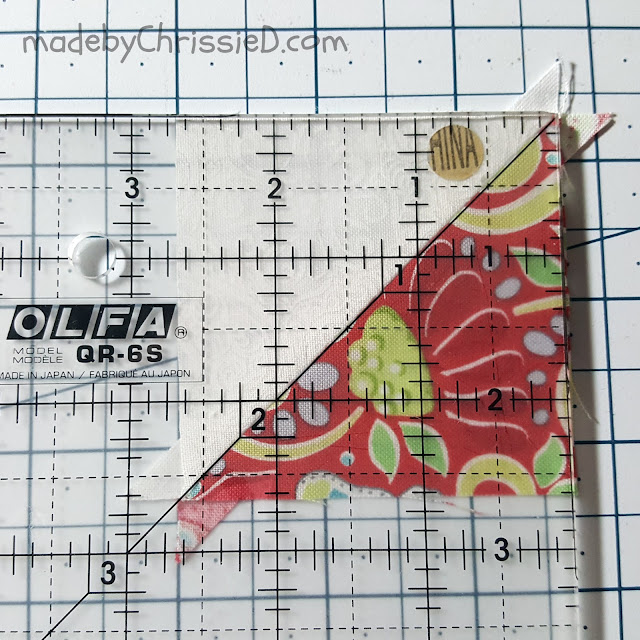
Trim the 24 HST squares down to 2-1/2".
Place the diagonal line on your ruler along the diagonal seam of your squares to ensure your squares are square.
TIP: Using 3" squares to make the HSTs allows you plenty wiggle room for trimming, if you're super comfortable with making HSTs you can actually get away with using 2-7/8" squares to make a 2-1/2" (unfinished)/2" (finished) HST.
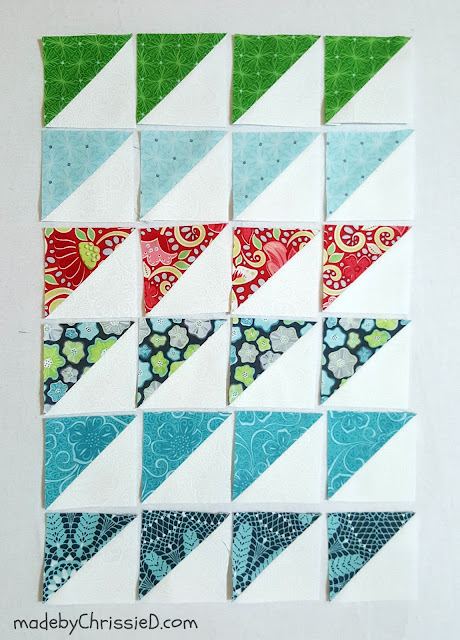
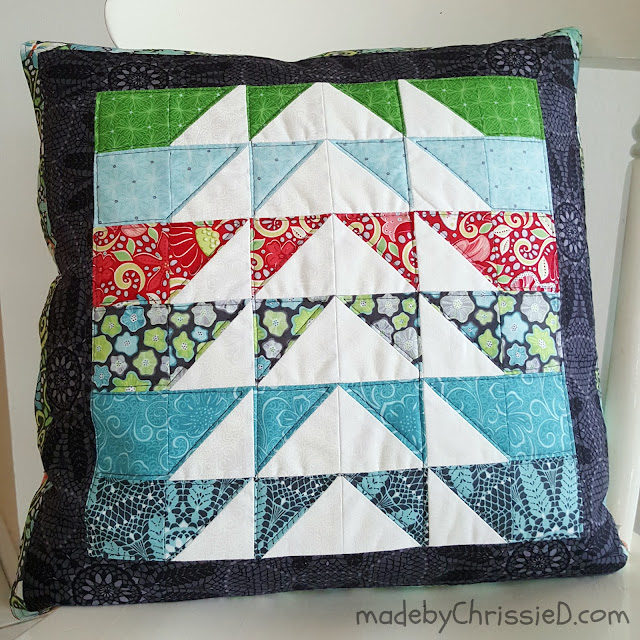
Lay out the HSTs in 6 rows of 4, as shown below.
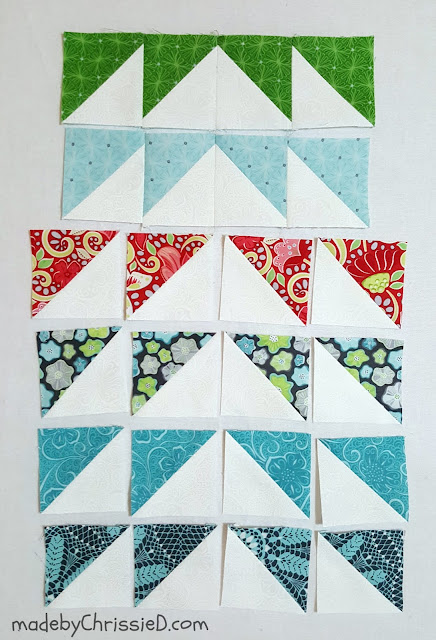
Sew the HSTs into rows using a scant 1/4" seam allowance.
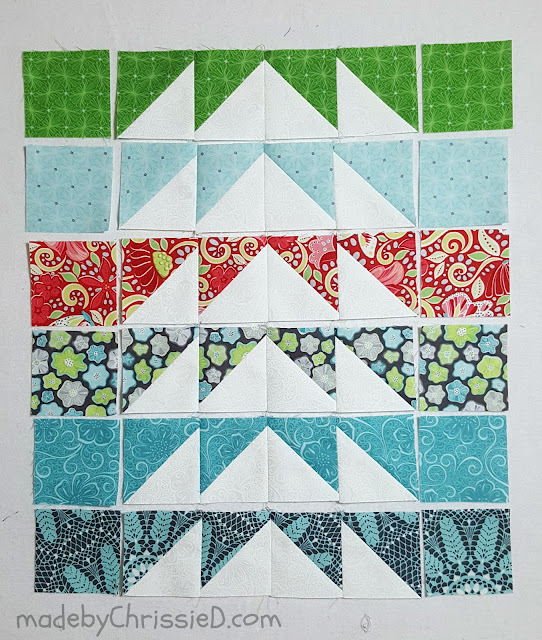
Place a 2-1/2" print square at each end of its matching HST row.
Sew each 2-1/2" square in place and then sew the rows together always using a 1/4" seam.
Trim HST centre to a 12-1/2" square.
Take care to leave a 1/4" fabric visible above the top of your top row white triangles when trimming. Better to lose the base from the bottom triangles than the points from the top triangles, ask me how I know!
Adding the Inner Border
Add the two shorter length inner borders to the sides of the HST centre.
Add the two longer length inner borders to the top and bottom of the HST centre.
Adding the Outer Border
Add the two shorter length outer borders to the sides of the centre section.
Add the two longer length outer borders to the top and bottom of the HST centre.
Quilting The Pillow Front
Using spray baste or pins, sandwich the batting between the pillow front and the lining fabric.
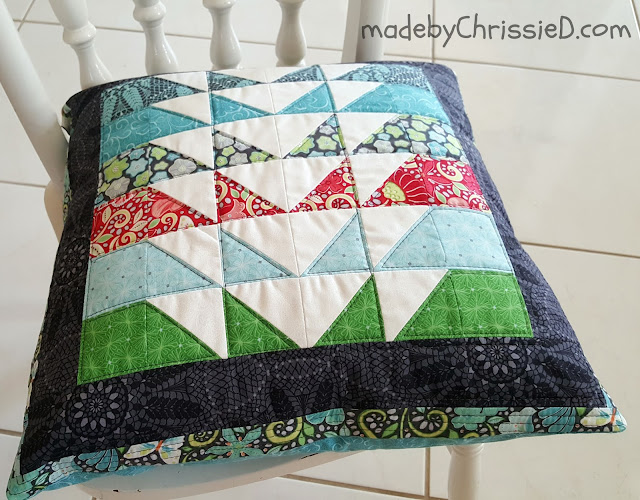
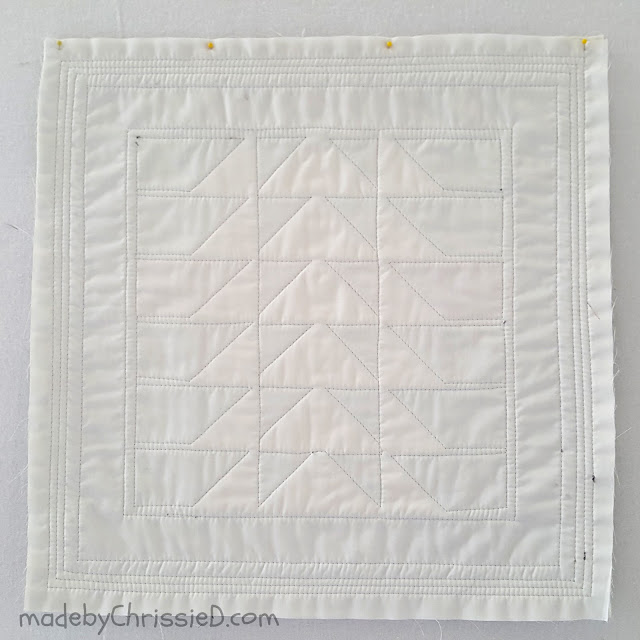
Quilt as desired - in the pics below you can see how I've quilted my pillow, 1/8" from the ditch.
You now have a finished 18" pillow front.
Making The Pillow Back
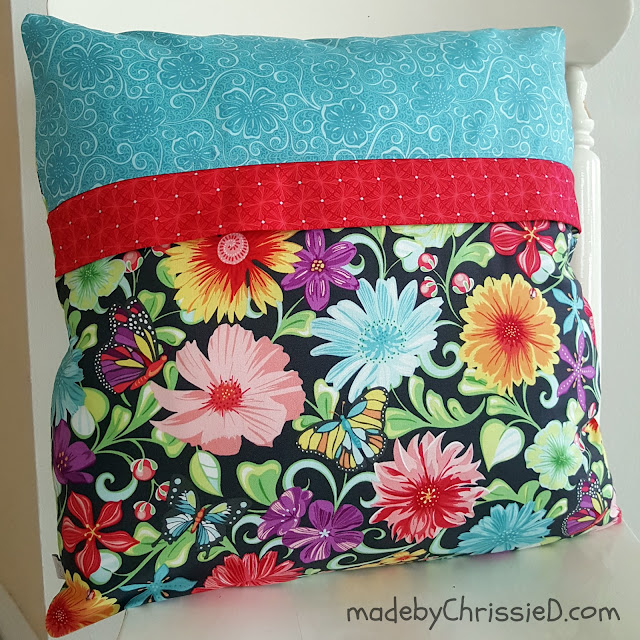
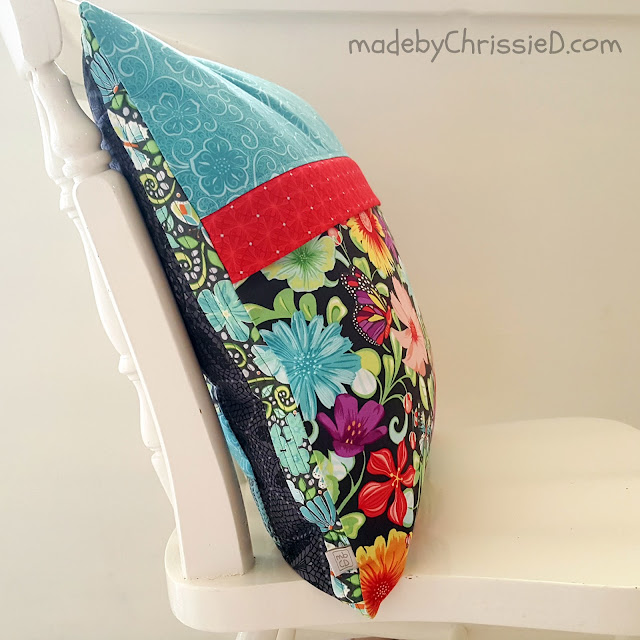
Below you can see both the finished pillow front and the finished pillow back. For the pillow back I've used the following fabrics from Amanda's collection.
Floral Blender Turquoise 4044-84
Diamonds Red 4046-10
Wildflowers Grey/Multi 4040-11
And take a peek at the hidden zipper in my pillow back.
Don't let that zipper make you nervous! I'll walk you through how to do it, just click below to head over to my step-by-step hidden zipper tute.
Materials + Tools
My fave sewing and quilting tools, notions and books, along with some of the fabrics I've used in this tute and more are detailed here on my Amazon Influencer Page.
Note: I'm an Amazon affiliate and will receive a small commission, at no additional cost to you, on any purchase made by following an Amazon link.
HST Pillow Front Tute
Clicking on an image will take you to a new page of crafty goodness :)
Disclosure:
This post contains Amazon and Craftsy affiliate links for which I may be paid compensation on click-through purchases (at no additional cost to you). Otherwise, the post is for informational purposes only and all opinions are my own.
Copyright:











Another lovely cushion/pillow in striking colours/colors:-) It is great to have these smaller projects to have the satisfaction of getting something finished!
ReplyDeleteWhat a fun pillow cover! Thanks for the tutorial and the link to your hidden zipper tute too! I used it for a Christmas gift and it was super easy. My fear of zippers is fading!
ReplyDeleteThis is a great tutorial- love that back closure. Thanks so much for taking the time to make this for us.
ReplyDeleteBeautiful pillow and a great tutorial Chrissie, thanks for sharing.
ReplyDeleteIt's a lovely pillow, thank you for sharing the tutorial at The Really Crafty Link Party. Pinned.
ReplyDelete