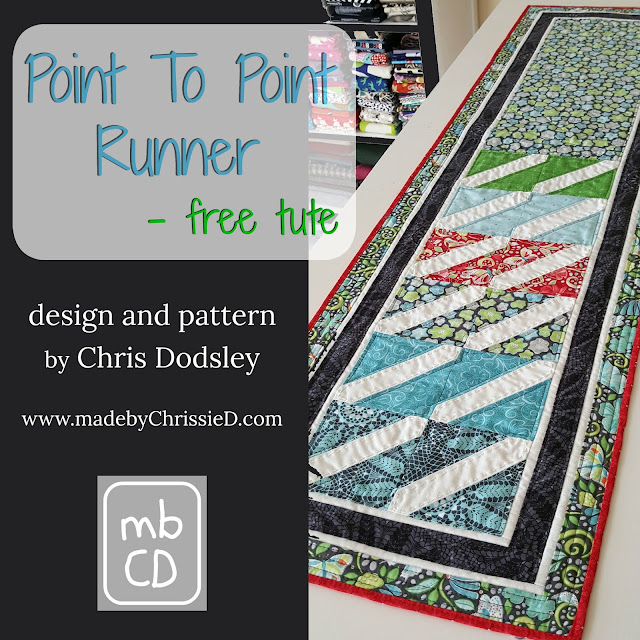
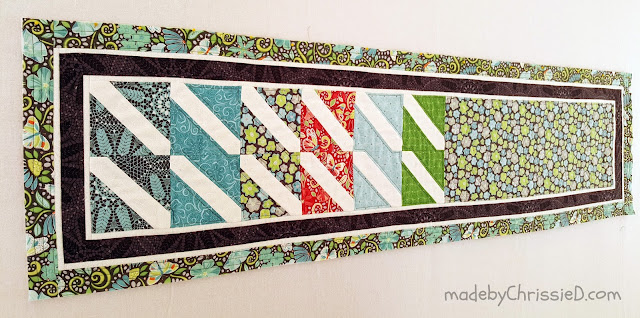
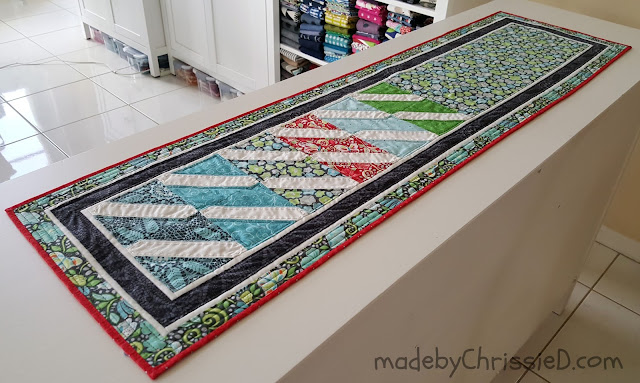
Measuring approx 48" x 13", the Point To Point Runner protects surfaces while making sure your table, sideboard or dresser look great. Whether you're creating focal interest on bed ends and over the back of sofas and chairs, there are so many ways you can use it. This clean, crisp design is a showcase for all fabric collections, modern and traditional, and is an easy way to ring in changing seasonal themes in your home.
Materials + Tools
Below are links to some of the fabrics and tools I've used.
Note: I'm an Amazon affiliate and will receive a small commission, at no additional cost to you, on any purchase made by following an Amazon link.
Free Tute: Point To Point Runner (approx 48" x 13")
Cutting Instructions
Point To Point Blocks
(12) - 4-1/4" squares to create the diagonals (mine are white)
(4) 3-1/2" squares from each of 6 prints (total: 24 squares)
Centre Rectangle
(1) 20.5" x 8" rectangle (I repeated one of the 6 prints above)
Border 1 + Border 3 - White
total length required 3/4" x approx 216" = 3/4" x 6 (WOF) strips
Border 1 - (2) 43" x 3/4" and (2) 8-1/2" x 3/4"
Border 3 - (2) 45-1/2" x 3/4" and (2) 11" x 3/4"
Border 2 - Grey/Black
total length required 1-1/2" x approx 108" = 1-1/2" x 3 (WOF) strips
(2) 43-1/2" x 1-1/2" and (2) 10-1/2" x 1-1/2"
Border 4 - Grey/Blue
total length required 1-1/2" x approx 118" = 1-1/2" x 3 (WOF) strips
(2) 46" x 1-1/2" and (2) 13" x 1-1/2"
Binding, Batting and Backing
Binding - approx 132" x 1-1/8" = 1-1/8" x 4 (WOF) strips
Batting (1) 49" x 14"
Backing (1) 49" x 14"
(or slightly larger if you prefer more backing/batting wiggle room in your quilt sandwich)
Read my pattern matching tute for details of how to make your own larger fabric pieces for backing.
Runner Top
Creating The Point To Point Blocks (+ bonus/no-waste HSTs)
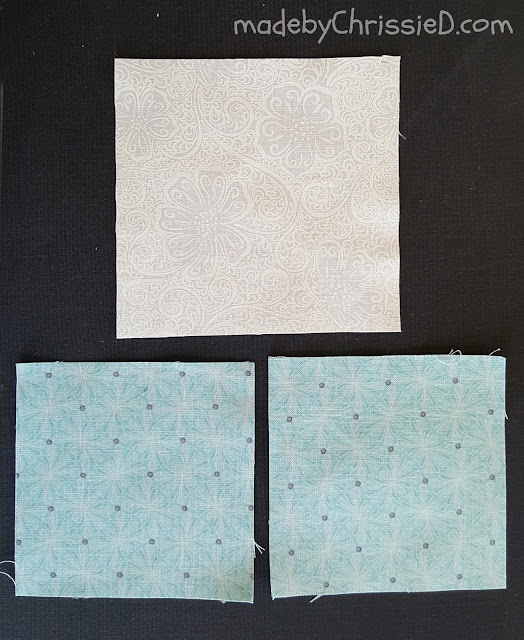
Below are all the Point To Point Block pieces and the Centre Rectangle cut out ready to piece. Notice I've already sewn up one Point To Point Square, we'll look at how to make them next - so you should have two additional 3-1/2" (print) squares in the top row (total 4) and an additional 4-1/4" (white) square at the bottom (total 12).
Take (1) 4-1/4" (white) square and (2) 3-1/2" (print) squares - use same print for both.
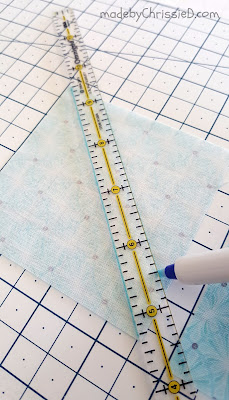
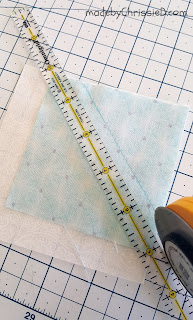
On the wrong side of each 3-1/2" (print) square, with an erasable pen or pencil, draw one line through two diagonally opposite corners.
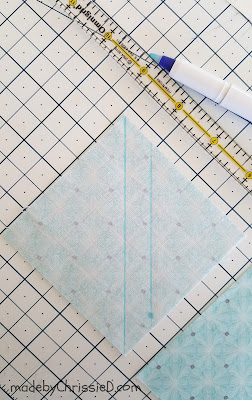
Then draw a second diagonal line 1/2" from the first.
TIP: I'm using a ruler that's 1/2" wide.
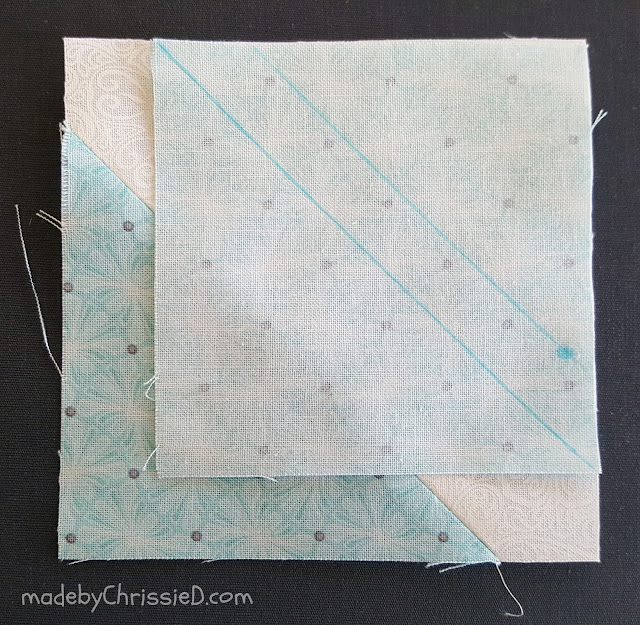
Place the 3-1/2" (print) square right sides together on the corner of the 4-1/4" (white) square.
The shorter of the 2 diagonal lines should be closest to the corner.
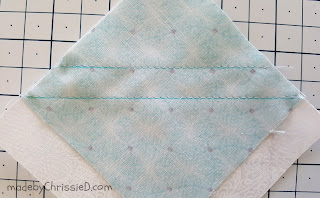
Sew along both drawn lines
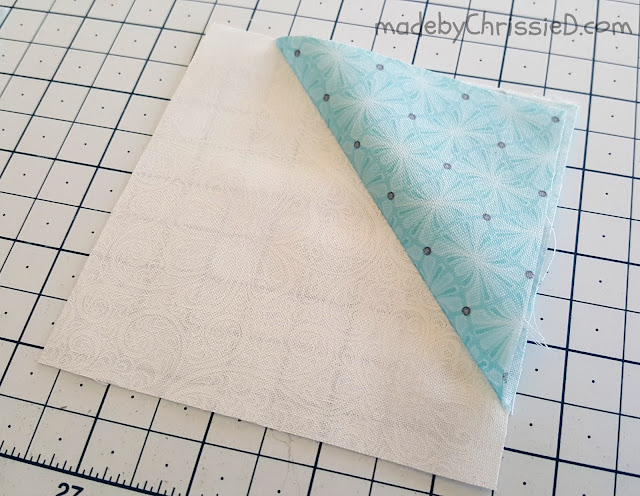
To check your sewn line is positioned correctly, the smaller square should fold back perfectly in half to meet the corner of the larger square.
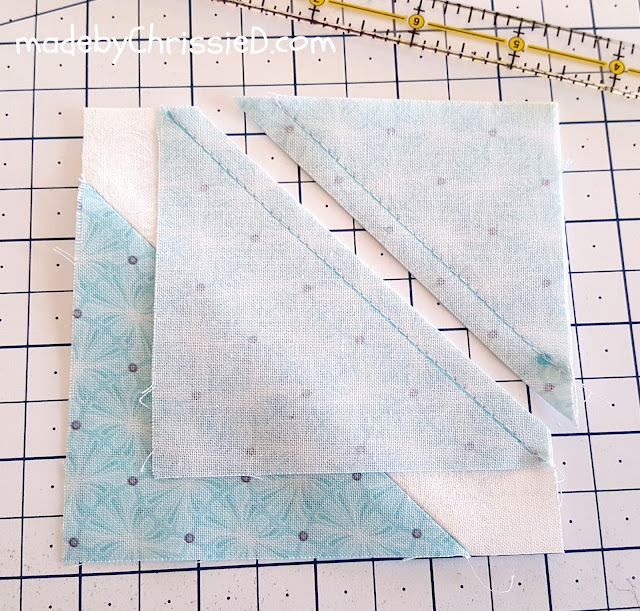
Now cut a line halfway way between your 2 sewn lines - with a 1/2" gap between your sewn lines this will give you 1/4" seam allowance for both lines of stitches.
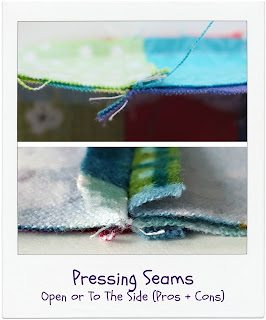
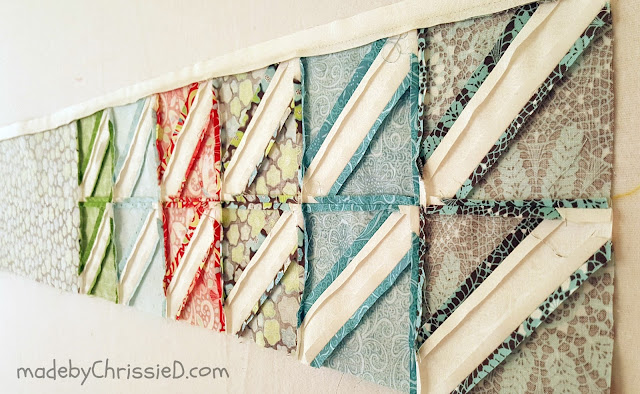
Press your seams open, this will reduce bulk and give a more modern appearance to your finished runner.
Click through below to my blog post for more info on when to press seams open/closed.
This is how your blocks will look on the right side.
Do exactly the same steps again with the 2nd 3-1/2" (print) square right sides together on the diagonally opposite corner of the 4-1/2" (white) square.
The central white section should measure 1" wide down its length.
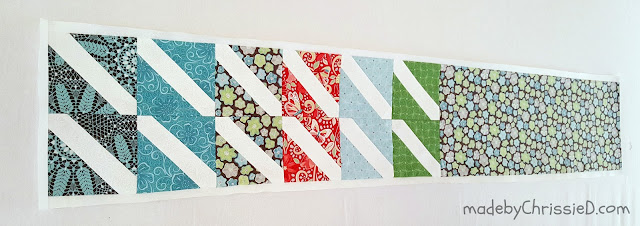
12 Point To Point blocks and
24 bonus/no-waste HST blocks.
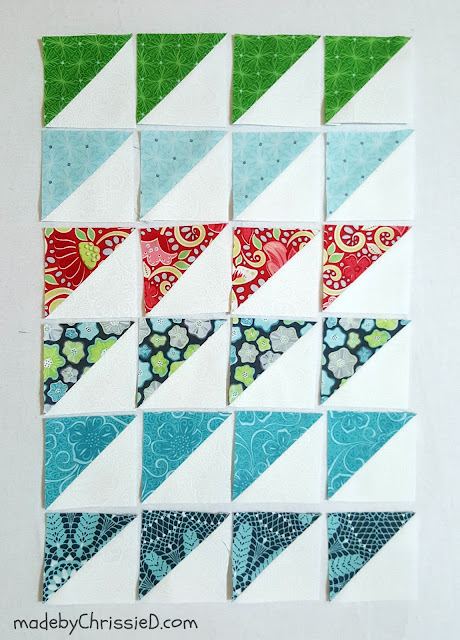
but you'll def want to take a look at what I did with mine AND I wrote a tute so you can make it too.
Creating The Centre Panel
Follow this placement layout for the Point To Point Blocks and the Centre Rectangle.Sew each set of 2 Point To Point blocks together along their verticals as shown below. This tute will help you to join the seams accurately so your points match. Press all seams open.
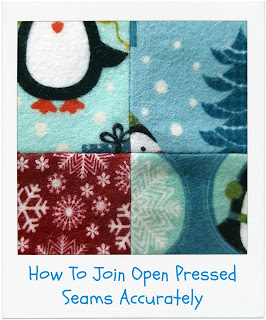
Finally, sew the Centre Rectangle to the panel of Point To Point blocks that you've just created.
Square and trim the Centre Panel - it should measure approx 43" x 8" at this stage.
Adding The 4 Borders
For each of the 4 Borders follow these same instructions:
►Sew both long side borders in place, square and trim before adding the short side borders.
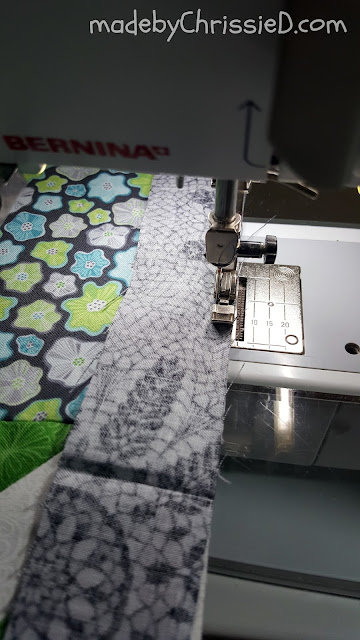
►Use a 1/4" seam. This is tricky to sew due to seam bulk and because the Borders 1 + 3 (white) are so narrow. I marked 1/4" on my machine bed with my seam guide and used my zipper foot instead - this was much easier than using a wider foot that would have sat unevenly on the pre-existing seams.
►We're switching now to pressing all seams to the side and AWAY from the Borders 1 + 3 (white). There's so little border visible, you can't afford to lose any fabric in a poor seam press to the side, make sure you press those seams fully open on the right side of the fabric as this is trickier with a side press than with an open pressed seam.
►As each border is complete, square the panel before adding the next border.
Border 1
Long, top border added.

How the back's looking with that top border seam pressed away from Border 1 (white).
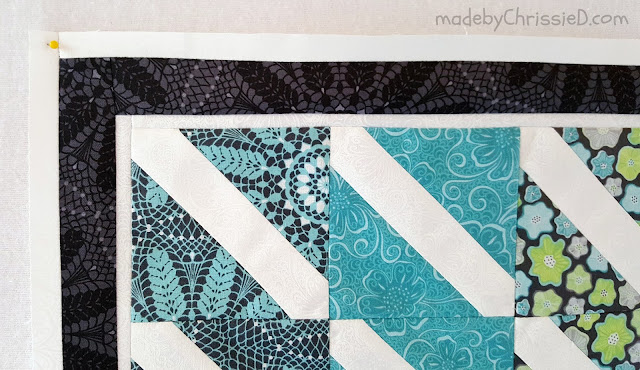
Border 1 (white) complete.
Border 2
See how the seams are pressed to the side and away from Border 1 (white).
Using my zipper foot to stitch the borders in place.
Corner squared up and trimmed.
Border 3
Corner squared up and trimmed.
Border 3 (white) complete.
Border 4
Corner squared up and trimmed.
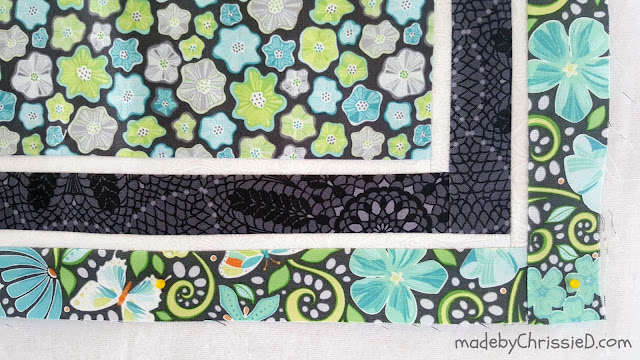
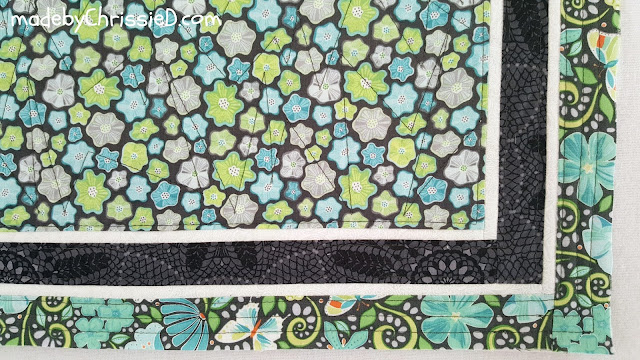
Border 4 complete.
See how my finished seams are all pressed to the side and away from Borders 1 + 3 (white).
Runner Back
Piecing The Runner Back
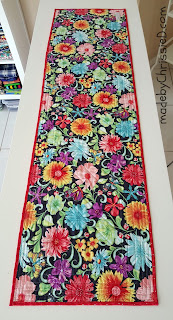
I used 1 yard of backing fabric and matched the pattern using my own tute, click through to find out how I do it. For this particular fabric I needed 32" of fabric to give me my required length and find the pattern repeat, but this would vary depending on the print you're using.
Creating The Quilt Sandwich
Options at this stage are: to use 1 layer of ordinary batting (as I did) or, if you want to be able to place hot dishes on your runner, then you'll want to layer your quilt sandwich up with a layer of batting and a layer of Insul-Bright too.
What is Insul-Bright?
Made by The Warm Company, Insul-Bright is a metallised polyester 'batting' that reflects heat or cold back to its source. You can quilt up to 10" apart and machine wash/dry with no shrinkage and can be ironed on a polyester setting. Making it perfect for pan holders, oven gloves, tea cosies, table runners etc.
NB: It can't be used in a microwave.
I've used a Frankenstein piece of batting to make my sandwich. Can you see my sewn seams in the batting piece below?

Do you save your batting cut-offs? I do and piece them together, find out how I do it here in my tute.
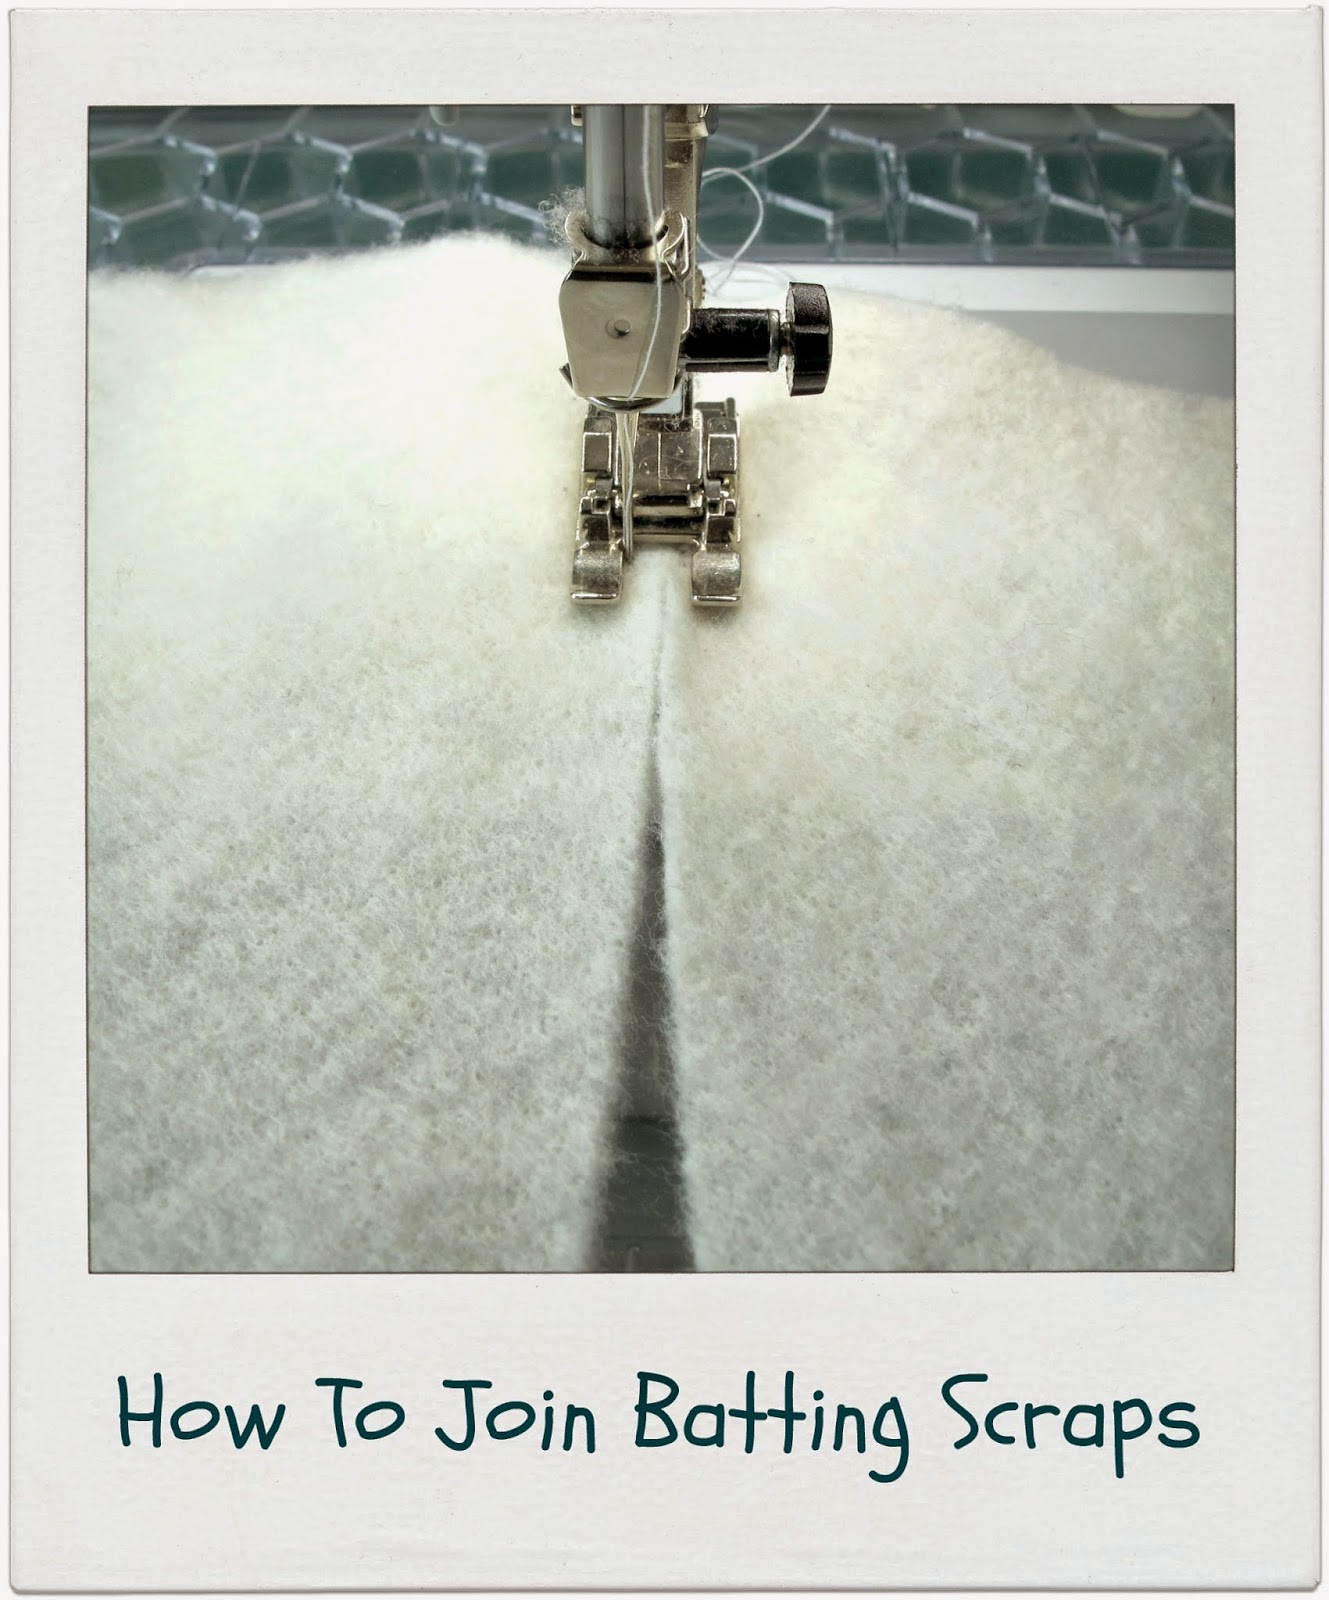
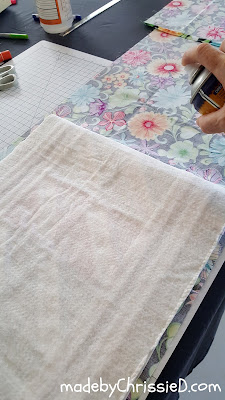
Working on half of the runner at a time, spray baste the runner front and runner back to the batting. Of course, you can use basting pins if you prefer that method.

Quilting The Runner
Quilt as desired, or if you'd like to do something similar to mine, here are the details.
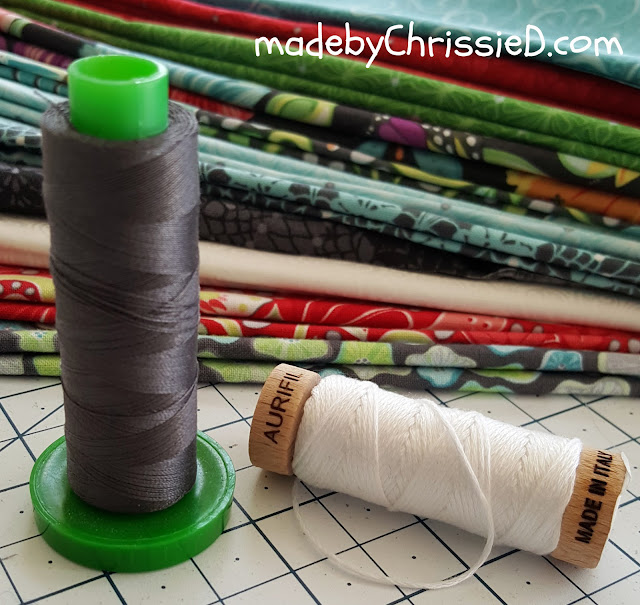
My stitch length is 3.2 mm. My thread is Aurifil 40wt and I've used Pewter #2630 on the top of my work and Dove #2600 in the bobbin.
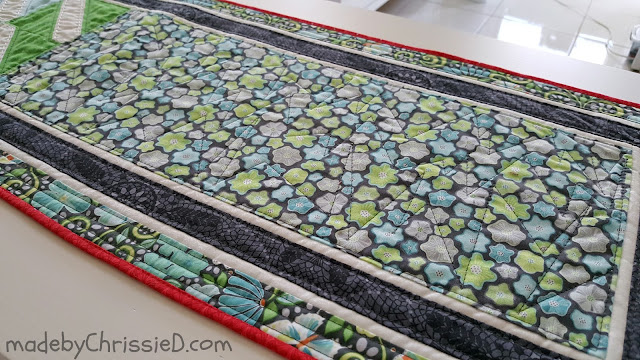
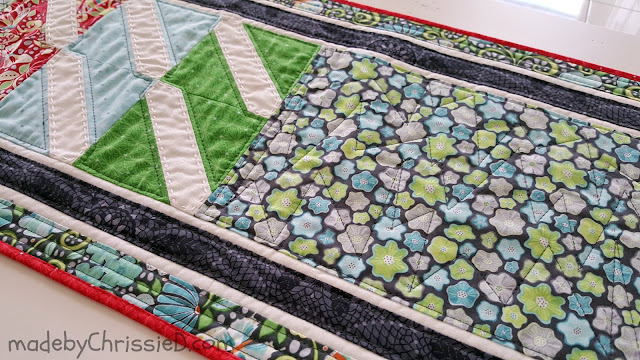
I've quilted straight lines alongside the ditch for Borders 2 and 4
and I've quilted 1/8" from the ditch around the print sections of the Point To Point blocks.
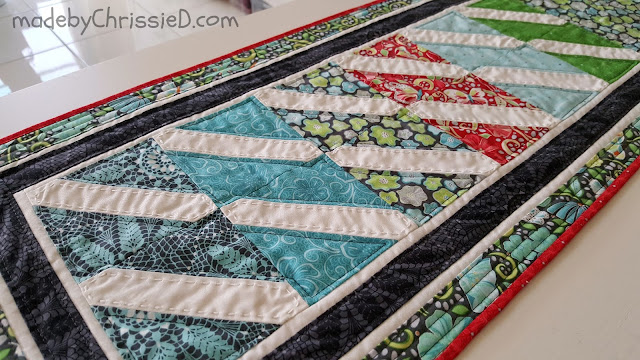
After completing the Point To Point Runner, I've handquilted the white diagonal sections using Aurifil Aurifloss White #2024. I have quilted only through the runner top and the batting, I haven't allowed my stitches to go through the backing fabric so they aren't visible there.
In the centre rectangle, I've quilted 1/8" from the ditch around the border. Next, I've quilted a row of pointed mountains across the width of the rectangle and then abstractly mirrored them twice more beneath to create 3 rows of points.
Binding The Runner
I've bound the runner in red, using my 1/4" Single Fold Binding Technique - click below for my tute.
The Finished Runner
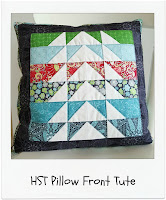
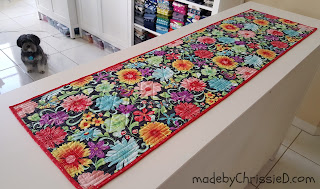
The Point To Point Runner adds a great design element to the back of a sofa too and looks great combined with my HST pillow made from those bonus/no-waste HSTs.
This project is made using Amanda Murphy's Meadow Dance collection for Benartex Fabrics. I love her fabrics and I've shared projects made from two of her earlier lines with you previously. Remember these? You can click on the images to see the original posts/tutes.
Point To Point Runner
Clicking on an image will take you to a new page of crafty goodness :)
Disclosure:
This post contains Amazon and Craftsy affiliate links for which I am paid commission on click-through purchases (at no additional cost to you). The Meadow Dance fabric used for making the project was supplied by Benartex Fabrics at no cost to mbCD, all other materials are my own. Otherwise, the post is for informational purposes only and all opinions are my own.
Copyright:































Thank you for a wonderful tutorial.
ReplyDeleteGreat tutorial. I love all the HST's and the best part is the bonus ones. I think I may need that 1/2" ruler!
ReplyDeleteThanks Jayne, and do invest in a 1/2" ruler, it's so good for doing HSTs from scratch too - you can sew on your drawn line and get total accuracy in HST size instead of relying on your machine's 1/4" foot or a seam guide. And bonus HSTs - don't you just love putting that fabric to good use instead of all the waste, I know I do?!!!
DeleteThanks for the tutorial. Great table runner. I especially like your trick for matching the print!
ReplyDeleteThank you so much, I'm glad you like it and it's such an easy technique :D
DeleteMany thanks love the runner a real wow! xxx.
ReplyDeleteGorgeous!! Love the colors you used. I'm bringing back my Monday link party @ DIY Home Sweet Home (first one will be Oct. 16th) and I would love for you to stop by and link up your runner! http://diyhshp.blogspot.com
ReplyDeleteThat’s a lovely table runner, thank you so much for sharing the tutorial at The Really Crafty Link Party. Pinned!
ReplyDeleteThank you for a great tutorial.
ReplyDeleteKeep meaning to male a runner for a long chest on our landing, would have been fine but DH plonked some heavy record cases down and scratched the top. This would be perfect to turn from shabby to chic
ReplyDeleteWow this one tutorial sure shares a lot of great information and has amazing additional tutorials, too!
ReplyDelete