Juliet @The Tartankiwi is absolutely on a roll with her latest patterns and this week I've tested her Hedgehog FPP pattern.
As I always say, don't be scared of foundation paper piecing (FPP) - jump in and have a go and you'll soon get the hang of it and love the results. Again, not all FPP patterns are equal. There's a lot to be said for a well-designed pattern, it makes life soooo much easier for the sewist and produces fabulous results and, for me, Juliet is the Queen of FPP design and her patterns are thoroughly tested before they are made available to purchase.
HEDGEHOG
FPP PATTERN TESTING FOR THE TARTANKIWI
To test this pattern I used 7 fabrics, though I think this hedgehog could look super cute if each of his prickly spines was a different colour. I've used stash batiks again with a view to making a batik animal quilt top.
This is my batik pull, you'll see I placed the fabrics in the approximate positions they'll take on the block to get a feel for how the colours play against each other.
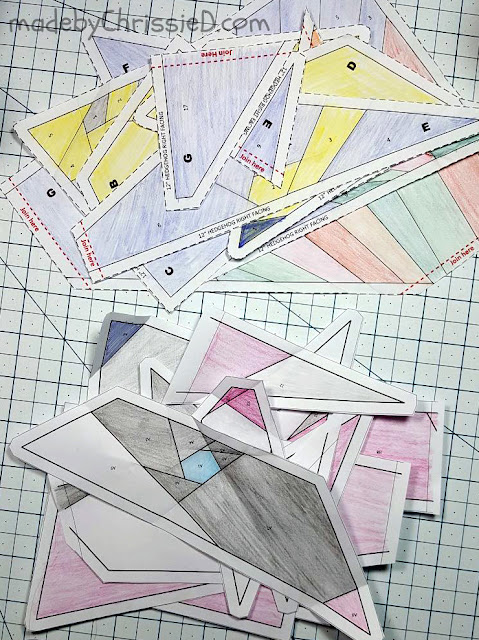
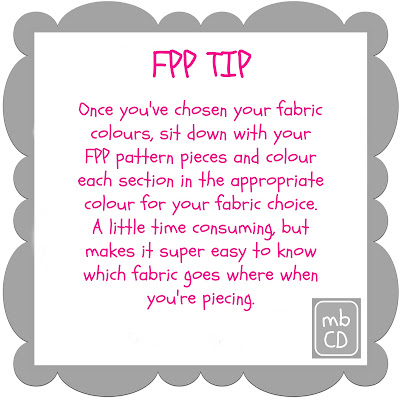
Next step is to colour the FPP pieces using my FPP Tip.
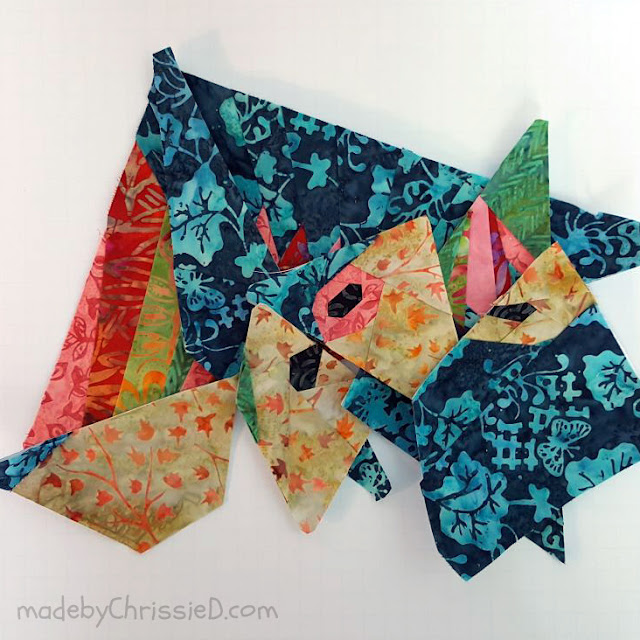
The Hedgehog pattern pieces are the pile at the top of the pic and below are pieces for another Tartankiwi FPP pattern I'm working on.
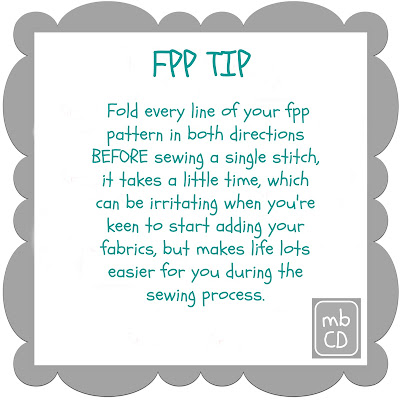
Follow my next FPP Tip and fold the sewing lines before you start to add fabric.
If you don't already have one, I highly recommend you invest in an Add A Quarter ruler by CM Designs - it's the best tool out there for all your FPP work (affiliate link).
This pattern came together quickly and here are the completed pieces.
As I complete each piece I place it on the design wall so I can see how he's looking and how the fabrics/colours are working together.
Doing this helped me decide to change one of my sewn sections with a different colour fabric.
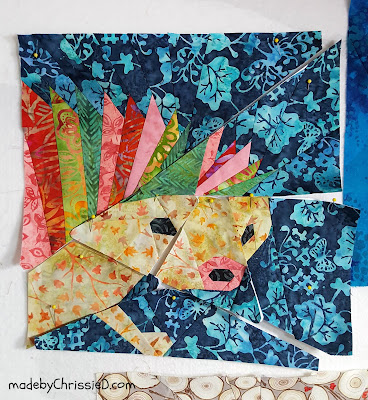
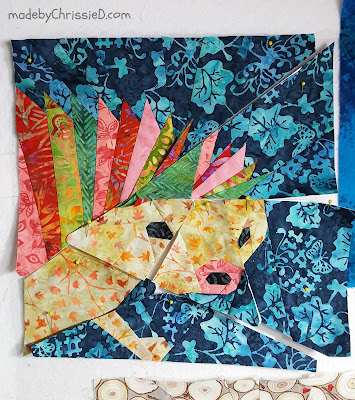
On the left, is the first version I sewed up - there was a large amount of green over Hedgehog's left eye that I didn't like. Fortunately, I only had to undo one partial seam to replace the green spine with a red spine - for the final look on the right.
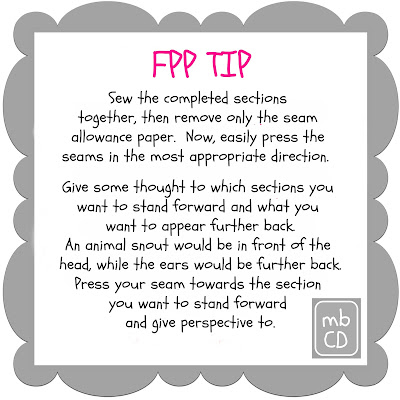
I pressed the seams so that the nose and snout sections would stand forward from the head and so the body sections would sit back from the head. I like how this brings the hedgehog to life.
Here are my FPP pressing tips so you can do the same.
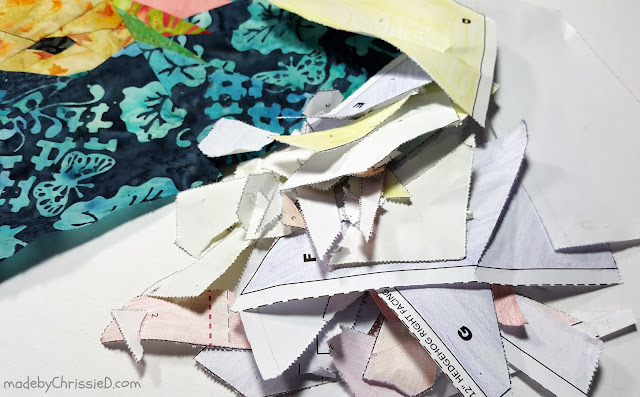
With the seams pressed to set them, I removed the rest of the paper.
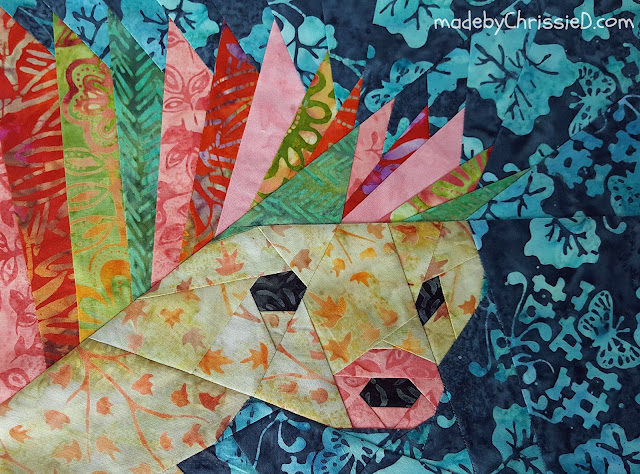
And here he is, he turned out much cuter than I thought he would.
He is a right facing, 12" square finish and the pattern includes 9" and 12", right and left facing versions.
He really is the sweetest.
And this is how he looks on my design wall, alongside the otter, panda and fox FPP blocks I've previously tested for Juliet.
The Hedgehog pattern isn't available to purchase just yet - when it is, I'll pop a link to it in my mbCD newsletter. Don't want to miss it? Subscribe by clicking this button.
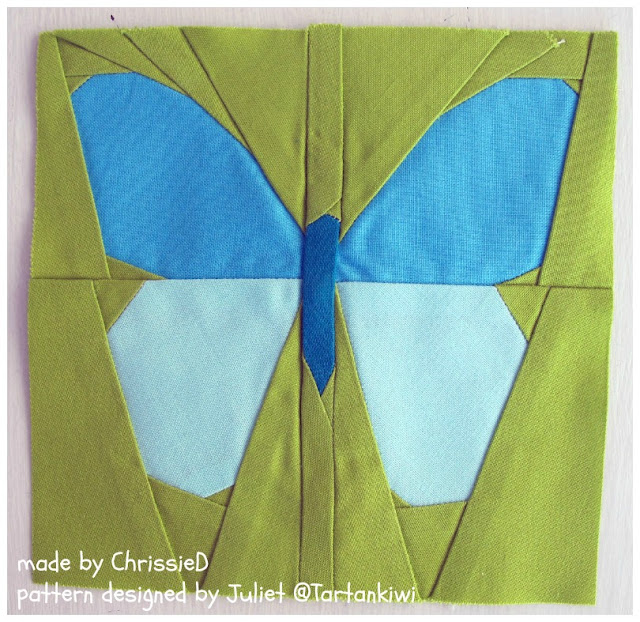
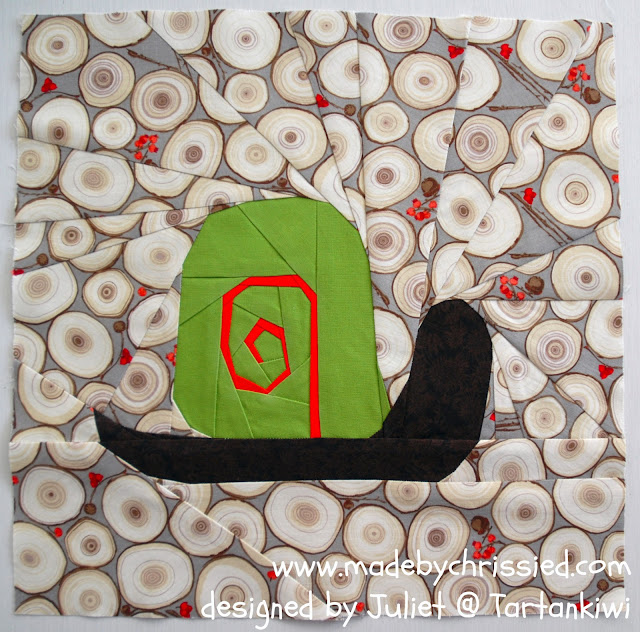
In the meantime take further inspiration from the other fpp patterns I've tested for Juliet previously:
Click any of the images below to go through to my post about testing that particular pattern:

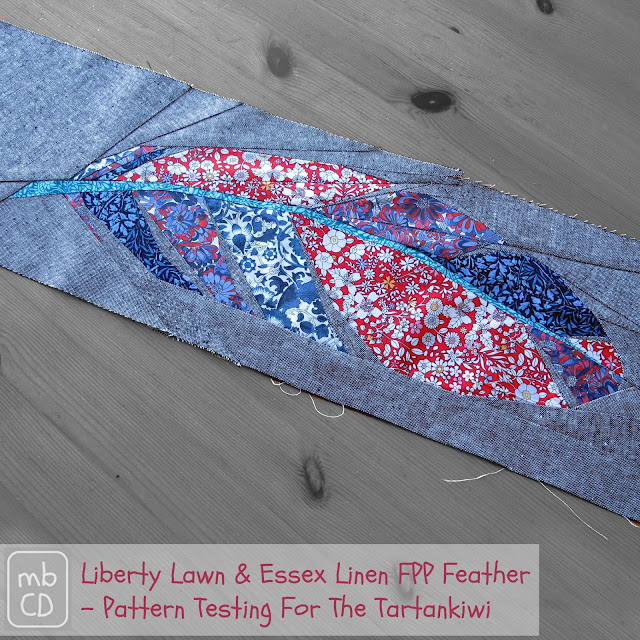
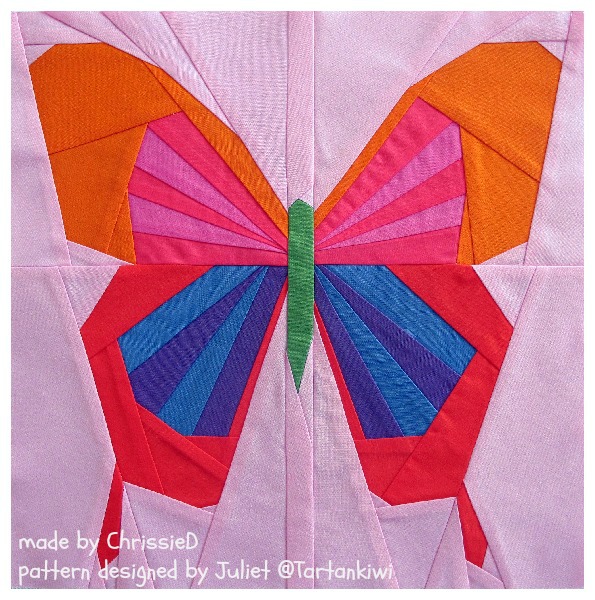



Have you tried FPP? If not have I inspired you to give it a go!? If you have, have you sewn up one of Juliet's patterns? Don't you agree they're the best? Let me know in the comments 😊
HEDGEHOG
FPP PATTERN TESTING FOR THE TARTANKIWI

Clicking on an image will take you to a new page of crafty goodness :)
Disclosure:
This post contains Amazon and Craftsy affiliate links for which I am paid commission on click-through purchases (at no additional cost to you). Otherwise, no payment or commission is received for click-throughs to shared links; the post is for informational purposes only and all opinions are my own.
Copyright:

Linky Parties This post may be linked to some great Linky Parties, always a great source of inspiration too. If you click through to my 'Fave Linky Parties' page you can see where I like to share my work.







He's lovely Chris, I have just finished testing the left facing hedgehog pattern and as ever it went together perfectly. Juliet is absolutely a whiz at creating wonderful paper piecing patterns.
ReplyDeleteThanks Fiona, headed over to your blog to take a look at your hedgehog and your otter too but you've not blogged about them yet. Looking forward to seeing them when you do :D
DeleteWhat a great tip about angling the seams to emphasise parts of the design in this case the snout. That would never have occurred to me! I'm not the greatest fan of batiks but these animal fpp blocks look stunning together.
ReplyDeleteBoulder the Quilt Inspector approves of this block
ReplyDeletehttps://1.bp.blogspot.com/-g60wvY2TOj4/WSbogwYV5UI/AAAAAAAAAP8/w1ewEGtbXHEMmp4voRp5np-NfKbgyPxlQCLcB/s1600/068.JPG
(great job on the face)
It's a lovely pattern. I really admire your patience in assembling all those little pieces. Thank you for sharing at The Really Crafty Link Party this week. Pinned!
ReplyDeleteFabulous!
ReplyDeleteIt looks gorgeous
ReplyDeleteThese blocks are amazing. This is a technique I've never tried and I can imagine getting in an awful mess if I wasn't careful, I guess that's where the "having a good pattern' bit comes in.
ReplyDeleteI love PP projects, Chris. This Hedgehog is awesome !!!
ReplyDeleteThat hedgehog is adorable! Those look like some great patterns. Happy sewing! Andrea
ReplyDeleteSuper cute pattern with your fabrics! Fun!!
ReplyDeleteSusie