There was no bee block for December, so the next one I have to share is now my absolute favourite.
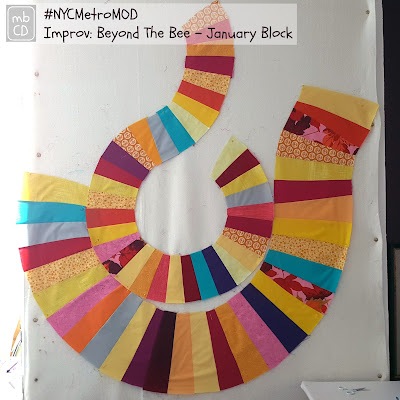
This is my January Improv: Beyond The Bee block for Greer.
Improv: Beyond The Bee
As members of the NYC Metro Modern Quilters Guild Bee, we are using many of the ideas in The Improv Handbook For Quilters by Sherri Lynn Wood and working with scores (rules open to self-interpretation) set by that month's Guild Queen Bee.
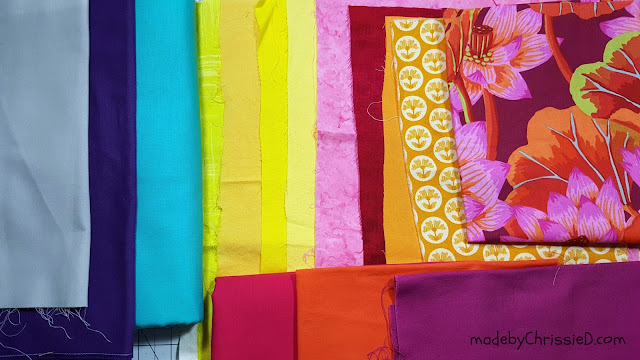
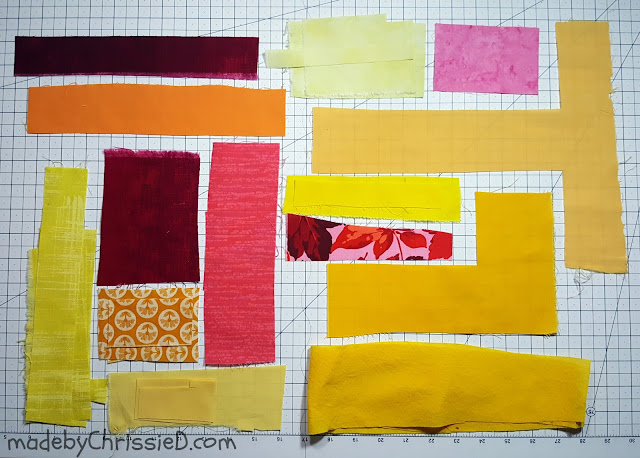
As I mentioned Queen Bee for January 2017 is Greer and she sent me these fabrics.
Greer's Score: based on Get Your Curve On
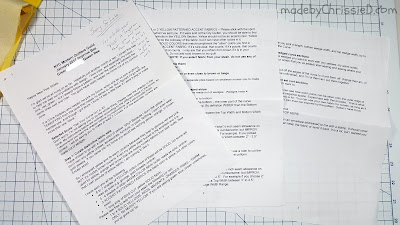
I giggled when I saw Greer's 3 page instructions but it was easy to break them down into rules.
Greer's Rules:
Create 2 curves
Size Rules for Curve 1✦strip length, between 6" to 8" (once length is chosen ALL pieces in curve must be this length)✦bottom width of strips between 1/2" to 2" - each strip can vary between these widths✦top width of strips between 2" to 3-1/2" - each strip can vary between these widthsSize Rules for Curve 2✦strip length, between 10" to 14" (once length is chosen ALL pieces in curve must be this length)✦bottom width of strips anything between 1" to 2-1/2" - each strip can vary between these widths✦top width of strips anything between 3" to 4-1/2" - each strip can vary between these widthsRules for Both Curves - Must Add Fabrics/Colours✦1-3 solids that are complementary - turquoise/purple/grey✦1-4 solids that are warm - yellows/red/magenta/orange/pink✦1-2 yellow pattern accentsRules for Both Curves - Don't Add Fabrics/Colours✦anything muddy✦no green/blue/brown colours or undertones✦no brown or beige or anything close to these✦no batiks/johann's/novelty
Idea Conception
I quickly made the following decisions about my 2 curves.
Curve 1: length 6" / bottom width 1-1/2" / top width 3" / width range 1-1/2"
Curve 2: length 10" / bottom width 2-1/2" / top width 3-1/2" / width range 1"
Choosing Fabrics
This my initial fabric pull following the Greer's Must Add Rules above.
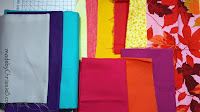
This is how they look alongside Greer's sent fabrics.
At this point I realised my Kaffe Fassett floral accent fabric doesn't fill the brief so I'll had to leave it out.
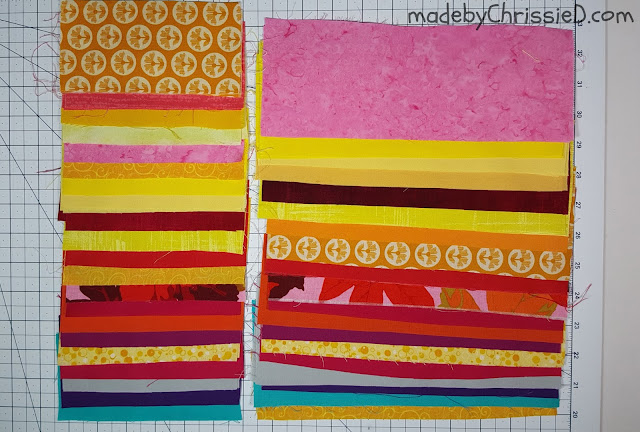
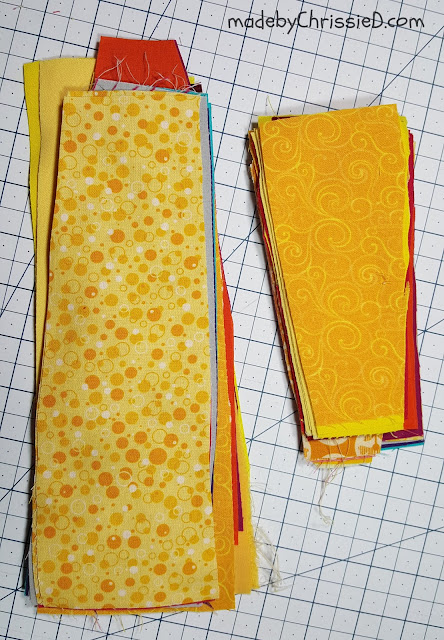
My pull for Curve 1 is on the left and for Curve 2 is on the left divided according to length of fabric available to suit each curve. When it came to cutting the strips, I had more than enough fabric to cut strips for both curves from everything so I continued cutting wedges until the left over scraps weren't large to cut any more.
Making My Block - The Process
Below are photos of the fabrics as I sewed each stage together.
These are the notes I made as I was working about the most economical cutting method...
...instead for ease and speed I came up with a different technique.
The Fastest Way To Cut Improv Wedges [Technique]
Using the cutting mat measurements as a guide, I cut rectangles from my chosen fabrics to the length and the max width required for the two curves: Curve 1 ←6" x 3" and Curve 2 10" x 3-1/2"→.
Trim a small piece of fabric to the minimum width required for each of the curve strips. Place several strips in a pile, place the guide on top (below left) and trim the fabric edges away diagonnally to meet the full width of the fabric at the opposite side (below right).
The wedge strips are instantly ready.
This is the total wastage but worth it for the ease of preparation.
I placed all the strips for Curve 1 and then for Curve 2 into a bag, pulled the strips out blind. and sewed them together. The seams weren't a perfect 1/4", because of the method of cutting used, none of this will matter in the final piece.
I kept adding strips without pressing seams and changed from wide to narrow at the same end several times to vary the direction of the curve.
You can see from these reverse pics how uneven the seams are.
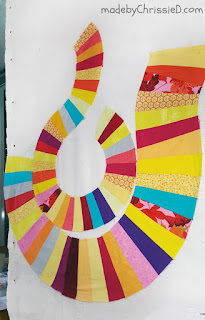
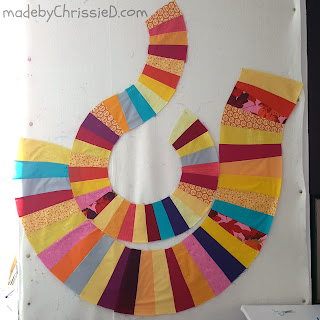
The Finished Blocks
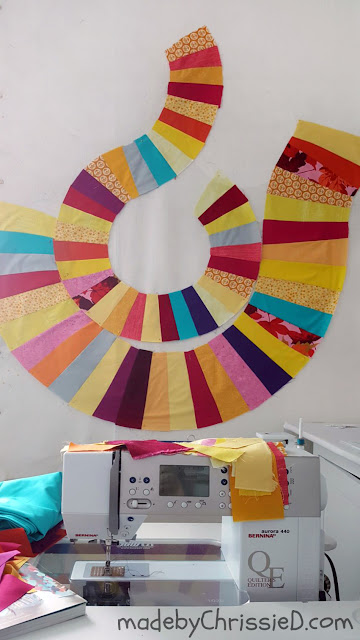
I didn't measure the finished blocks but take my word for it, they were enormous. Hopefully this pic with my Bernina will give you some sense of proportion.
And these are the scraps I sent back to Greer.
Assessing My Work Against The Score
Surprises + Discoveries
The block that looks the most difficult in the book is one of the easiest!!!
Satisfactions
Everything and especially the fast technique I came up with for cutting improv wedges.
Dissatisfactions
I wish I'd used different top and bottom widths for the pieces - instead I stuck with the same widths for all pieces I cut for a particular curve. I'd like to see the curve strips looking less even.
I'm unhappy with my yellow patterned accent fabric - it's a tone on tone and not well enough defined to be classed as a pattern.
Next Time
I'll make them for myself - I didn't want to hand these beauties over to Greer!
From Here
Don't let something that looks tricky stop me giving it a go.
Improv: Beyond The Bee
Have you made a quilt using scores from The Improv Handbook For Quilters?
I'd love to hear your thoughts and experiences too.
I'm Vice President of the NYC Metro Modern Quilters Guild #nycmetromod and from 2012-15 I was a member of our Guild's first Bee and I shared how I made each block with you here on this page along with our Guild's challenge and charity blocks and now the Improv: Beyond The Bee blocks too.
Clicking on an image will take you to a new page of crafty goodness :)
Disclosure:
This post contains a Craftsy affiliate banner for which I am paid commission on click-through purchases. Otherwise, no payment or commission is received for click-throughs to shared links; the post is for informational purposes only and all opinions are my own.
Copyright:

Linky Parties This post may be linked to some great Linky Parties, always a great source of inspiration too. If you click through to my 'Fave Linky Parties' page you can see where I like to share my work.













Looks so exciting and beautiful! I love those colourful curves!
ReplyDeleteThanks for sharing this process. I'm looking forward to taking a class with Sheri Lynne next month.
ReplyDeleteGreat tutorial, Chris! Thanks for sharing.
ReplyDeleteI love those curves.
ReplyDelete