I'm so excited about making this quilt, not sure I can hold off a whole year until it's finished!
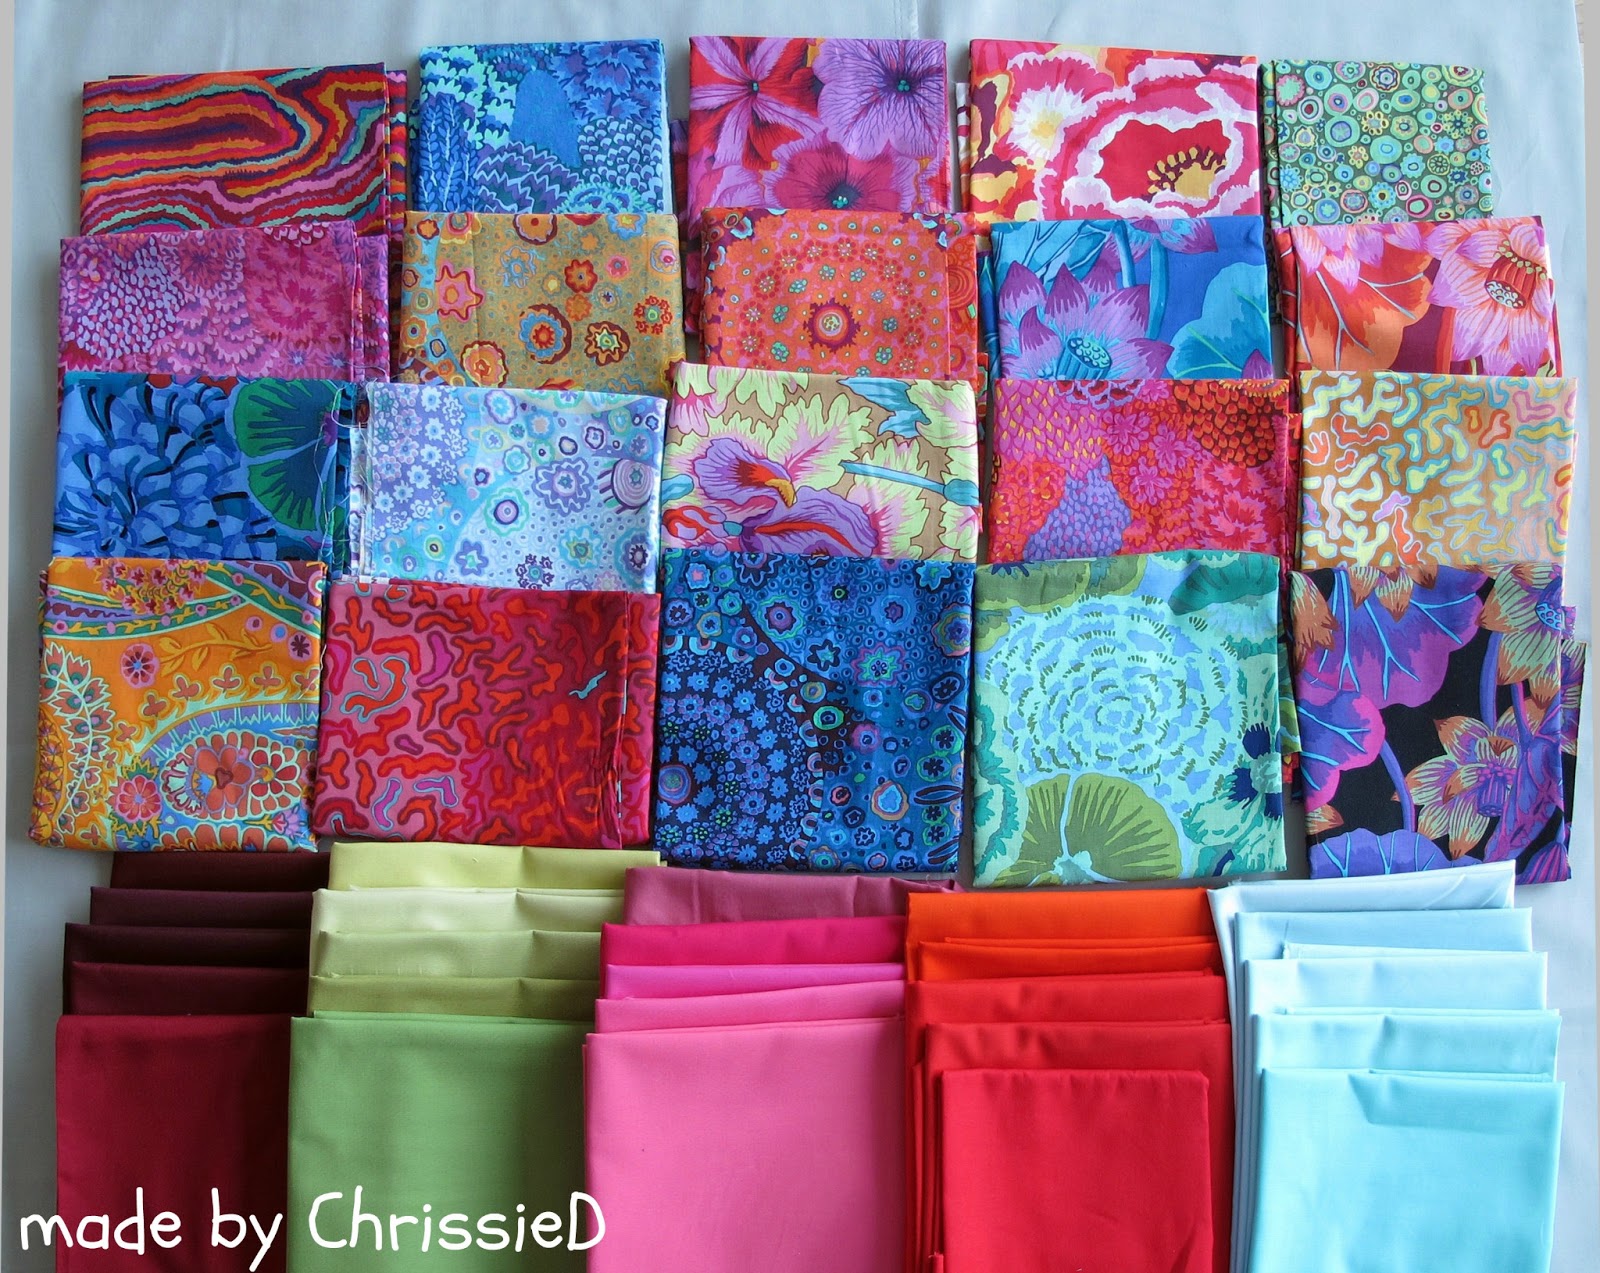
Here's a pic of all my fabrics together
The fabric second down/left 1st column (pink) is a substitute for a fabric that hasn't arrived yet, which is actually lime green based.
And here are my first two blocks.
(I have to admit I'm a bit ashamed to share these photos with you as the pressing marks are soooo bad, and I never pressed anything before that's looked worse after pressing than before, but there's a reason for that which I'll go on to explain!)
Magnum
Sound Wave
What I've learnt so far:
- Starch your fabric - oh boy is this stuff good! I'm using Mary Ellen's Best Press - the nozzle on my bottle was a bit spitty which left marks on my fabric (these will wash out) but my second bottle is spraying perfectly. Starched fabric holds its shape so much better when you're cutting and piecing - I'm a total convert. Alyssa has put together a great tutorial on how to starch.
- Use a very firm ironing board with NO give - I thought my ironing board was firm but turns out I was wrong. In my photos (oh I'm so ashamed of them, particularly of my Sound Wave block!!!) you can see all the lines where my iron has 'pressed' the fabric and the fabric has also wrinkled and my seams no longer look straight. This is because I've used starch and there's 'give' in my ironing surface. The blocks aren't spoilt/damaged - it'll all come out in the wash but if I make myself a pressing board, rather than using my ironing board, then this problem should go away.
- To make a pressing board all you need is a piece of flat wood - the sort that is used to lay under vinyl flooring is perfect, staple a piece of batting around the wood and then cover with a piece of 100% cotton fabric of your choice and staple that in place also. Home Depot here I come!
- When joining strips together side by side sew each one in the opposite direction to the previous strip. By this I mean when you sew your first two strips together start sewing at the top of the block and when you attach your third strip start sewing at the bottom of the block and keep alternating direction. Adding each strip can cause your block to curve in one direction but if you alternate sewing direction then each curve will work against the last and keep your block and sewn lines straight.
As this is Quilt As You Go (QAYG), the blocks are
sandwiched and basted ready for the next stage later this week - Free Motion Quilting (FMQ). I've folded each block back so you can see the backing.
And here's the thread colours I've selected from my stash.