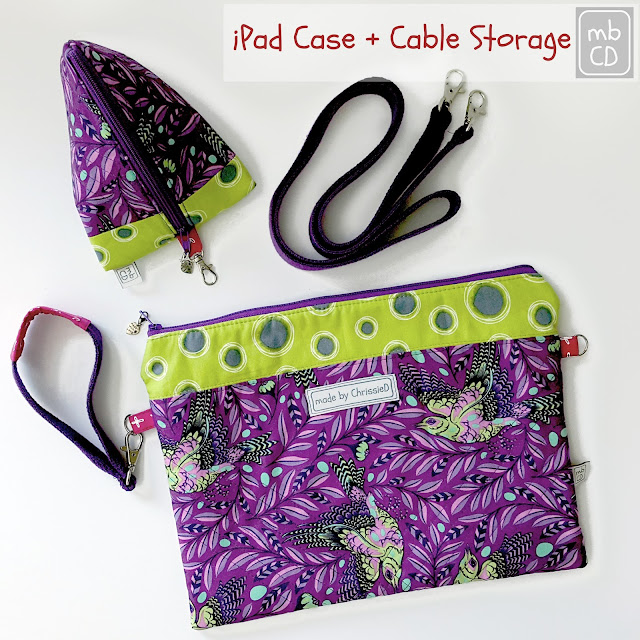
Earlier this year, during one of our weekly Skype chats, my Mum did something she's never done before, she asked me to make something for her. More specifically, she asked me to make a case for her iPad, something like my daughter, Flicky, had made for her Mac using one of my tutes.
teaching sewing confidence, tip by tip
Showing posts with label Tula Pink. Show all posts
Showing posts with label Tula Pink. Show all posts
Sunday, 5 November 2017
Monday, 15 December 2014
The Tula Team - Tissues, Toiletries & Tote
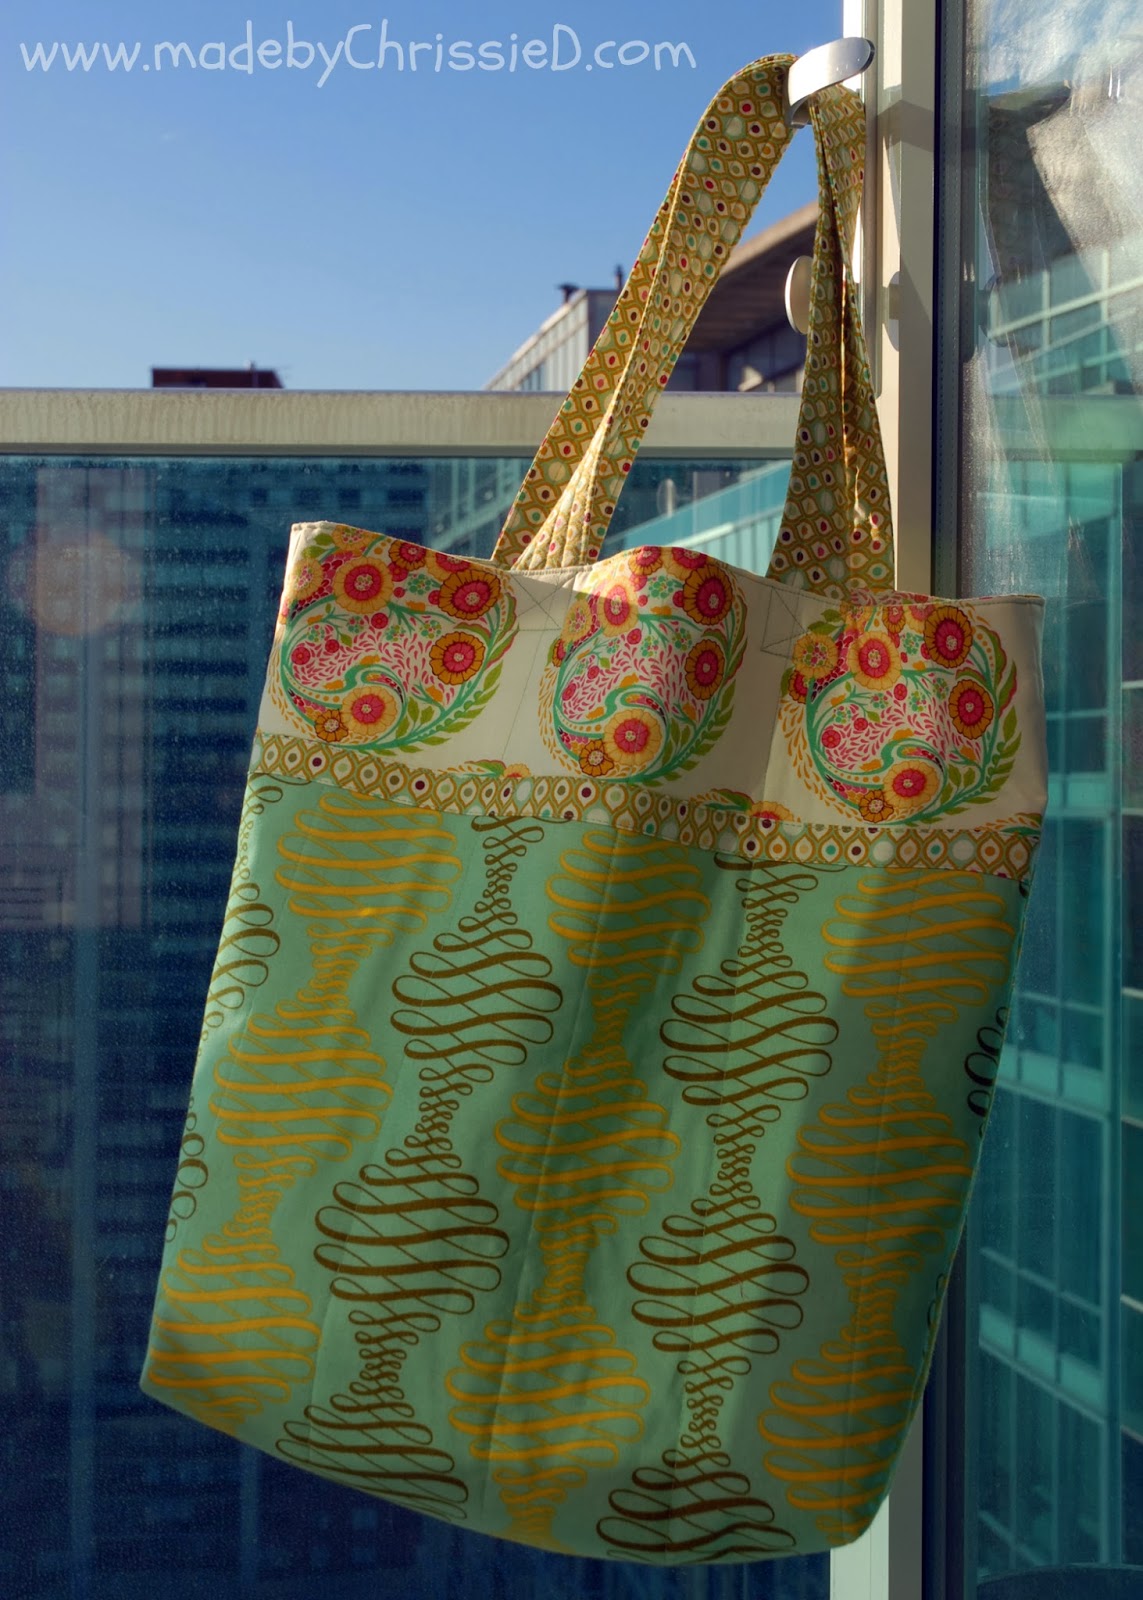
Back in November 2013 I shared this Tula Pink bag with you - you can read all about it here:
I made the tote to give to my son's partner, Ana, for Christmas 2013 and I also made coordinating accessories - a toiletries bag and a tissue cover. If you're a regular reader you might have guessed by now that I never shared the accessories as what follows are more of those photos that have just resurfaced when I recently cleared out one of my cameras.
Fabrics used:
Topiary, Eye Drops and Spencer Stripe from the Parisville collection - all by Tula Pink for Free Spirit.
I love how the lining fabric is visible through the outer tissue cover, those fabrics work so well together.
Have you ever made something, forgotten about it then found a photo a while after?
There're even more photos of other makes on the camera, fun looking back at everything, though!
Disclaimer:
This post is for informational purposes only, no payment or commission is received on click-throughs and opinions are my own.
Disclaimer:
This post is for informational purposes only, no payment or commission is received on click-throughs and opinions are my own.
Tuesday, 11 November 2014
Happy Flowers - A Liberated Nine Patch Semi Tute
Queen Bee Rossanna set quite some challenge with November's Bee Block.
Some months ago Rossanna asked us all to start collecting wrappers from sweets or biscuits, tea or coffee - well wrappers from just about anything ready to make her November Bee Block.
I drink tea, lots and lots of tea, so I started saving the wrappers from my tea bags.
As November came around Rossanna sent out her instructions and fabric.
Here's the fabric - Turtle Bay in olive for the Prince Charming collection by Tula Pink.
and the gist of her instructions were:
The blocks are to be part of an enchanted garden of a quilt.
1. ... make two 8.5" totally creative, free form, liberated, nine patch blocks using greens. Use the green fabric provided in each.
2 ... over the green nine patch blocks create awesome happy flowers from combinations of fabric (any type) and your saved wrappers.
3 ... feel free to use embellishments whatever you decide!
I wouldn't like to call what follows a tute but I have explained my process so I'm calling it a semi tute.
I wouldn't like to call what follows a tute but I have explained my process so I'm calling it a semi tute.
Pulling some green from my scrap box I discovered I didn't have that much really - plenty green with other colours but I wanted to keep the blocks just green - so this was my pretty poor fabric selection.
Next, I cut the given Tula fabric into six random pieces.
Here goes for the first block. I sewed 3 fabrics together into a strip and trimmed, then I added another strip of 3 fabrics and then a third strip. I cut in any direction, paying no attention to seams and joins apart from making sure I was working larger than the 8.5" required for the block so I had plenty fabric for trimming down to size.
For the second block I included much more of the given fabric and created it the same way as the first.
And that's the two liberated nine patch blocks completed.
On to the flower embellishment. I really didn't know where to start - only that I had all these tea bag wrappers.
My instant idea is to make a flower petal from each tea bag wrapper, layer them up to create the flower, so I just go with it and start cutting a large petal from the first wrapper. I keep one section of the fold of the wrapper in place to hold the two sides of the wrapper petal together - my thinking here is this will make the petal thicker, slightly stronger at the centre of the flower and give the petal colour on both sides.
Here's how I layered up my first flower:
Pic 1: I used extra large petals and sewed around the centre;
Pic 2: then I sewed a circle of orange/yellow netting over it;
Pic 3: added another layer of 5 petals slightly smaller than the first layer;
Pic 4: another circle of orange/yellow netting;
Pic 5: a final layer of 5 petals smaller again.; and
Large Pic: then I sewed the flower onto the block.
I finished the flower off by hand sewing two buttons on top of each other over the centre of the flower - sewing right through to the back of the block.
And for the second flower:
Pic 1: I took a piece of lime green sheer ribbon and sewed two rows of straight stitch 1/4" apart along one edge of the ribbon - I used my Bernina's maximum stitch length;
Pic 2: I knotted one end of the two rows of straight stitch together to hold that end and then pulled one piece of each thread at the opposite end which ruffles the ribbon, pulled the ends tight and knotted them;
Pic 3: I sewed the ribbon circle onto the 8.5" block;
Pic 4: As in the previous block I sewed 5 petals to the centre of the ribbon;
Large Pic: I made another ribbon circle as before and sewed it on top of the petals.
And a couple of close-ups of those flowers.
Really wasn't sure what I was going to make for this month's Bee Blocks or how they'd turn out, I'll go as far as to say I didn't think I'd like this one at all but, as is often the way with my Bee Blocks I enjoyed the process and love the finished blocks. My husband, Simon's thrilled the blocks are finished too, he said: "does that mean we can stop saving our tea bag wrappers now?"!
I have no idea how Rossanna is going to sew all the blocks together - the flowers we're making are going to be so fragile and I can't imagine quilting around them either. I'm guessing it's going to be an art quilt as, again, it's too fragile to use and can't be washed. When I know more I'll share it with you, in the meantime, you can check out all the other blocks as they're made here on my Quilty - Happy Flowers Liberated Nine Patch Blocks Pinterest Board.
And you can click this button below to see all of my NYC Mod Quilt Guild Bee Blocks and Challenge Blocks/Quilts.

Disclaimer: This post is for informational purposes only, no payment or commission is received on click-throughs and opinions are my own.
Featured on:


Saturday, 25 October 2014
Wonky Log Cabin Block Tute - NYC Mod Quilt Guild Bee
Hi, Chris here, catching up with my NYC Mod Quilt Guild Bee Blocks - this one's for September and our Queen Bee is Andrea Deal of Gotham Quilts.
If you haven't heard of Gotham Quilts yet then do check out their website - it's a brand new online fabric store owned by my two friends Andrea Deal and Ivete Tecedor, based in Manhattan but shipping internationally.
Not surprisingly Queen Bee Andrea picked some pretty gorgeous new fabrics for her blocks with her whole store to choose from!
Forest Frivolity, Moonshine in Strawberry by Tula Pink for Free Spirit
Stitch Circle in Candy by Michael Miller
Chicken Coop in Egg Blue by Joel Dewberry for Free Spirit
Mini Confetti Dots in Cantaloupe by Dear Stella
Stampede Lawn, August in Mint by Sarah Watts for Cotton+Steel
Our instructions for the block:
"do a 12.5" wonky log cabin variation like the one pictured... . I have a cool new Tula Pink print for the feature fabric, but don't feel like you have to use it in the center. ... ".
I choose two images from the Tula Pink fabric and fussy cut them - first the tent as the central starting point for the block
and a long strip that included the two pink deer.
Time for the my Wonky Log Cabin Block tute -
click the image below to take you to the tute I wrote for the June 2014 NYC Mod Quilt Guild Bee Block.
click the image below to take you to the tute I wrote for the June 2014 NYC Mod Quilt Guild Bee Block.

I've used exactly the same process to make this latest block. The only thing I did differently this time that I don't normally pay attention to was keeping the fussy cut central Tula Pink tent section totally horizontal to the finished block.
This was simple to do, I just made the block larger than necessary and then using the grid on my cutting mat and my long quilting ruler made sure this section was horizontal by wiggling the block between the mat and the ruler to line it up perfectly before trimming the block back with my 12.5" square ruler. Wishing I'd taken a pic of how I did it now :(
Oh dear, yet another block that I wish I didn't have to hand back! I'm particularly enjoying how I've cut away a lot of the pink round of fabric so you only see a really small section of pink down the right hand side of the block. The trick is not to worry about cutting away a fair amount of a strip you've just sewn on - it's the best way to get large sections and unusual angles within the block.
I just love making wonky log cabins - anything that doesn't involve measuring and yet looks so precise in the finished piece is okay by me.
Two final questions for you:
1: How do you like your log cabins, wonky or straight?
2: Have you visited the Gotham Quilts online fabric store yet?
As always you can check out all the blocks that our Bee make for Andrea on my Quilty - Wonky Log Cabin Pinterest Board - I'll add more pins as each person in the Bee posts photos of their finished blocks and you can see my NYC Mod Quilt Guild post here too.
And you can click this link to see all of my NYC Mod Quilt Guild Bee Blocks and Challenge Blocks/Quilts.
Featured On:
Saturday Spotlight


