Does your cutting mat have lint from fabric stuck in it? I've been rotary cutting batting to make large sheets from my scraps, and afterwards, it looked like this.

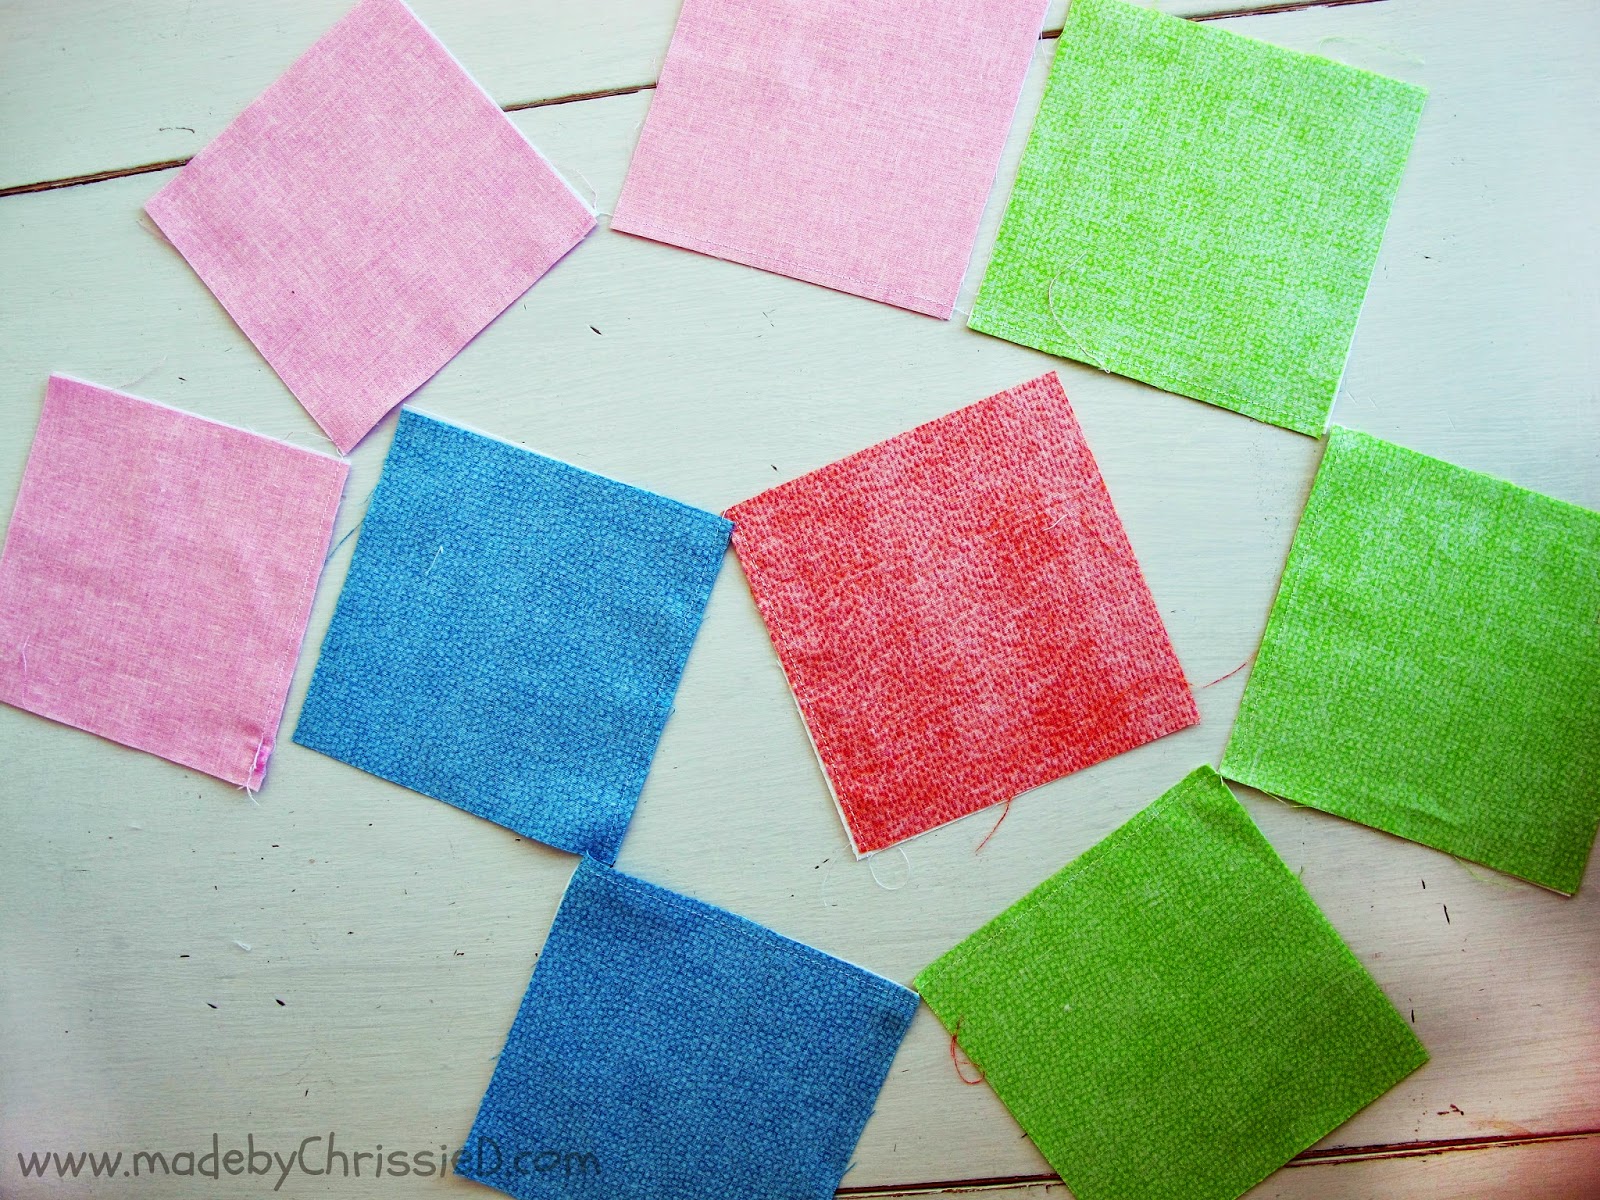
If you're interested in learning how to make full batting sheets from your scraps, click on this image to access my previous tute.

I was about to clean the mess off the mat, and you might like to see how I do it.
How To Clean And Care For A Self-Healing Cutting Mat

Meet your cutting mat's new best friend - a simple rubber (or eraser for my American readers!).

I'm using a Staedtler Plastic eraser, like these from Amazon (affiliate link).
It doesn't matter to the process, but I keep the side of the rubber/eraser flat on the cutting mat. It means I'm working a larger area at any time, moving it over the mat's surface and applying a small amount of pressure.
It doesn't matter to the process, but I keep the side of the rubber/eraser flat on the cutting mat. It means I'm working a larger area at any time, moving it over the mat's surface and applying a small amount of pressure.

The attached fluff starts to collect as I work.

And finally, I'm left with a pile of fluff and rubber/eraser particles, which I wipe away.

Less than two minutes from starting, my mat looks new again.

Tips In Caring For Your Self-Healing Cutting Mat:
Hi everyone, my Tips In Caring For Your Self-Healing Cutting Mat post is proving extremely popular across the internet, and my tip list is being printed and shared. As a teacher, I'm always delighted to share my knowledge with everyone and 'spread the word', and I'd love you to do the same for me - tell everyone that you found the info right here and suggest they visit my blog too. Thanks for your support in advance - Chris :D
Your mat will warp easily:
only roll for a short period - the time it takes to get it home from the shop when you buy it should be okay if you don't take the slow train home! - but once your mat's been used, don't do it as it will open up lines where you've cut on it and can cause the mat to crack;
don't stand it on its edge - lie it flat, on your cutting table or under a sofa or bed;
don't iron or apply heat - don't put hot food, drinks or laptops on your mat;
don't leave in direct sunlight or against a radiator or other heat source;
don't leave it in a car on a sunny day.
Moisturise:
Did you know your cutting mat needs moisture, making cutting more effortless, and your rotary cutting blades won't dull as quickly? To moisturise your mat occasionally, place it in a cool water bath with approximately 1/4 cup of white vinegar to every gallon of water. Leave to soak for about 20 minutes. Using a soft mushroom scrubbing brush and a splash of gentle liquid soap, you can clean the surface at the same time. Rinse, air, or towel dry (no heat or direct sunlight!). If your mat smells, this should really help.
Updated - 29 December 2016
Several people have asked how to soak a mat that's too large for the bath. My mat is giant and won't fit in my tub either; I soak one half and then turn it and soak the other half. Admittedly, it's harder to do this when you have an American bathtub rather than a European bath/soaker tub, as they're so small, but I've managed it.
Avoid repeated cutting lines:
Try to make repeated cuts on different sections of the mat. Frequent use of one measured line will create grooves and eventually slice through your mat, causing problems when cutting and blunting your rotary blade. This is a regular occurrence working in a quilt store, particularly on the quarter-yard and yard lines!!!
When all else fails:
If a section of your mat fails, don't throw it out; instead, use heavy scissors (not fabric scissors!) to cut the mat into templates and smaller sections. This is great for retreats and travelling.

Do you have any more tips in caring for cutting mats? Share them with us in the comments :D
Additional Tips From Readers' Comments:
A quick brush with a lint roller lifts a lot from the mat - Sarah
Sticking tape can remove stuff, too - Chris
Rubbing fabric across your mat usually (not always) works to gather up the fluff - Sandra Walker
Baby wipes clean mats - Cate Brickell
Apply a strip of duct tape or clear packing tape along the cut groove to remove really tricky velvet. Press to make the fibres adhere, then pull away (more info in #comment 60 below) - Cara.
Help, My Cutting Mat's Warped!
As heat warps cutting mats, I advise using heat to your advantage to 'warp' it back into shape. It won't hurt to try this method. On a hot day, put your mat outside on a dry, flat surface or lay it flat in the boot of your car; now, place heavy books or similar over the entire surface. Leave the mat there until the sun has gone and the mat has time to cool naturally. Fingers crossed, your mat will be flat again.
I saw this YouTube video by Hedi Salm titled "How to Fix a Warped Cutting Mat." I haven't done this myself, so I'm in no way saying she's right or that it works, but if you have a warped mat, you might want to watch this video and decide whether to give her technique a go!
I saw this YouTube video by Hedi Salm titled "How to Fix a Warped Cutting Mat." I haven't done this myself, so I'm in no way saying she's right or that it works, but if you have a warped mat, you might want to watch this video and decide whether to give her technique a go!
How To Clean And Care For A Self-Healing Cutting Mat
![How To Clean A Self-Healing Cutting Mat [Tutorial] by www.madebyChrissieD.com](https://blogger.googleusercontent.com/img/b/R29vZ2xl/AVvXsEjYyZOHNXx3fy52RYVyGyzd9T7ITiuzyq555NLoj3Xd9h-Zk5loFK3XwzbcZXEaO-b_jLTgM08s99bk4vggdu01Yx79eZ-Fa00V2G1BM23z4Mp2UIANowJSGTspB48h8I6X6zeq1MiQ66Xo/s320/How+To+Clean+A+Self+Healing+Cutting+Mat.jpg "How To Clean A Self-Healing Cutting Mat [Tutorial] by www.madebyChrissieD.com")
Featured on:


Clicking on an image will take you to a new page of crafty goodness.


Disclosure:
This post contains Amazon affiliate links for which I am compensated on click-through purchases (at no additional cost to you). Otherwise, the post is for informational purposes only; all opinions are mine.
Copyright: