February's NYC Mod Guild Queen Bee is Kim H and she handed out her block packages at last weekend's NYC Metro Mod Quilt Guild meeting (you can read more about our meeting on my Facebook page and also on our President Lisa's blog @The Red Headed Mermaid).
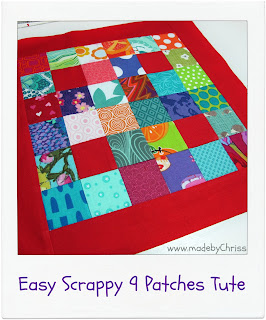
Easy Scrappy Nine Patches Tute
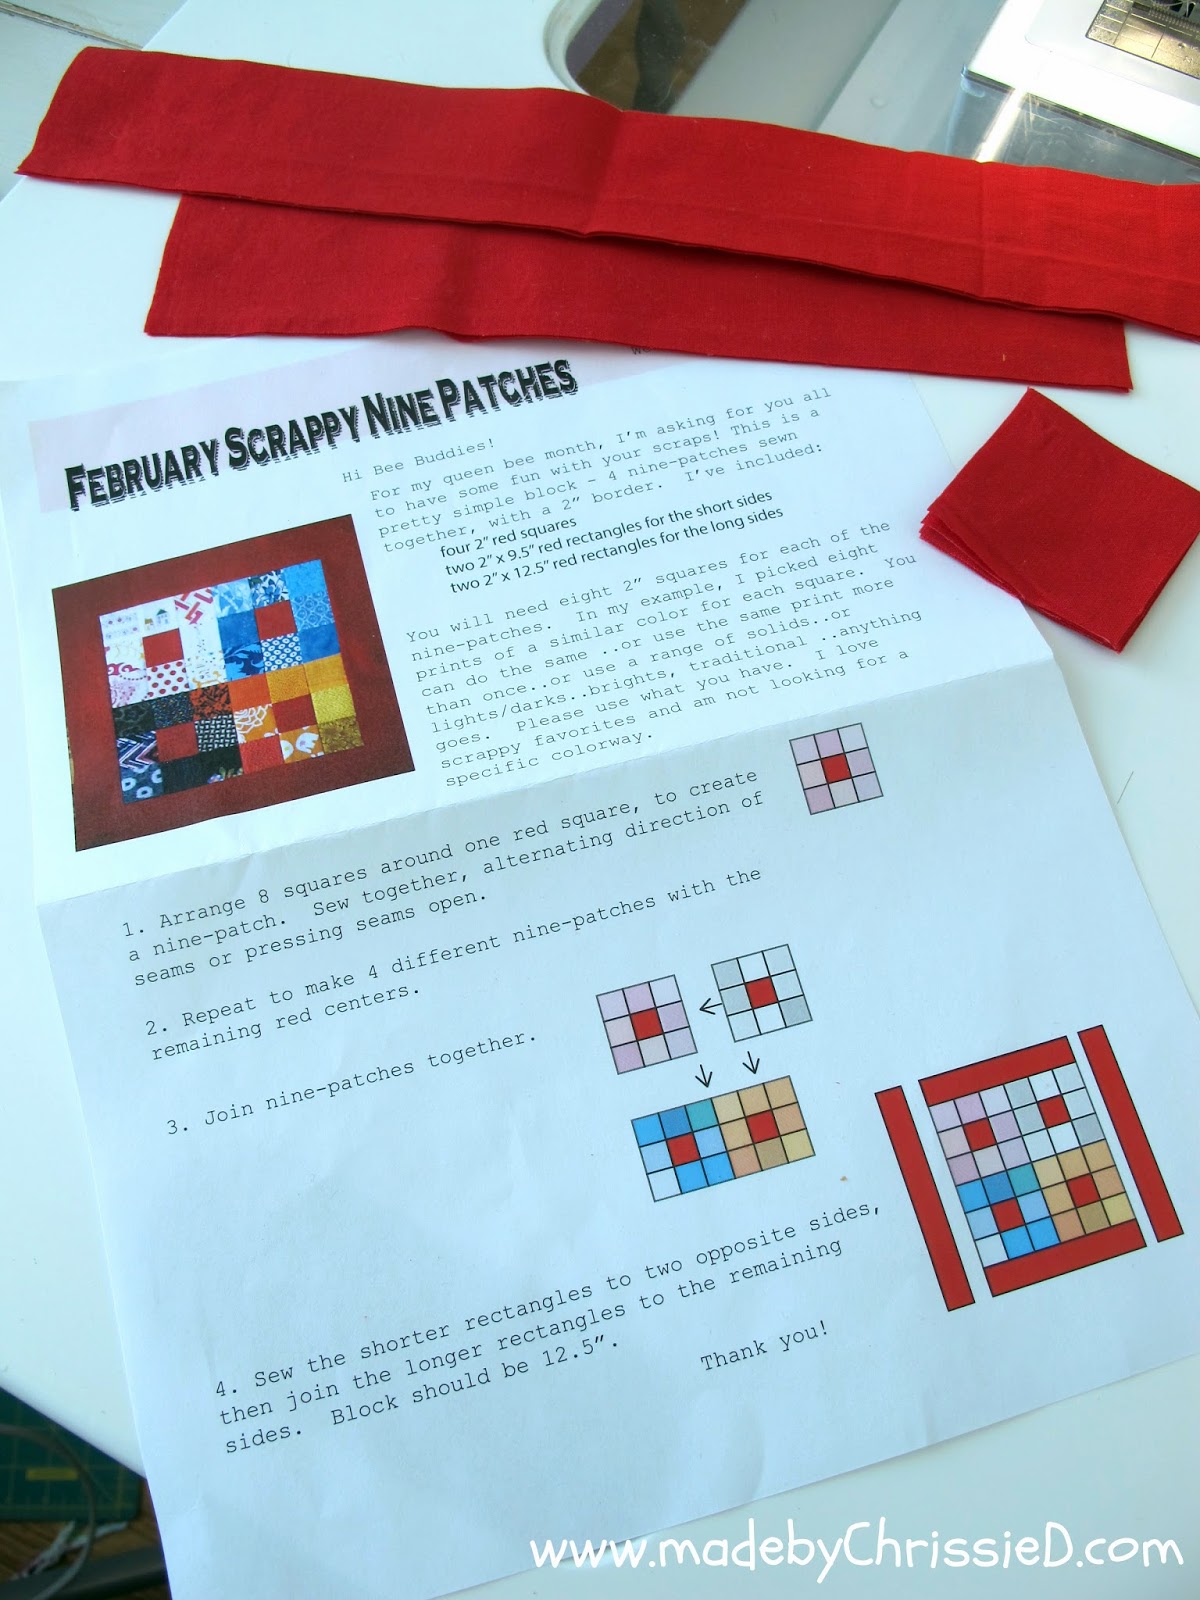
And here's Kim's instructions. She gave us the 4 centre red squares for the 4 nine patch blocks and the outside red strip border fabric and asked us to use our own scrappy fabrics to create the other 32 squares saying we could use any prints, solids, colours, "anything goes". You can see Kim's block on her instruction sheet - she used prints in 4 definite colour ways which make her 9 patches really obvious and she puts them together as 4 nine patch blocks.
I've got a different way of putting this block together that I want to share with you:
For each 12.5" x 12.5" finished block you'll need:
4 x 2" solid squares
32 x 2" print squares
two 2" x 9.5" rectangles for the border short sides
two 2" x 12.5" rectangles for the border long sides
If you're interested in finding a tool to make cutting those 32 x 2" squares really fast and easy how about reading my Tutorial: Charm Squares - An Easy Way To Cut Multiples Quickly. On this occasion, I had to cut each square individually as I was using a different print for each but if you're cutting multiple squares from the same fabric then this is the tute/tool for you.
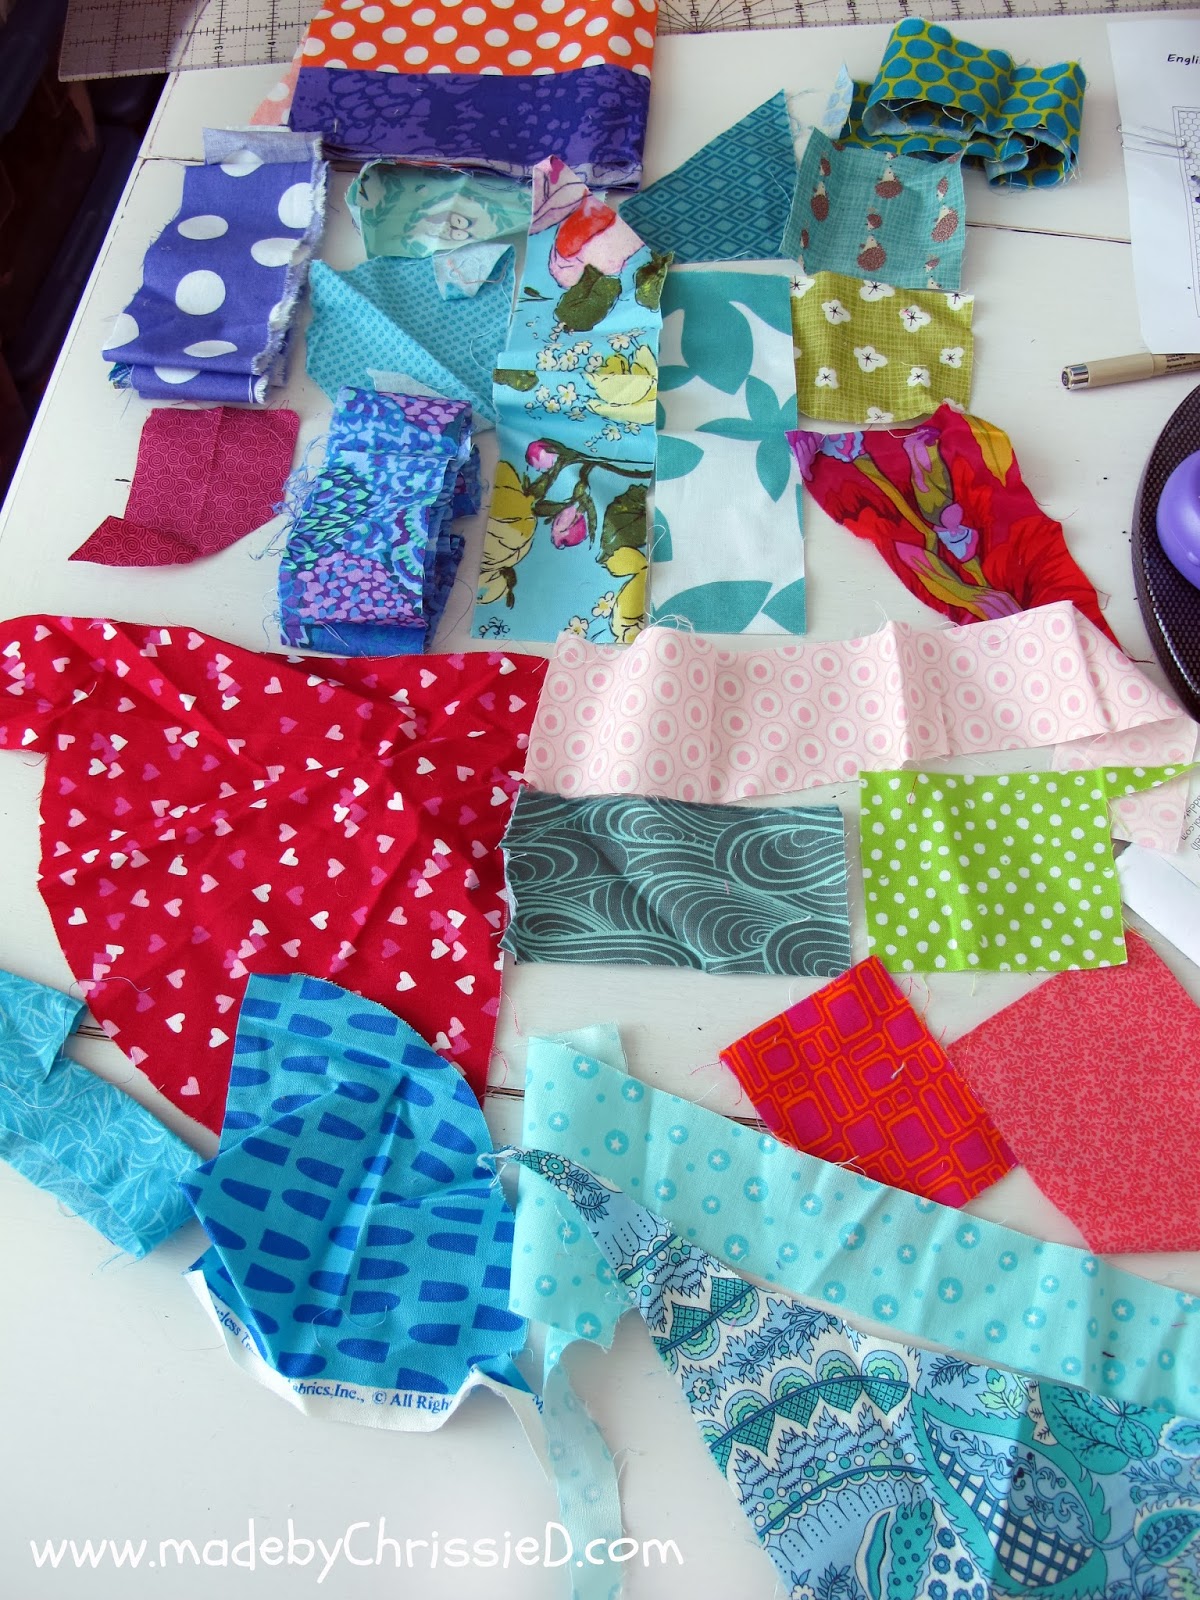
I decided to use 32 different prints and pulled this selection from my scrap bin;
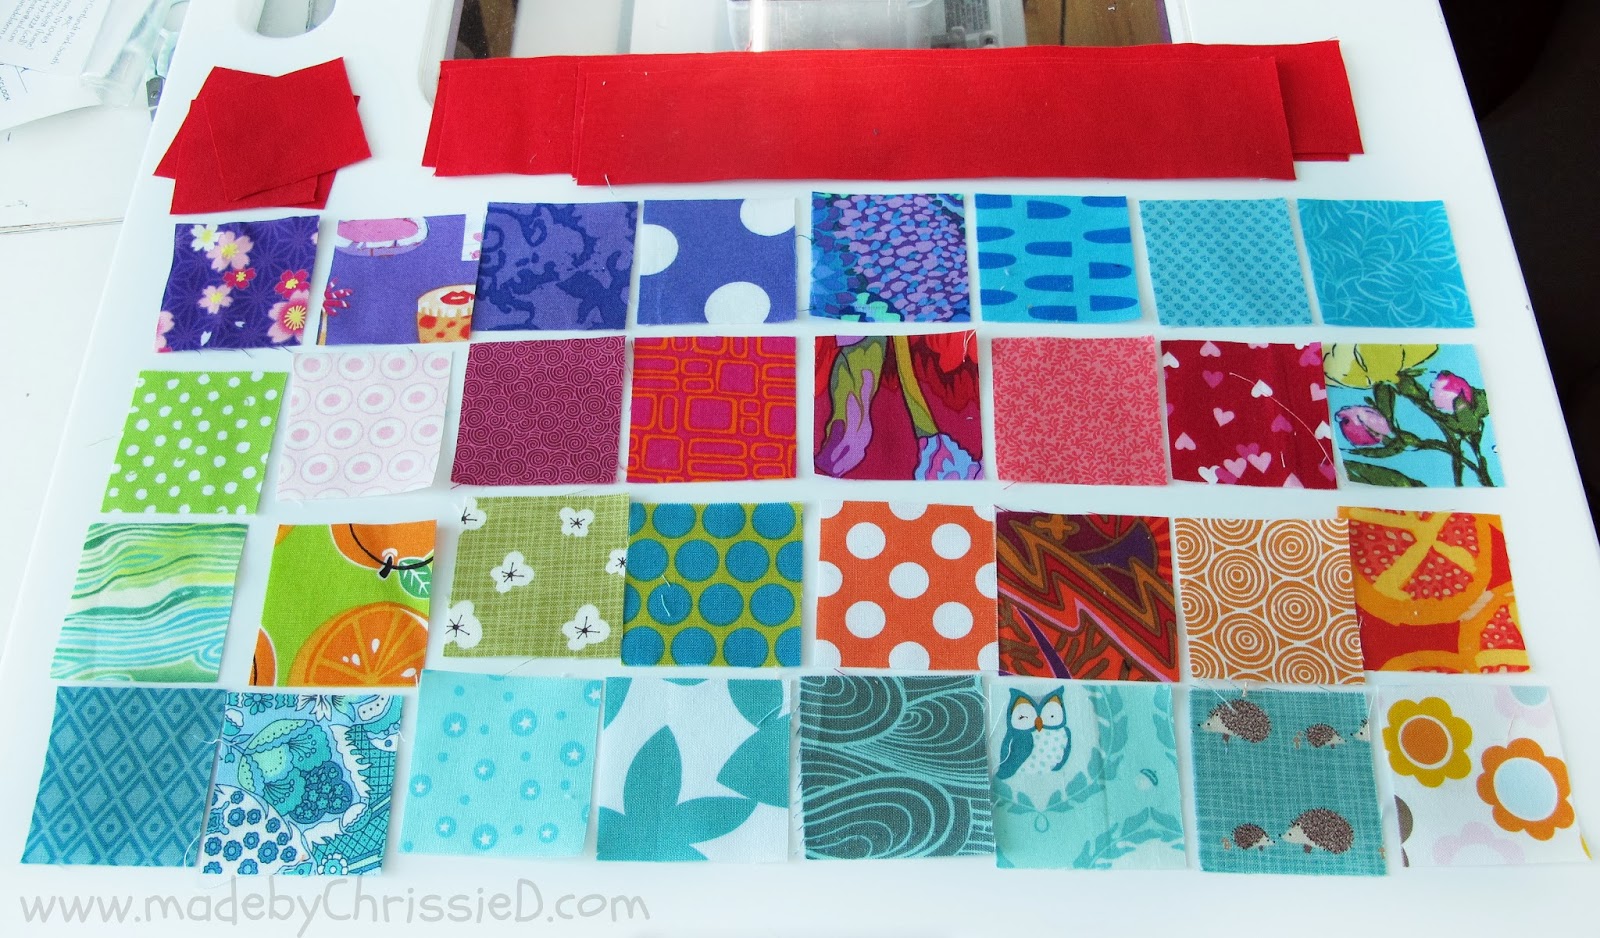
lined them up in colour order;
started to place them in quite deliberately according to colour around the four central red squares and realised that this was too formulaic and just wasn't going to work.
Instead, I tossed the 32 print squares into a heap;
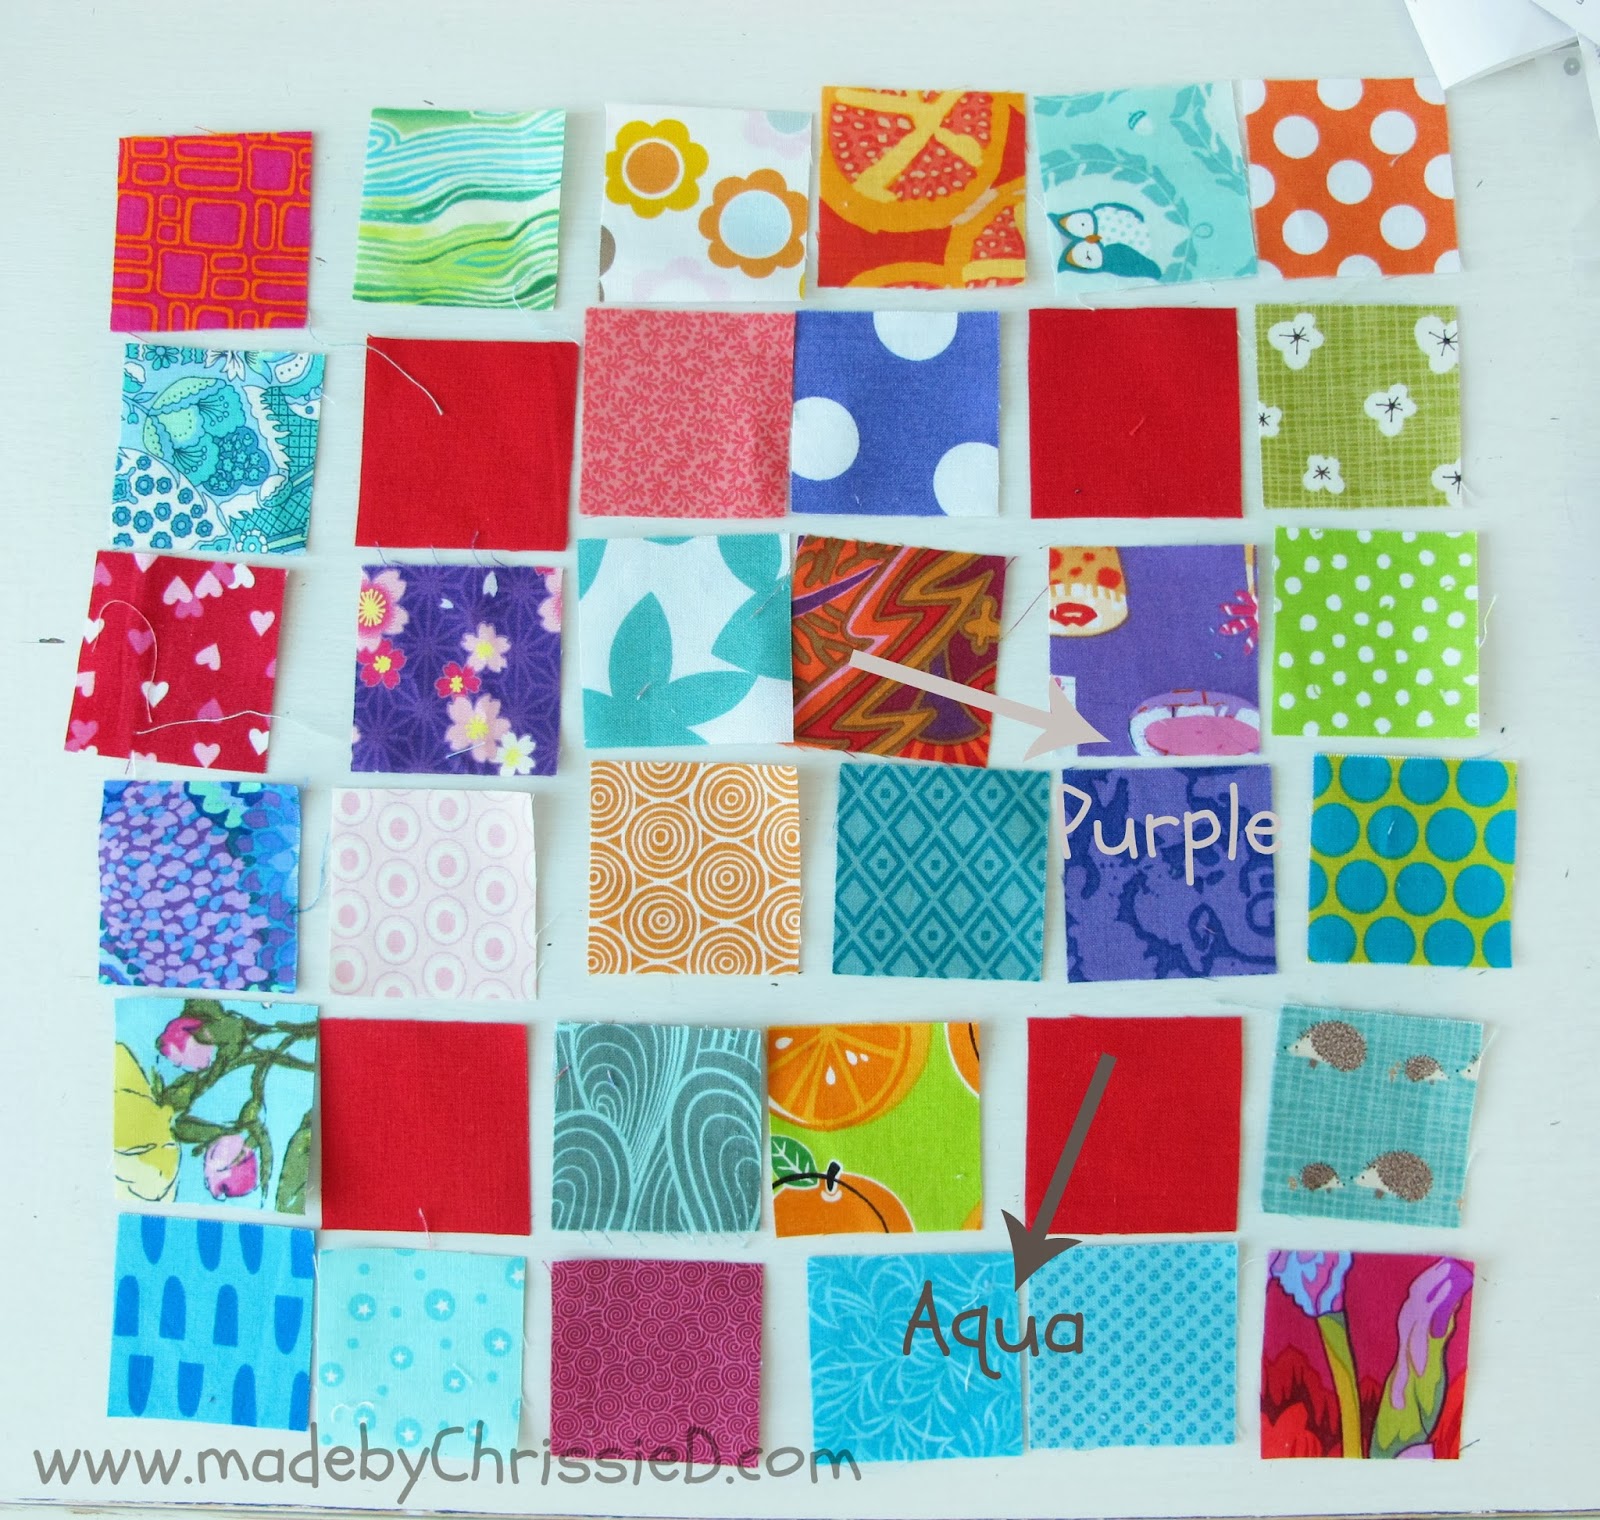
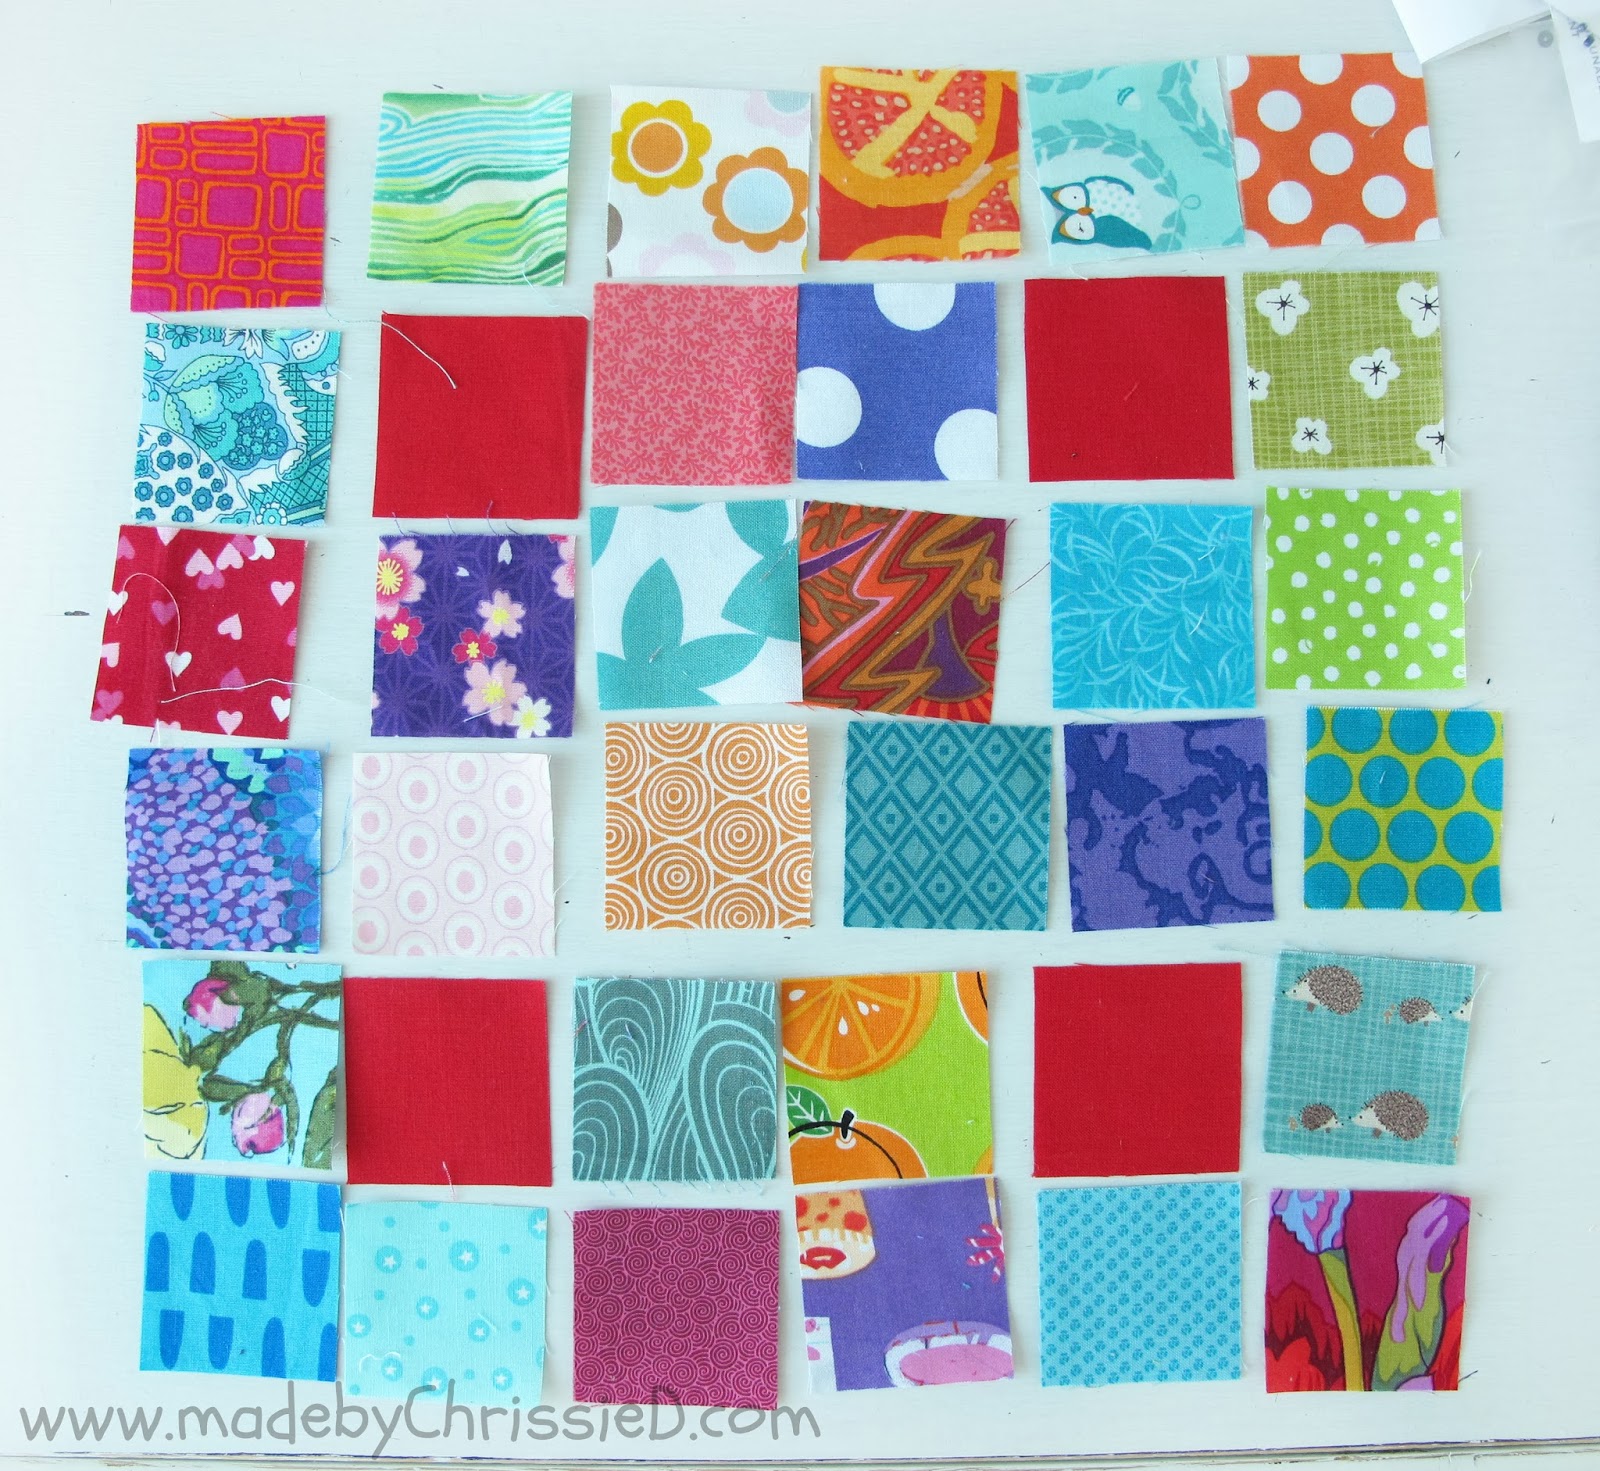
tidied them randomly into a pile and laid them out row by row around the solid red blocks just as they came off the top of the pile.
This is how they looked - but there are two purples together centre left and two aqua next to each other on the bottom row;
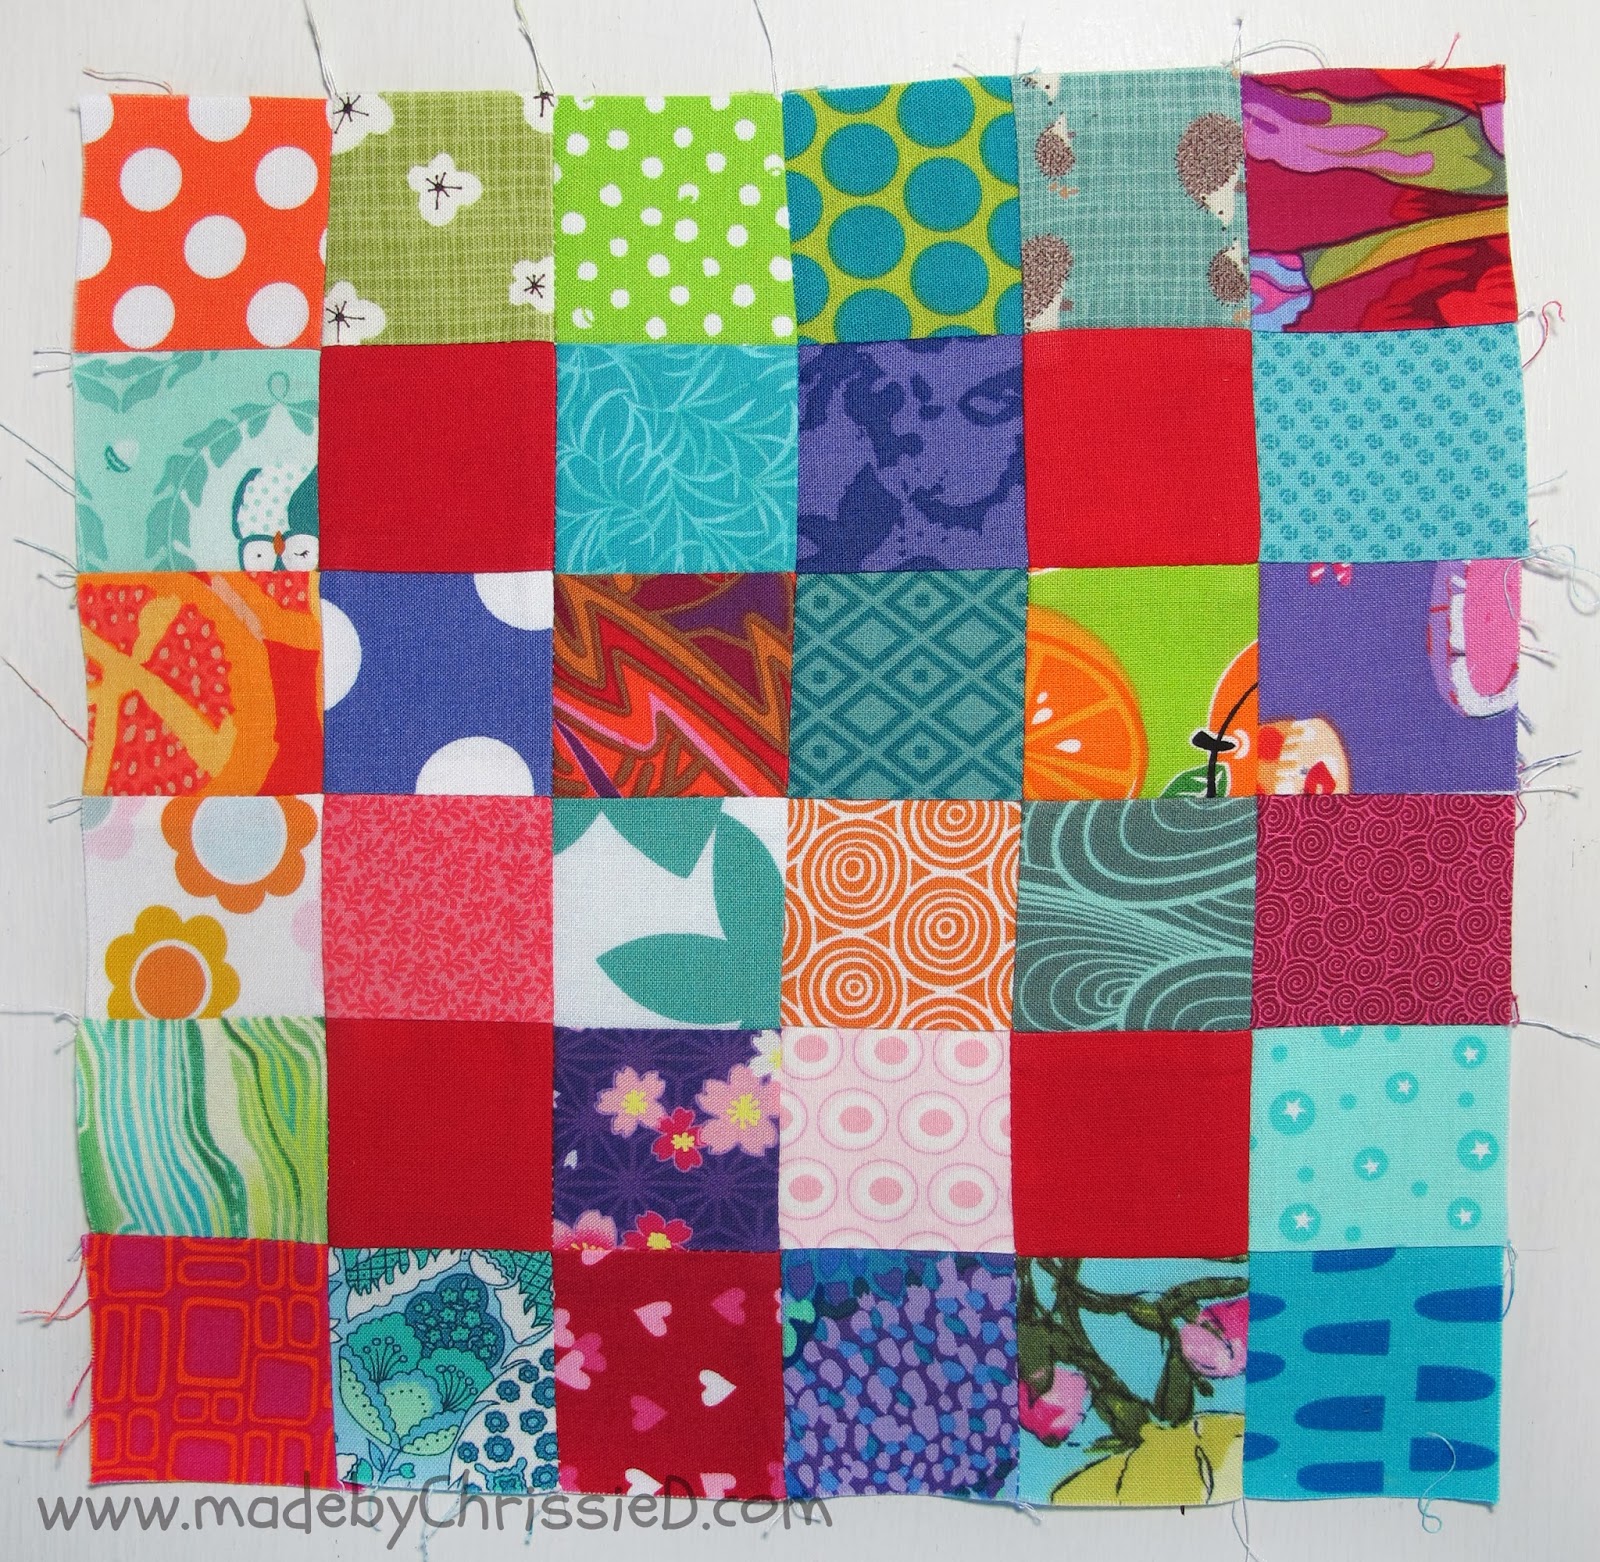
I just swapped two around and this was my final layout (I've since realised that I've got 3 lime greens down the far right column but it's too late now!).
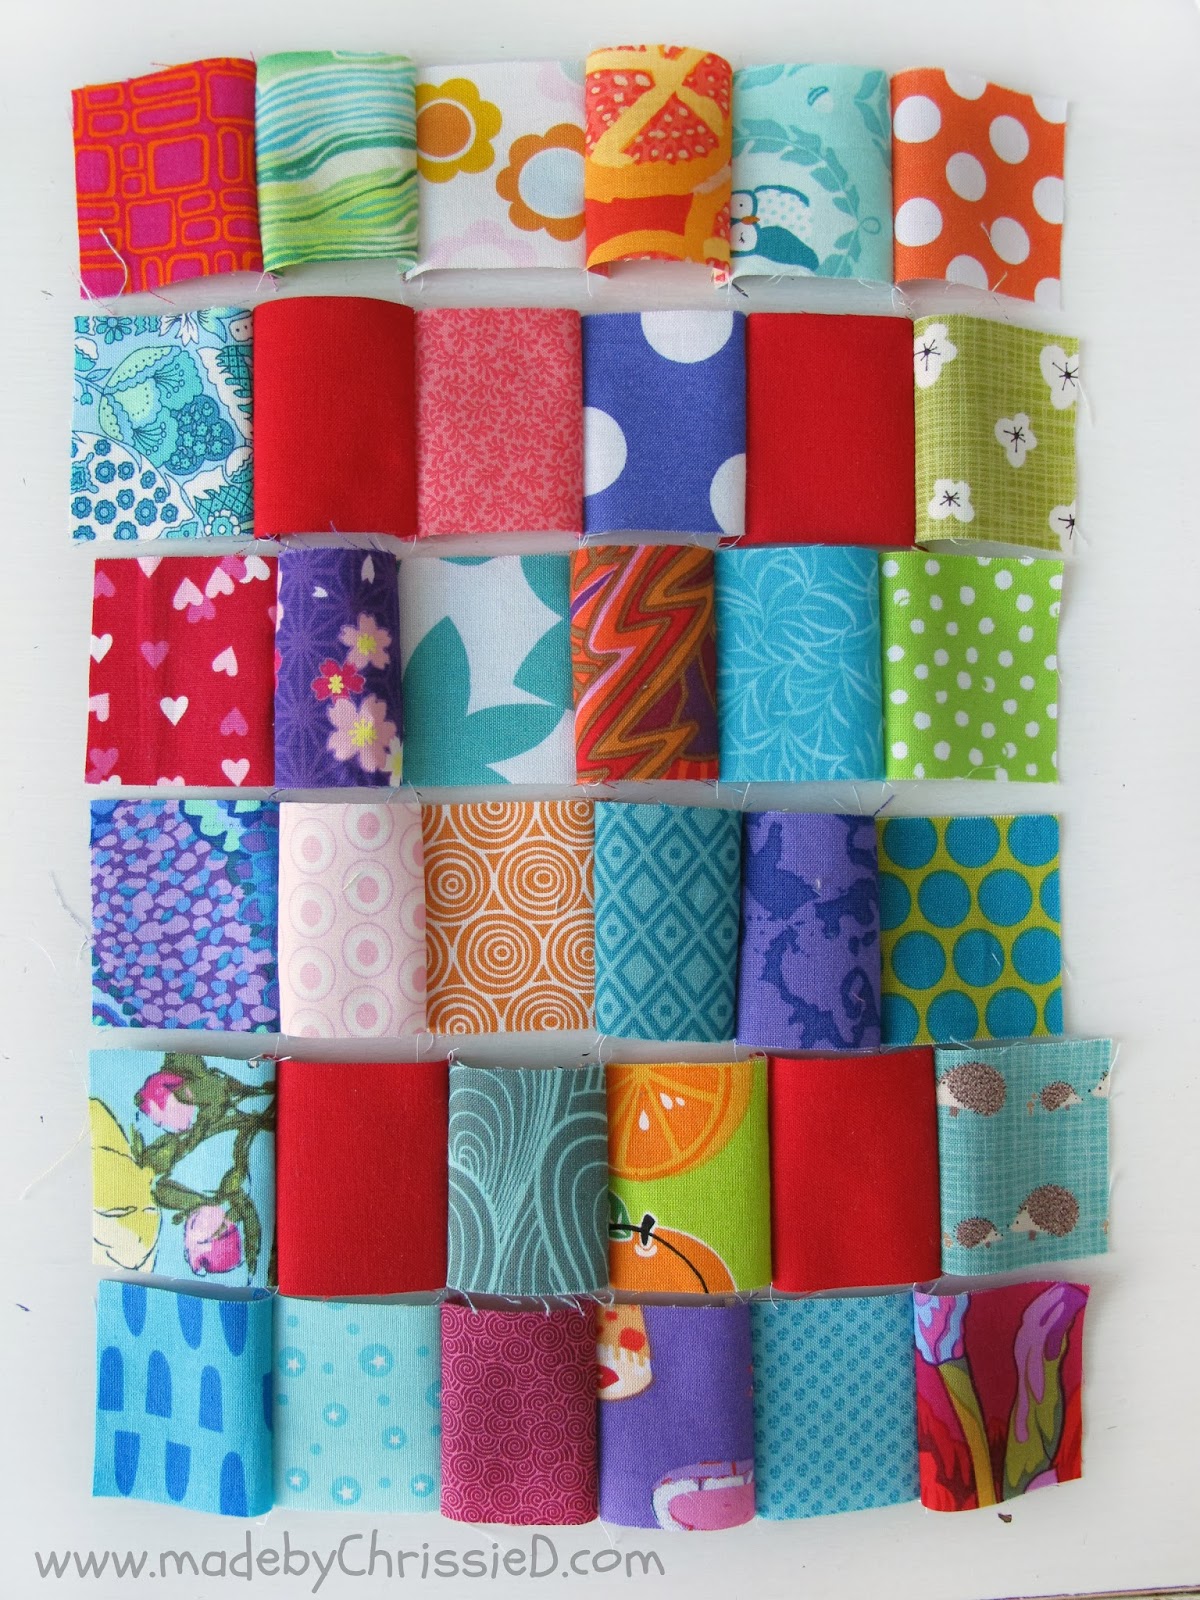
Instead of creating nine patches I sewed each square together along a row using a scant 1/4" seam. Why a scant 1/4" - over the whole block we're having 7 seams in each direction - if you're as much as 1 mm (that's about the width of one thread on the fabric's weave) out on each seam then you'll lose or gain 7 mm over the whole block - 7 mm is a 1/4", add this up over a whole quilt and you're talking a significant difference in size of a couple of inches. A scant 1/4" will allow for any slight movement in your needle and you can adjust any extra width when you trim the block at the end - better to have something to trim than for the block to be too small.
I moved on to the second row and did exactly the same.
And the same again for each row until all six rows were sewn.
I pressed the first row, third and fifth rows to the right and the second, fourth and sixth rows to the left.
Notice I said 'press' and not 'iron': ironing (moving the iron over the fabric) will move and stretch the fabric causing it to misshape and it will no longer be the correct size and your seams won't match while pressing (pressing the iron in one place on the fabric and lifting it off the fabric to move to the next area) will flatten the seam and fabric to its new position without changing the fabric's size/shape.
Alternating the direction of the seams on each row will allow me to piece the rows together with beautifully matched seams that nest together perfectly.
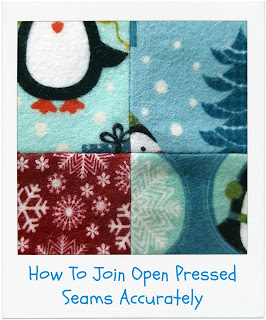
If you press to alternate sides you can now nest your seams.
Place your two fabric layers on top of each other and give them a slight wiggle between your fingers - you should feel the fabrics lock together - it's hard to put into words but when you give it a go you'll understand what I mean. The two seams will butt up against each other perfectly and lock in place.
This is how a perfectly nested seam will look (below), see how the four fabrics are butted right up to each other and locking together.
You can pop a pin on either side of the seam to hold it in place while you sew down the length of the row again using a scant 1/4" seam. Even if you don't normally sew over your pins this is one time to maybe break your rule - it's the best way to get perfectly matching seams. I always use Clover Patchwork Pins (Fine) - they're so fine that my Bernina doesn't even know they're there, on the odd occasion that the needle does come in contact, it bends the pin rather than breaking the needle. I also love that these pins have glass heads and they won't melt onto your fabric or ironing board if/when you press over them.
I have two other posts about joining/pressing seams, click the images to read more:
Continue sewing the six rows together to form the centre of the block.
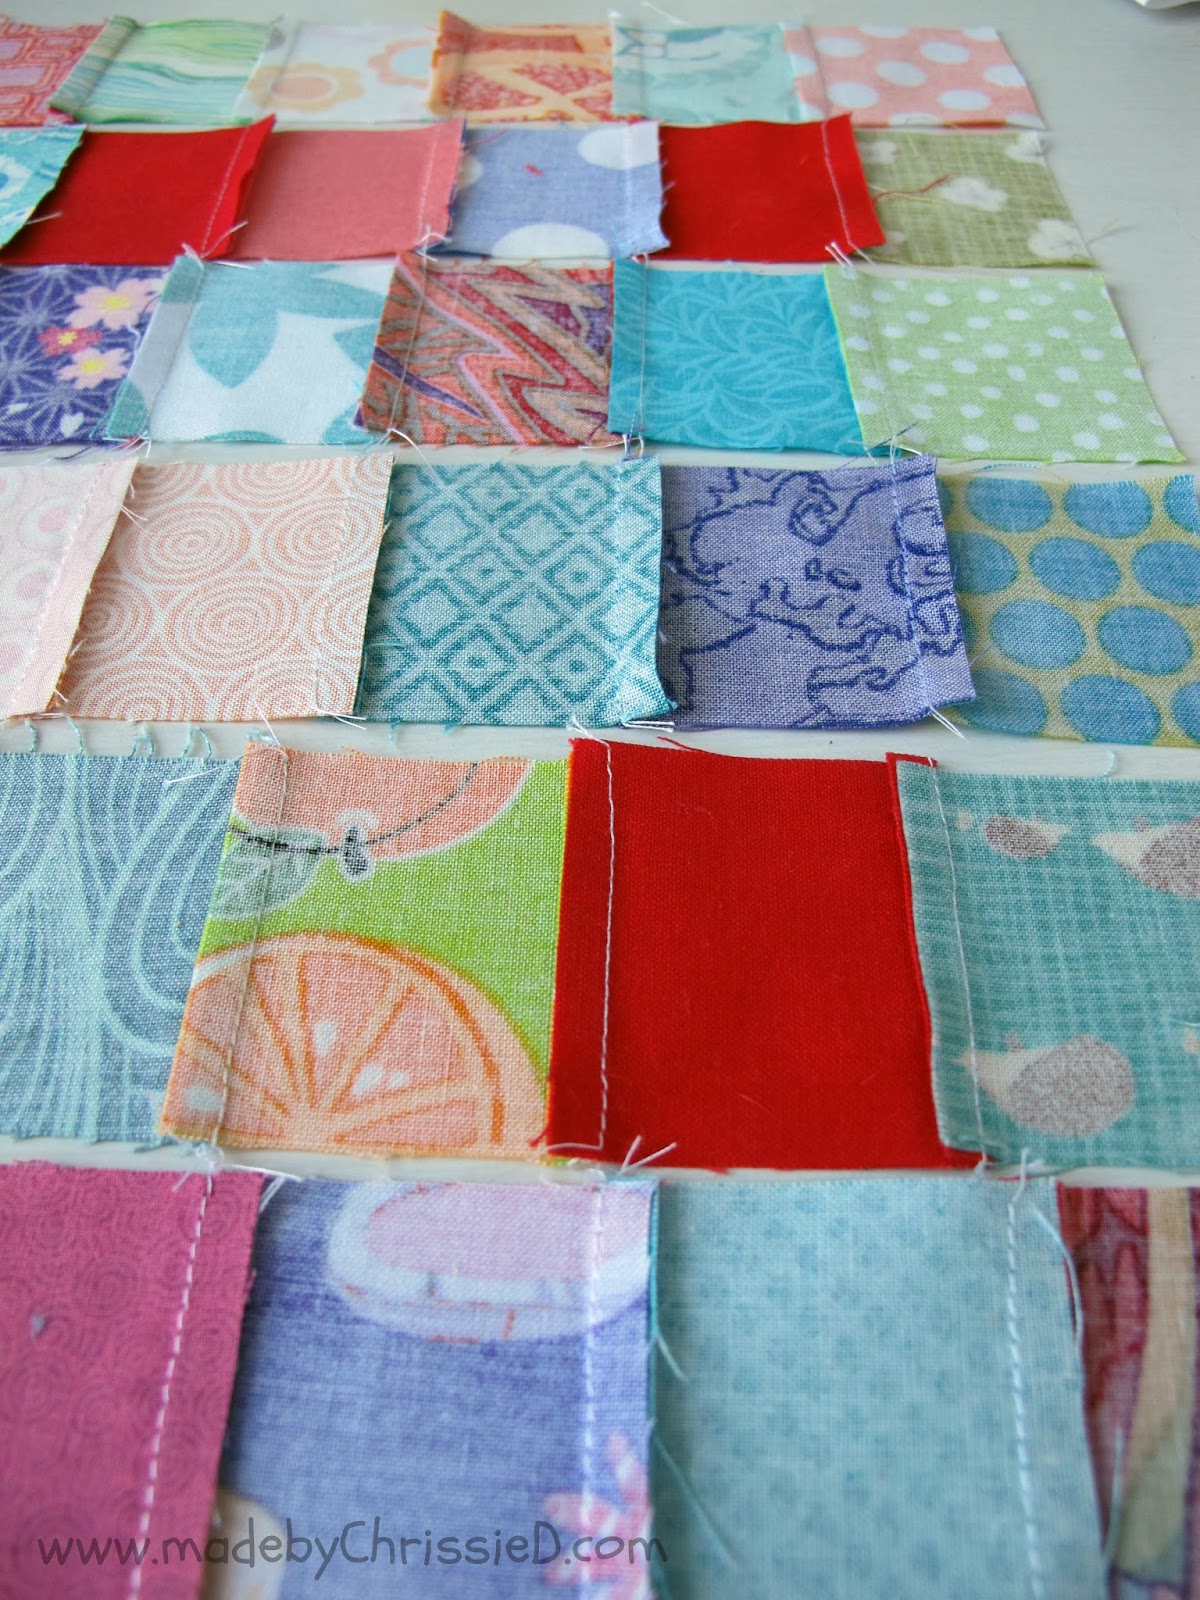
Here're the seams - sewn but not yet pressed - I love opening the layers and seeing that the seams all match!
Again press the seams to one side.
And below is the pressed centre section of the block.
Even with pins and pressing and care there's still a wiggle to the rows - perfection is tricky to achieve!
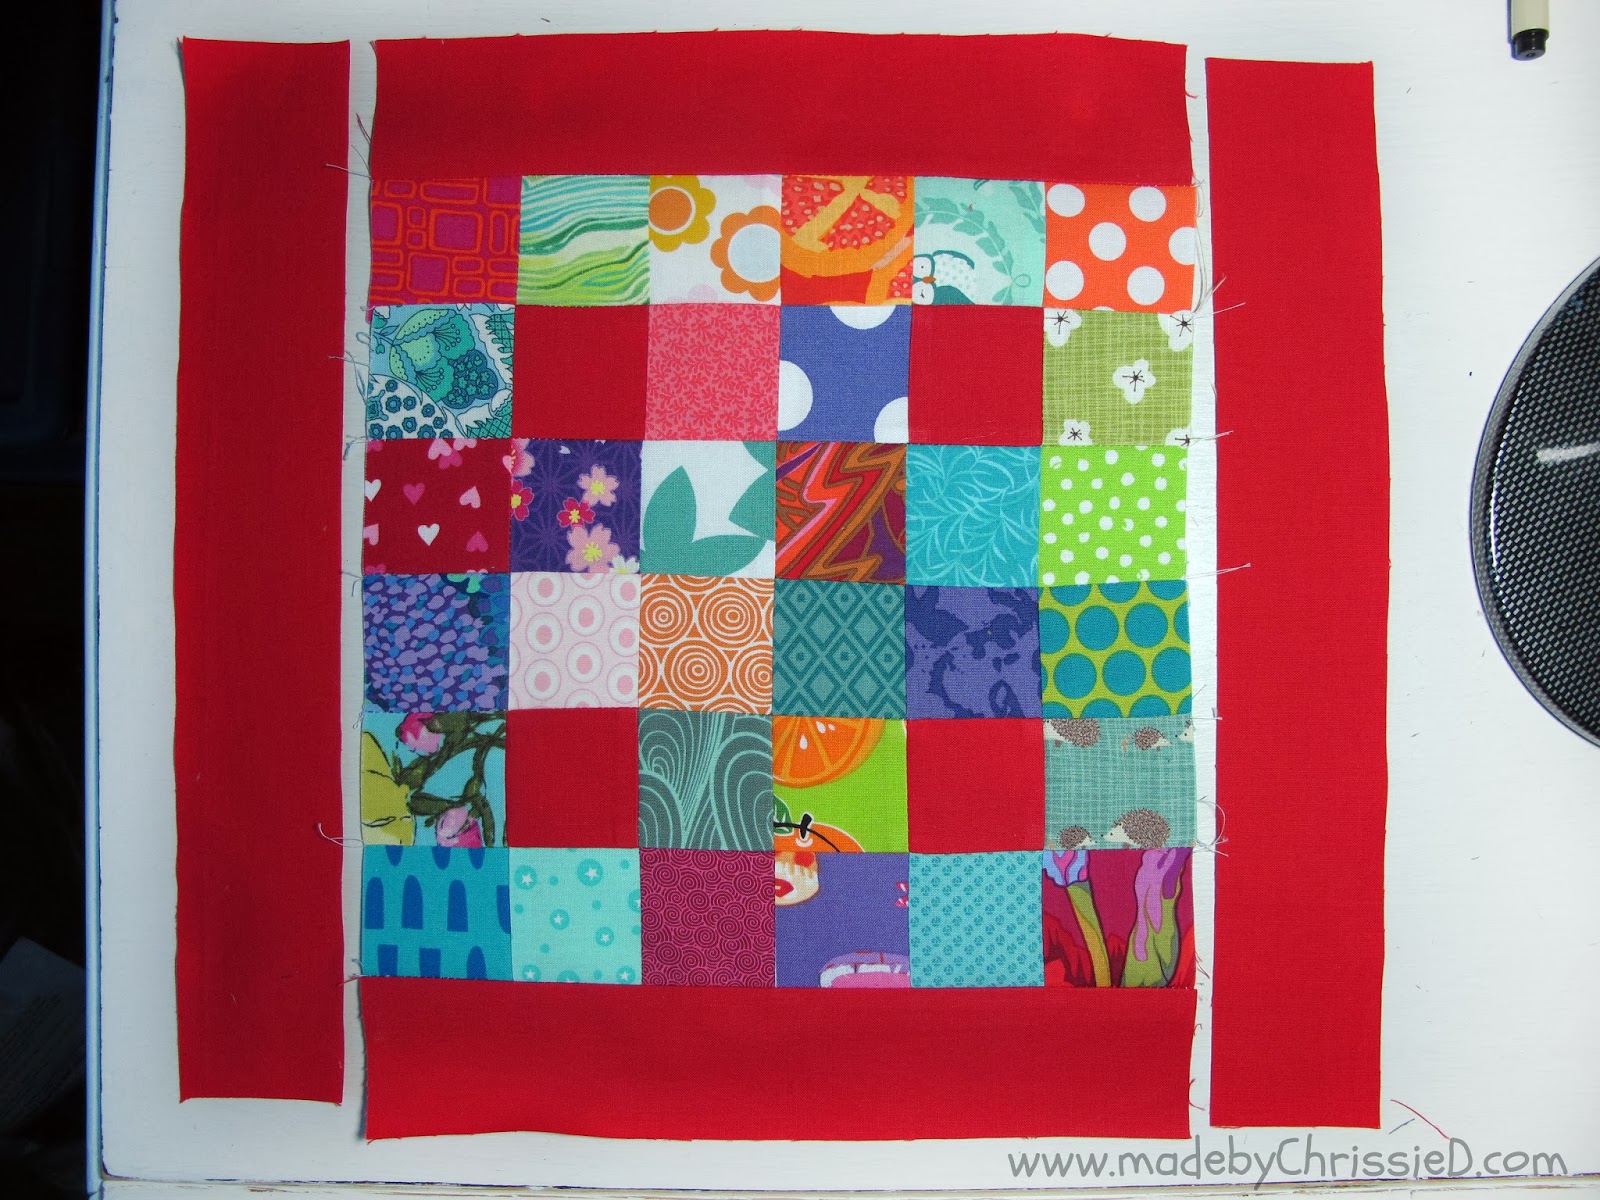
Layout the block with the short rectangle borders along the top and the long rectangle borders along the bottom
Sew the short rectangles to the top and bottom of the block first using a scant 1/4" seam. This is another time that I use pins. There're lots of seams and I don't want the border to stretch and become misshapen so, I think, the pins help to keep everything pretty straight and give a better finished block.
Borders added.
Press the borders back with the seams facing away from the centre block.
Now sew on the long borders again with a scant 1/4" seam.
Press your seams towards the centre of the block.
Trim your block to 12.5" x 12.5" and stand back and admire.

As always you can check out all the blocks that our Bee make for Kim H on my Quilty - Scrappy Nine Patches Pinterest Board - I'll add more pins as each person in the Bee posts photos of their finished blocks and you can see my NYC Mod Quilt Guild Post here too.
Made By You:
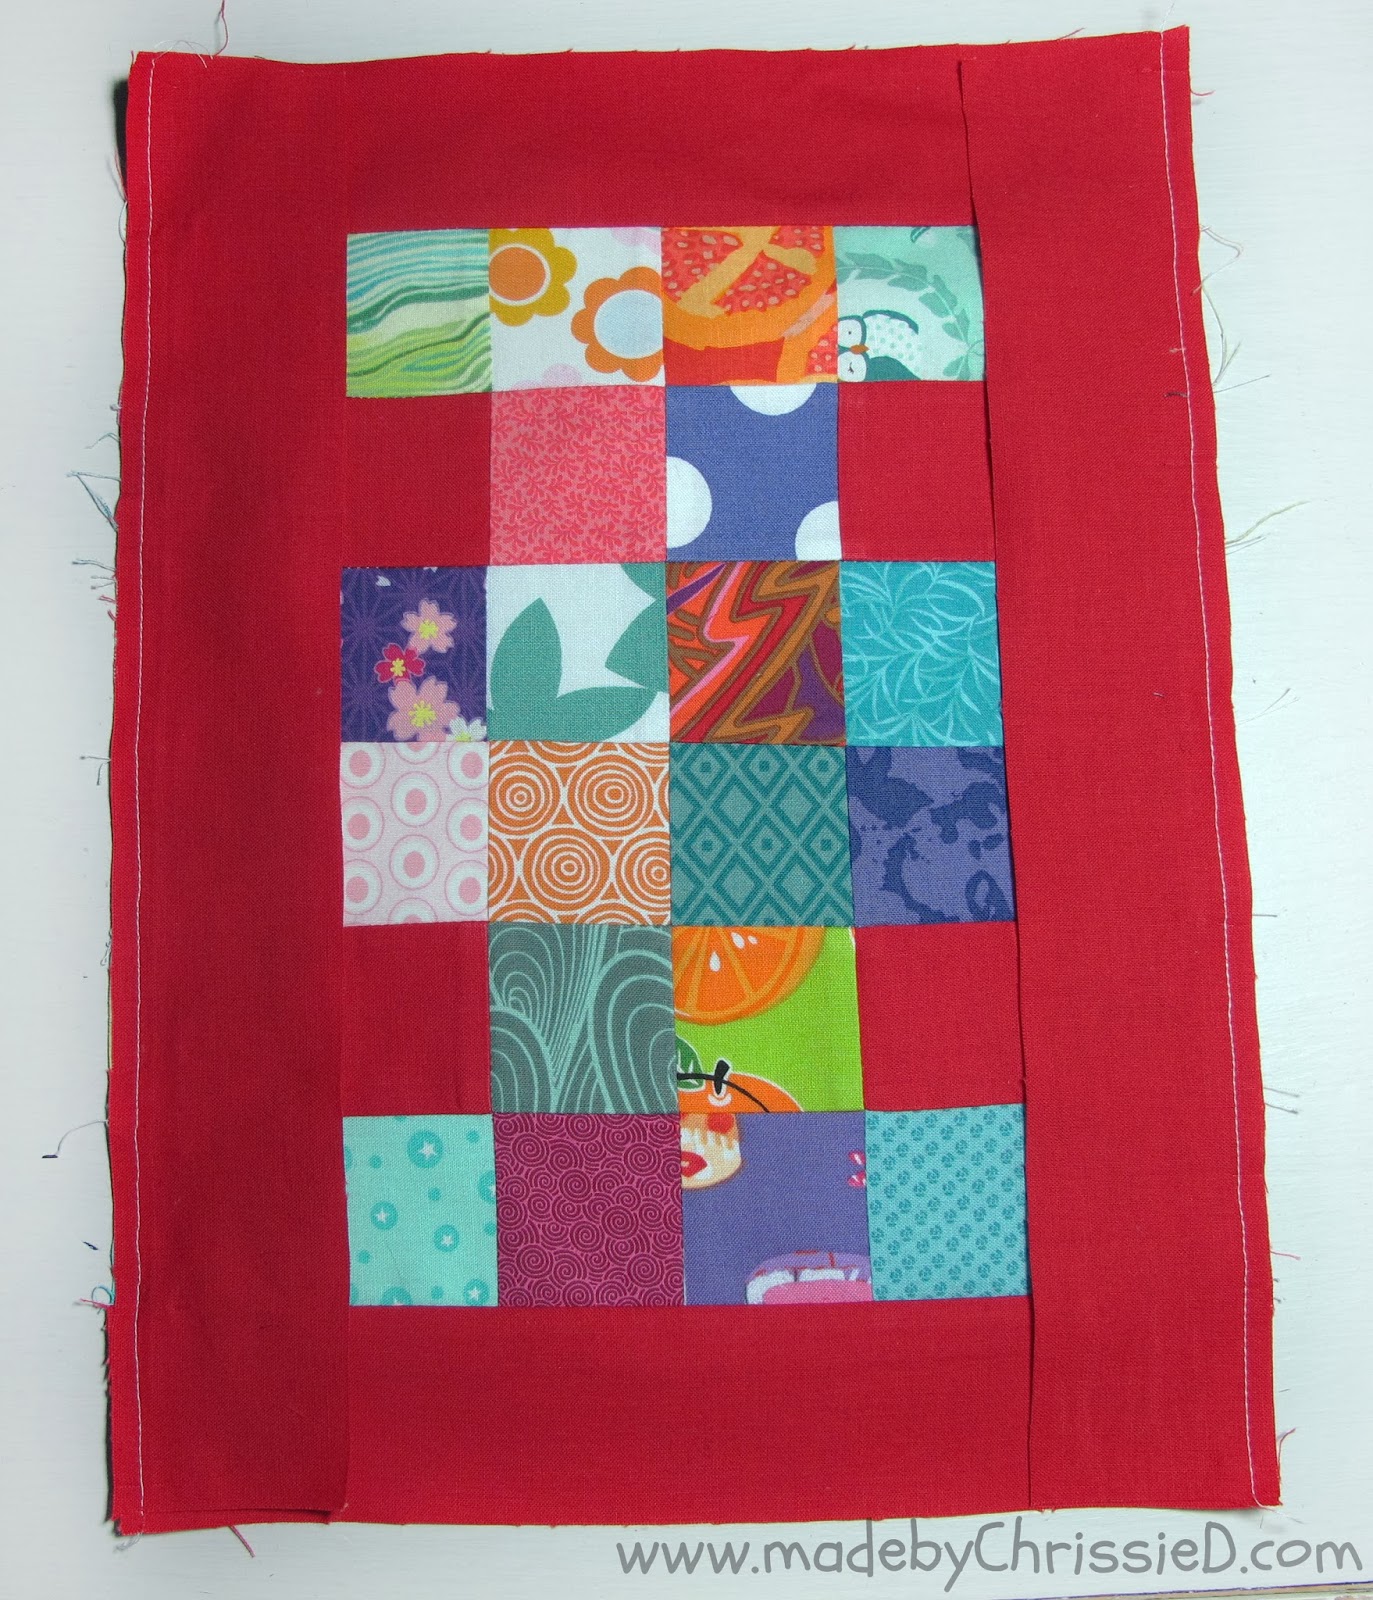
Here's a fab doll's quilt and pillow made by Ingrid @kuka and bubu using my tutorial - click the image to go through to her blog post. Thanks Ingrid for sharing, it's such fun to see how others interpret my tutes :D

Easy Scrappy Nine Patches Tute
Clicking on an image will take you to a new page of crafty goodness :)
Disclosure:
This post contains Amazon and Craftsy affiliate links for which I am paid compensation on click-through purchases (at no additional cost to you). Otherwise, the post is for informational purposes only and all opinions are my own.
Copyright:
















Love your scrappy 9 patch! 9 patch is still my all time favorite block.
ReplyDeleteThank you Chrissie for this tutorial!! It comes in the right time for me, because I want to do a little doll bed cover for my daughter, and I didn't know how to do this patchwork correctly!!
ReplyDeleteOh I'm glad it might be useful to you, I'll look out for a post of how you go on! :D
DeleteIf I had known that you would mention me, I would have done real 9 patch blocks!! ;-)
DeleteLol :D
DeleteThanks for all the tips Chrissie. Don't know that I could leave pins in and sew over them, but I will pick up those you recommended. Have pinned for future reference.
ReplyDeleteSometimes rules need to be broken if you want to get the best end result, hope you like these pins as much as I do Pam :D
DeleteThanks for the great tutorial! This is a cool scrappy block.
ReplyDeleteLove, love the colours here. I always have trouble getting the seams to match. Now I know that I should alternate the seams on each row AND not move the iron, but just press down the rows. Thanks for the great DIY :)
ReplyDeleteThank you and I hope you have more success with your seams from now on :D
Deletethat would drive me insane! I hate cutting up little pieces, same with HST I do not understand people who cut triangles when you can use squares. For a scrappy look I would have to have some pieces the same so that I am sewing strips and the cutting. Well done for doing the little things, it looks great.
ReplyDeletePersonally I love wholecloth quilts - no cutting at all!!! :D
DeleteNice blocks Chrissie. Isn't random hard to do, had to laugh at you moving the squares!
ReplyDeleteThat's me all over Fiona - I just don't do random! :D
DeleteThe bright colors in that block are just great. I'm sure her finished quilt is going to be awesome.
ReplyDeleteChrissie, Just Beautiful! New Follower!
ReplyDeleteHugs,
Jody
Thank you for the detailed tutorial! I'll be pinning this for when I attempt to quilt....maybe this coming summer!
ReplyDeleteSuch fun fabrics! Thanks for visiting Night Owl Corner....just stopping by to check out your blog too!
ReplyDeleteLinda
www.nightowlcorner.com
What a great tutorial! Filled with gorgeous close up pics. You rock, ChrissieD!
ReplyDeleteThat was fun! Thanks for sharing such a quick and cute block
ReplyDeleteGreat block and tutorial. I can see lots of potential with this one.
ReplyDeleteWhat a fun tutorial! Thanks for sharing it with us! Pinned to the party board!
ReplyDeleteMarti
Nice tutorial, great pressing tips. I LOVE when the seams nestle together after pressing. Happy Valentine's Day :)
ReplyDeleteGreat tutorial and fun fabrics! Thanks for sharing.
ReplyDeleteFreemotion by the River Linky Party Tuesday
great tutorial, Chrissie! I love to make sure my "random fabric placement" looks balanced as well. I have a tough time letting it all go and making it totally unplanned, ha!
ReplyDeleteThank you so much for sharing this at Needle and Thread Thursday!
:) Kelly @ My Quilt Infatuation
That's so like me Kelly, I just don't do random! :D
Deleteand thanks so much for sharing at Needle and Thread Thursday!
Delete:) Kelly @ My Quilt Infatuation
adorei seu trabalho muito bonito ... um grande abraço .
ReplyDeleteobrigado pelo seu belo comentário :D
DeleteAnother fabulous tutorial. Thanks for linking up today!
ReplyDeleteWhat a fun project, and a great tutorial! Are these pins like my glass head silk pins?
ReplyDeleteYes Heidi they're the same diameter and have a glass head but they're not quite as long 0.4 mm rather than 0.5 mm :D
Delete