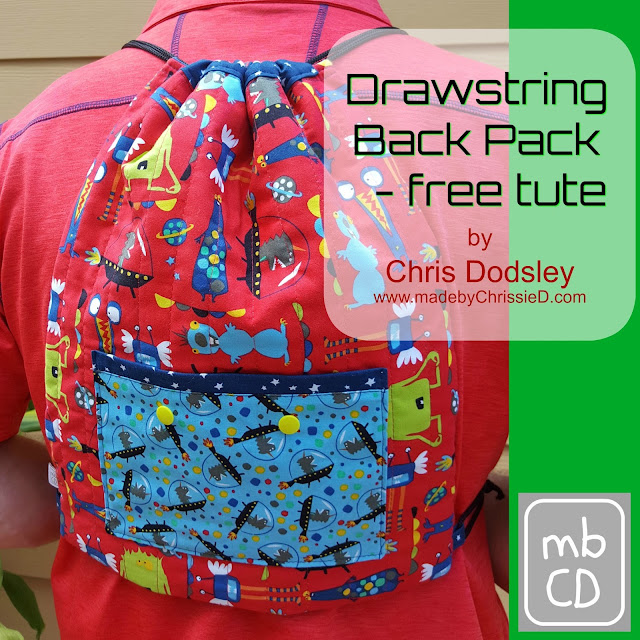
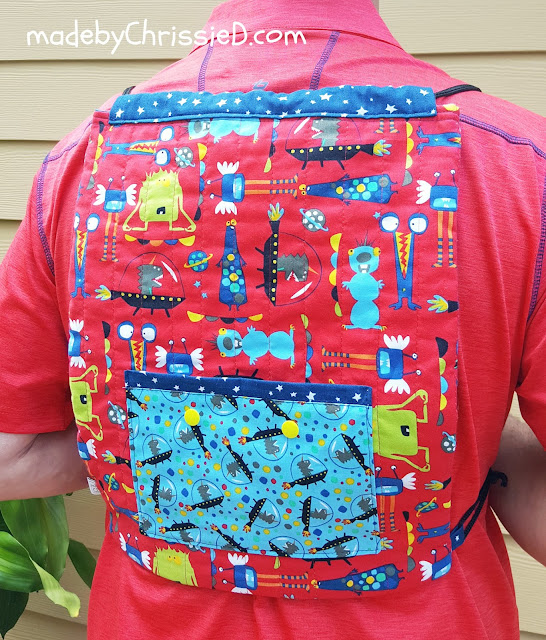
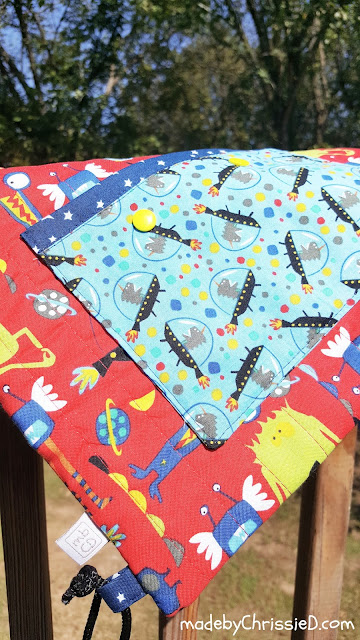
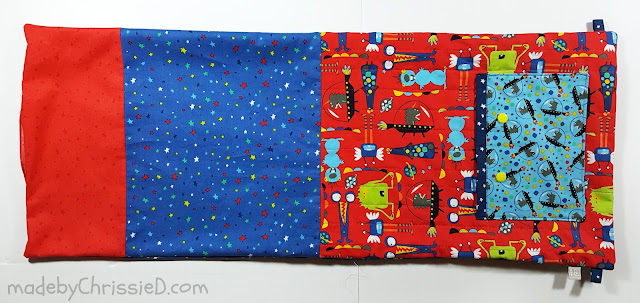
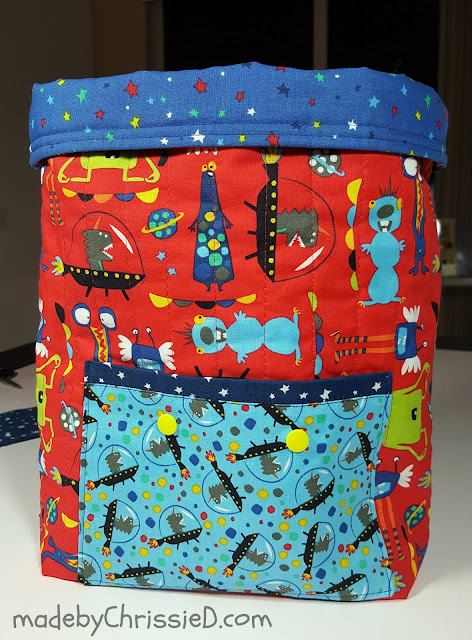
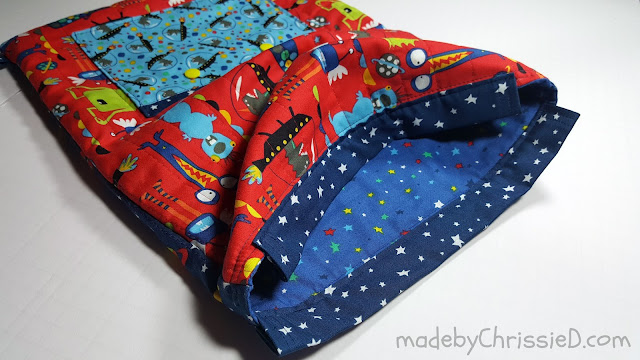
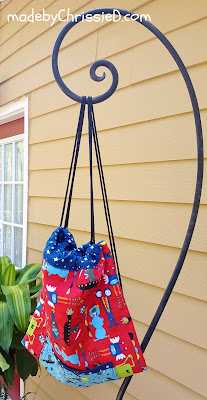
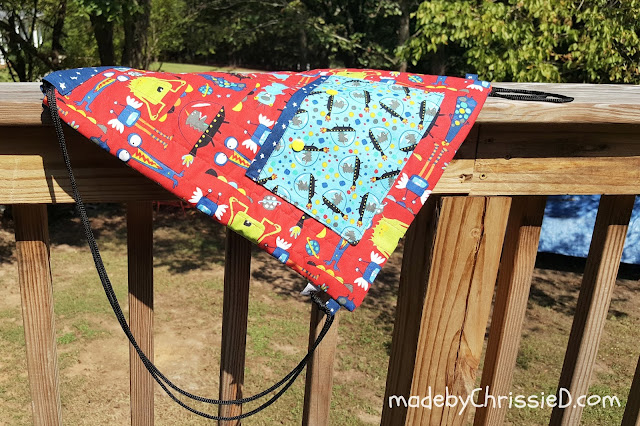
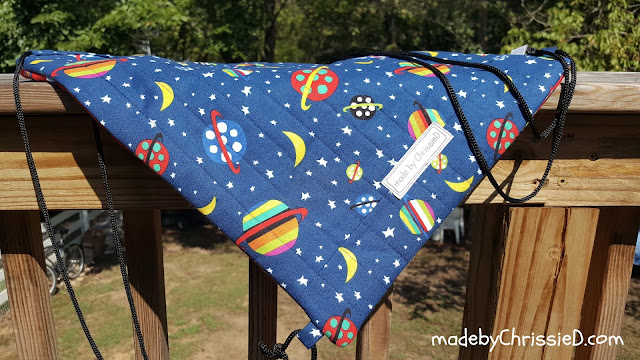
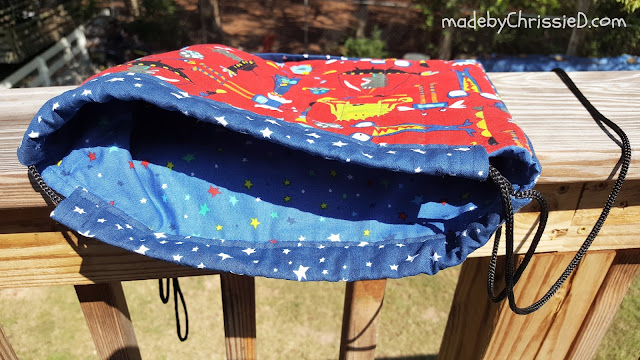
Measuring approx 12" x 15-1/2", the Drawstring Back Pack can be worn by small children, teenagers and adults simply by changing the length of shoulder cord used. Fully lined and quilted, my design features a trimmed front pocket with optional faux popper embellishment, side tabs, and a drawstring top channel that's constructed separately to the main body of the bag.
Drawstring Back Pack Tute
Materials + Tools
Below are links to some of the fabrics and tools I've used.
Note: I'm an Amazon affiliate and will receive a small commission, at no additional cost to you, on any purchase made by following an Amazon link.
Drawstring Back Pack Tute
Cutting Instructions
From 6 fat quarters cut:
Fat Quarter 1 and 2
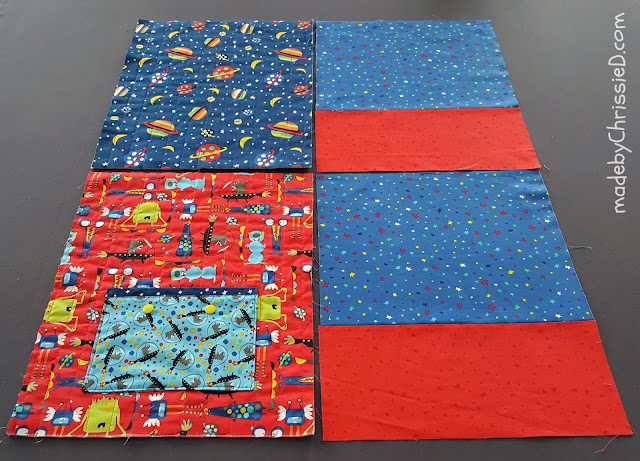
Back Pack Outer - front and back (cut 2) 13" (w) x 16" (h)
(I've used different fabrics for the front and back)
Fat Quarter 3 and 4
Back Pack Lining (cut 2) 13" (w) x 16" (h)
(my linings are made up to size using approx 2/3 and 1/3 from FQ 3 and 4, but this isn't essential)
Fat Quarter 5
Drawstring Cord Channel (cut 2) 12-1/2" (w) x 4-1/2" (h)
Drawstring Cord Tabs (cut 2) - 2" x 2"
Pocket Edge - (cut 1) 8" (w) x 1-1/2" (h)
Fat Quarter 6
Pocket - outer and lining (cut 2) 8" (w) x 5-1/2" (h)
Batting (cut 2) 16" x 13"
1/8" round Drawstring Cord (cut 2) 6' lengths - total approx 12' (will fit an adult male)
Outer - Front and Back
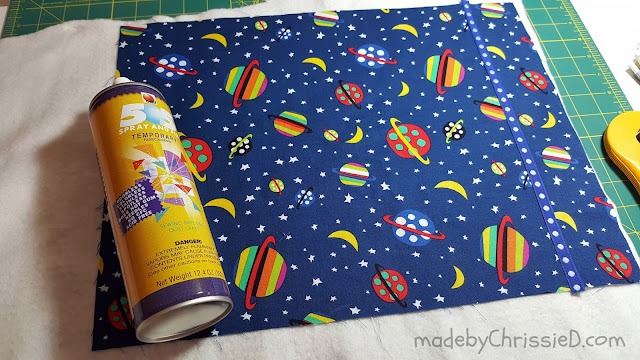
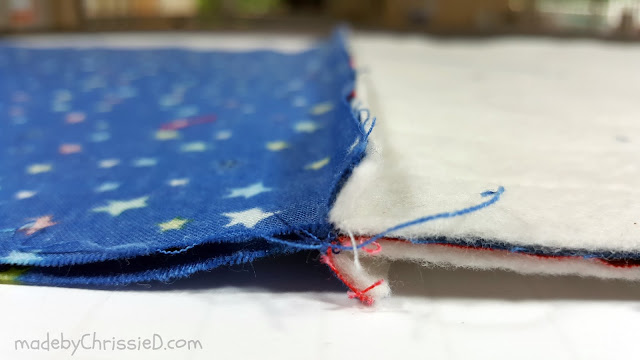
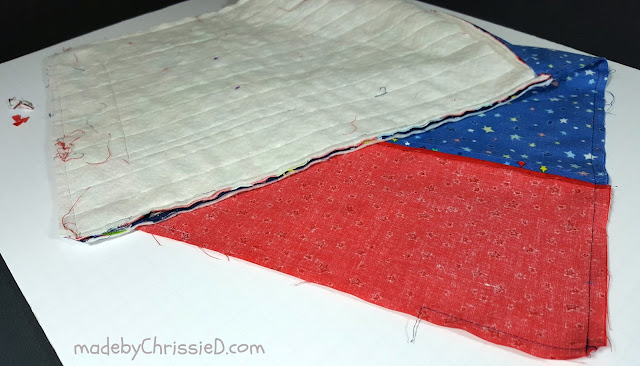
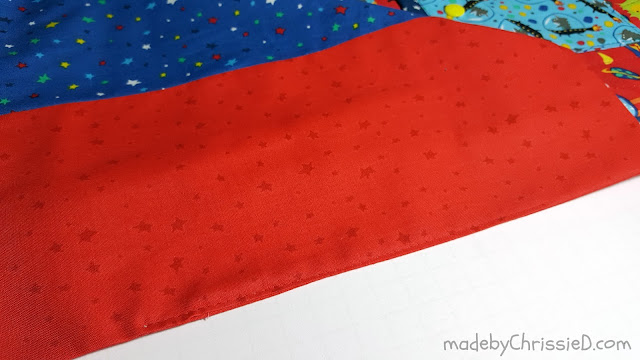
Firstly, a quick tip, be sure to cut your pieces to the right size - what's the saying, measure twice and cut once? You'll see in my pics that I didn't and, only having one fat quarter of each fabric, I had to piece together two strips of fabric to make the back of the bag. You'll also see in the pics that initially I glued ribbon along the seam but soon changed my mind, ditched the ribbon and left the seam visible - it was less noticeable as a plain seam than with the ribbon, which didn't look right at all. I'm hoping that sharing my own mistake will show you that we all make them, and there are workarounds for everything.
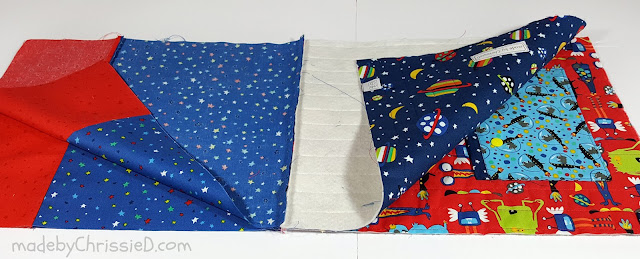
Spray baste (or pin) outer front and outer back fabrics to the batting.
Quilt as desired - I've used straight quilting lines, 1" apart and running vertically. My stitch length is 3.2 mm. My thread is Aurifil 50wt and I've used three colours - Wine #2260 and Dark Navy #2784 on the top of my work and Dove #2600 in the bobbin.
Trim two quilted outer sections to approximately 15-5/8" x 12-3/4". This measurement is flexible depending on how much movement or shrinkage there is when you quilted them. Whatever the size, ensure you cut both front and back outer and lining fabrics to the same size at this stage.
Pocket
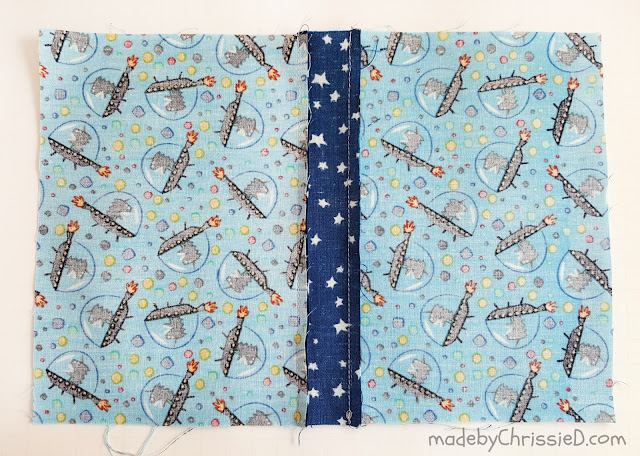
Sew long side of pocket to each long side of pocket edge using 1/4" seam - taking care to note design direction for all fabric pieces and sew top of each pocket to each side of the pocket edge.
Press seams in opposite directions - one seam towards a pocket fabric and another seam towards the central pocket edge - this will allow you to nest your seams in the next step.
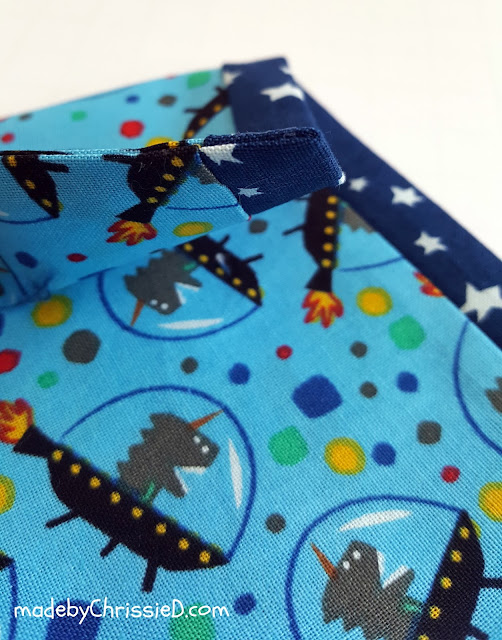
Fold the pocket right sides together and nest the pocket edge seams. Pin to hold the nested seams in place. Click through to my nested seam tute below if you're unsure.
Sew around the open seams using a 1/4" seam and leaving a 3-1/2" turning gap.
Click through to my tute below for easier gap turned seams.
Snip corners but take care not to cut inside the stitch lines into the fabric body.
Turn right side out and push out corners then press.
If you nested your seams correctly the side seam should match like this.
Top stitch 1/8" above and below the seam line where the pocket edge joins the pocket.
If you want to add faux poppers, as I have, (you can see them, yellow circles, in the pic below) mine are 3/4" down from the pocket top and 3" apart (1-1/2" out from the centre of the pocket). Originally, I was hoping these could be working poppers but the quilted fabric was too thick for my popper machine to work with, maybe yours can work through more layers? We'll talk a bit more about that in a second.
Position pocket on the outer front approximately 2" from the bottom edge and approx 2-3/4" in from each side of the bag. These measurements will vary slightly depending on the cut size of your front and back outer bag sections. Pin the pocket in place.
Note - if your popper machine can fix the popper backs through the quilted fabric, your next step is to take care to attach the popper backs to the bag outer in the correct position. Once you know the placement of your pocket, you can mark where the back of your poppers need to be fixed. Lift forward the pocket carefully, mark the front side of the outer bag section and then unpin the pocket. Fix the popper backs in place and then, using the poppers, attach the pocket to the bag outer sections. From this point on, don't unfasten the poppers until you have sewn the pocket completely in place. Add some pins, in addition to the poppers, to hold the outside edges of the pocket in place.
Other Pocket Fastening Options
If you'd like your pocket to have a fasten you can hand sew some press studs or sew some velcro to the back of the pocket top and the outside of the outer bag section.
Once you're satisfied with the position of your pocket and attached poppers and/or velcro/press studs as required - you need to top stitch your pocket in place. Top stitch down one side of the pocket, along the bottom (closing the turning gap) and up the opposite side using a 1/8" seam. Leave the top edge open.
Lining - Front and Back
If you haven't already done so, trim linings now to the same size as your finished front and back outer pieces.
Place linings right sides together with the front and back outer pieces then sew the top edges of the linings and outer pieces together using a 3/8" seam.
Press seams towards the batting on both pieces.
Cord Tabs
Press the tabs in half, press sides in to fold line, press in half again, sew along the long edge at 1/8".
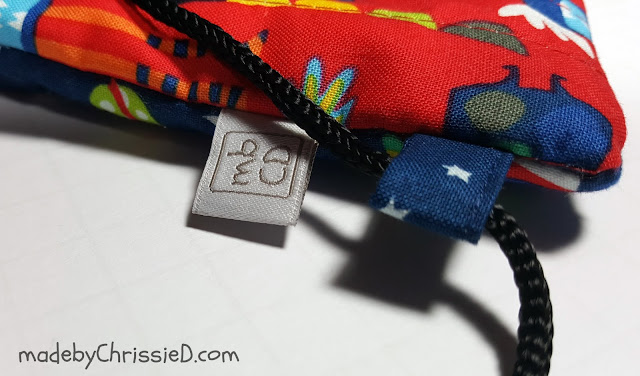
Fold the tab in half and attach to outer front.
Place 1" up from bottom on both side edges of outer front - the tab fold should face the centre of the outer and the open ends should be along the seam edge.
Sew tab on at 1/8", this holds it in place while you work through the next stage.
Joining Front and Back Sections
Place front and back sections right sides together. Take time to line up and pin the top edge seam at the centre and ensure that these seams fold back onto the quilted side and not on to the lining side.
Sew a rectangle around the outside edge using a 3/8" seam and leaving a 4"-5" gap along the bottom edge of the lining for turning. Don't forget my earlier tute that you can click through to learn an easy way to do this.
Clip the corners.
Turn through the gap, push out the corners, fold in lining gap edges and press.
Sew lining bottom gap as shown below.
Put lining inside the bag and press crisply in place along top edge.
Top Stitching Bag
Top edge sew around the bag at 1/4"
and then sew a second top stitch line at 3/8" from the bag top.
Making Drawstring Cord Channel
For this stage, my thread is Aurifil 50wt Dark Navy #2784 on the top of my work and also in the bobbin.
For each of your 2 pieces of drawstring cord channel fabric:
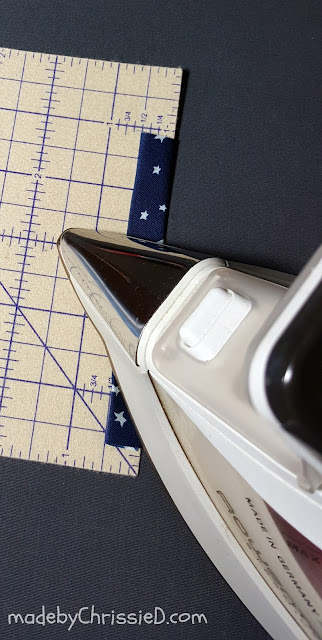
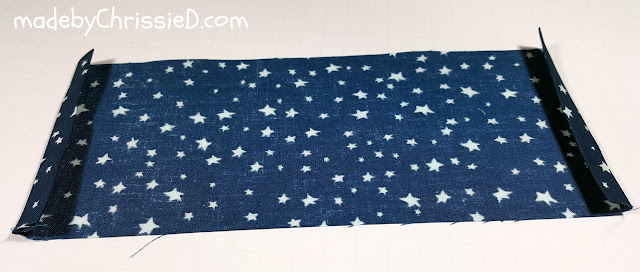
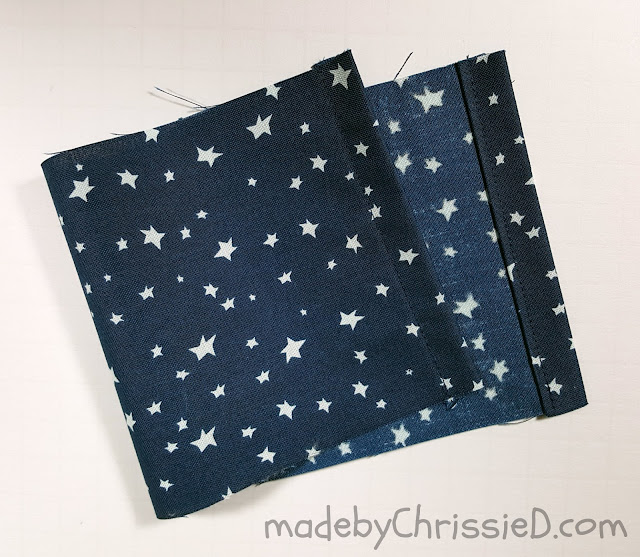
Press 2 ends in 1/2" then 1/2" again to enclose raw ends.
The length of each of the 2 pieces is now around 10-1/4" to 10-1/2", it doesn't have to be exact.
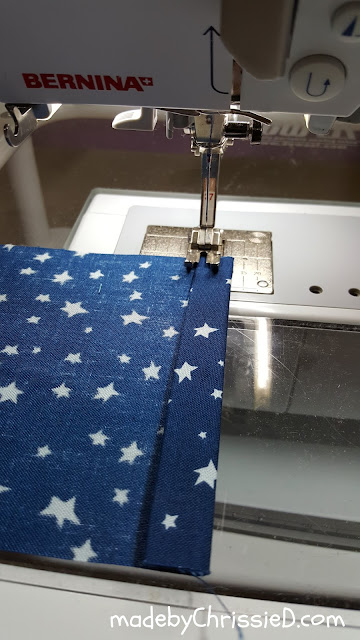
Sew these pressed ends in place using 1/8" seam from inside fold, not from outer edge.
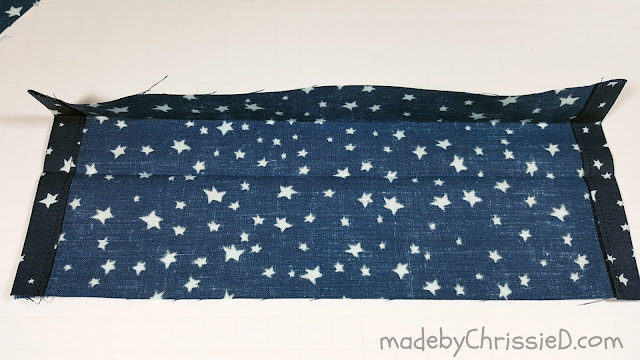
Press the centre line along the length and fold in towards the centre, as you did before for the tabs.
With both sides folded to the centre, sew side seams in place with 1/4" seam.
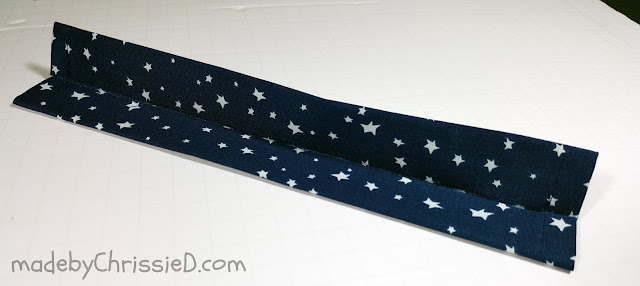
Now, re-press in half along the longest length and open out again ready for this next stage.
Attaching Drawstring Cord Channel
On inside of one side of bag, run line of glue over the first line of stitches that's nearest to top of bag.
Press one fabric channel onto the glue line so the edge of the channel is 1/2 way between the 2 previously top stitched lines - notice in the pic below that the open centre seam is now on the reverse.
Carefully turn to work on outside of bag and do another glue line, again over the line of top stitching closest to the top of the bag.
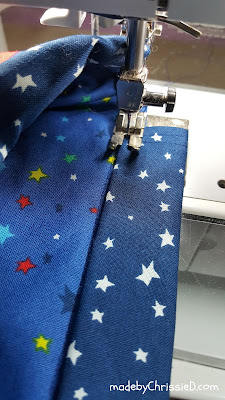
Fold the fabric channel over and press onto the line of glue - you have already pressed this fold line in place so it should it should naturally fall 1/2 way between the 2 previously sewn top stitch lines on the outside too.
Top stitch at 1/8".
Repeat using the second cord channel fabric for the other side of the bag.
Threading Drawstring Cord
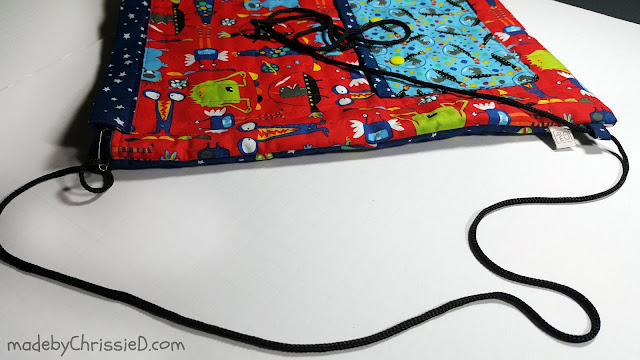
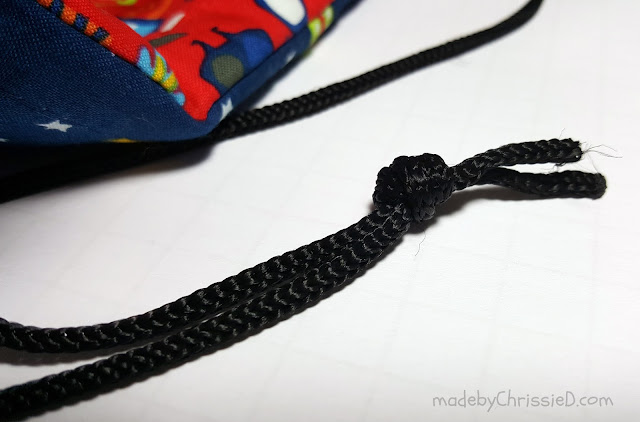
Feed the first cord through and around the bag as shown in the photos below and knot the ends together. Then feed the second cord through identically but on the opposite side of the bag and in the opposite direction through the cord channel. Shorten the cords as required to fit, reknot and trim excess cord.
The Finished Bag
Drawstring Back Pack Tute
Featured on:
Clicking on an image will take you to a new page of crafty goodness :)
Disclosure:
This post contains Amazon and Craftsy affiliate links for which I am paid commission on click-through purchases (at no additional cost to you). Otherwise, the post is for informational purposes only and all opinions are my own.
Copyright:

Linky Parties This post may be linked to some great Linky Parties, always a great source of inspiration too. If you click through to my 'Fave Linky Parties' page you can see where I like to share my work.

























Thank you. I hope all is well.
ReplyDeleteThank you. The house is fine, though the garden not so - most of the trees are down which is sad, the main thing, of course, is that everyone is okay :D
DeleteGreat detailed tutorial! I need to make one for my great grandson. He started pre-school this year and has new space related decorations in his "big boy" room.
ReplyDeleteHow perfect this would be! My grandson started school this year in Spain and I'll be gifting this to him very soon :D
DeleteLoved this tutorial. Excellent instructions for a very useful item. Thanks
ReplyDeleteThank you for sharing this wonderful tutorial. Great job !!!
ReplyDeleteGreat tutorial. Need to start one for my great grandson. pjrquilter at msn dot com
ReplyDeleteDo email me a pic if you make one, I always love to see how others interpret my patterns :D
DeleteSuch a great tutorial, so detailed and so many great photos. Thanks for sharing at #HandmadeMonday :-)
ReplyDeleteThis looks great! I'll have to bookmark this one to make soon. I was looking for this type of bag for my workout gear. :)
ReplyDeleteHi Jen, a couple of people have suggested the same use to me - I think the size is great, even for an adult. We don't always want a giant bottomless bag to carry our gym pass and water bottle. Send me a pic if you do make one, I'd love to see it :D
DeleteI am not typically a bag maker, so I appreciate when tutorials are as thorough as this one!
ReplyDelete