Piecing seams joins can be tricky, it's not always easy to line up those seams to create perfect cross-junctions. There are two methods you can use to achieve accurate results and the right one for you depends on how you press your seams, either open or to the side.
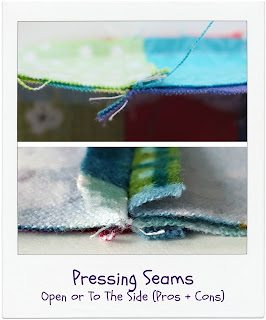
You can read more about the pros and cons of pressing seams open or to the side in this blog post.
If you press your seams to the side then you'll want to nest your seams to give you accuracy in your seam joins - I've written about nesting seams in this post.
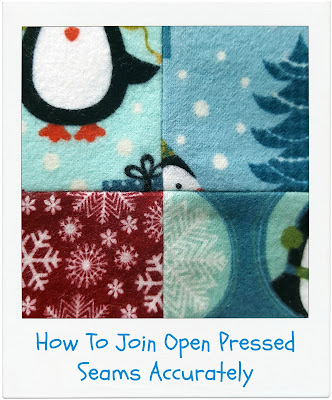
However if you press your seams open then I'll show you now how to pin your seams so you can have accurate seam joins just like this.
How To Join Open Seams Accurately
Lay the 2 joined pieces of fabric on top of each other with the pieced seams touching and right sides together.
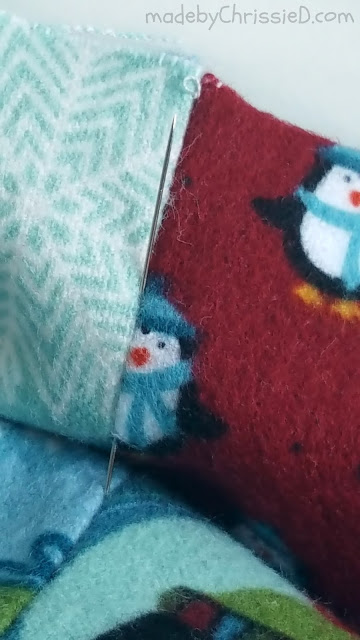
Put a pin through the centre of the seam about 1" from the edge of the fabrics.
Lift the top layer of fabric (without removing the pin) so you can see the seam in the fabric layer beneath. Now place the pin into the lower seam directly below where it excited the top layer, again about 1" from the fabric edges.
Carefully turn the fabrics over so you can see the pin exiting the lower fabric - the pin must still be coming through the seam line when it comes out at the bottom of the fabric - don't allow it to veer off into the seam allowance at any point.
Without removing the pin from the fabric layers, manoeuvre it back upwards to the fabric and place its point back into the same seam line that it has just excited but this time about 1/2" from the edge of the fabrics.
Ensuring the pin doesn't slip out of the fabrics open the layers again and make sure the point comes up between the two layers and that it's still inside the seam line - reposition if necessary.
Finally put the pin point back through the top fabric layer, again in the seam line, so it comes back out on top of the two fabrics.
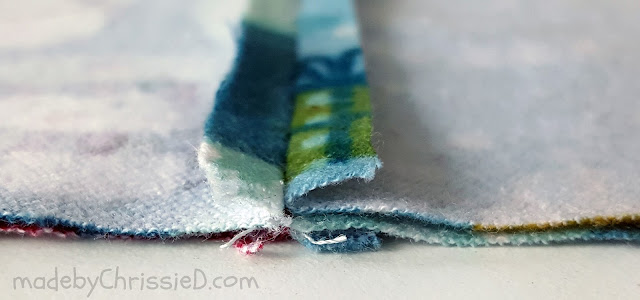
The pin should now lie flat through the fabrics holding the seam line perfectly in place at the 1" and 1/2" points.
This process can feel a little clumsy at first but take your time, it'll be worth it to get accurate results (and imagine what it was like for me trying to hold the fabric layers and pin in the correct position with one hand and hold my phone in the other and take the pic!!!).
This is how the pin will look from the top of the fabrics...
...and this is how it will look from the bottom.
Now place pins through all the fabric layers on both sides of the original pin to hold down your seam allowances - keep the original pin in place.
Your piecing should now stay perfectly in place while you sew your seam and look as perfect as the example below.
Whichever way you press your seams open or to the side you now know how to join open seams accurately.
Featured on:
Clicking on an image will take you to a new page of crafty goodness :)
Disclosure/Disclaimer:
This post is for informational purposes only, no payment or commission is received on click-throughs to links shared.
Click to follow Chris Dodsley of made by ChrissieD on Bloglovin'
Linky Parties This post may be linked to some great Linky Parties, always a great source of inspiration too. If you click through to my 'Fave Linky Parties' page you can see where I like to share my work.


This is great info. Thank you. I've done it a different way with mostly good results but I can see that this would be much better.
ReplyDeleteThis is genius. Never thought about using 2 more pins. Thanks! Will share with my QAL crew!
ReplyDeleteThis is a skill I certainly need to work on, thank you for sharing the tutorial. Pinned!
ReplyDeleteGreat tips! Thanks for sharing! Blessings, Janet
ReplyDelete